Using Foreground, Middleground, Background in Landscape Photography
Using foreground, middleground, and background is a basic photography technique used to add depth and dimension to a photo when capturing landscapes, and even wildlife.
A great landscape photo should create the illusion of depth. This effect makes the image more interesting and eye-catching.

In landscape photography, everything in the frame is part of the scene. That’s unlike, say portrait photography, where the attention is on the subject, and everything else in the background can be blurred.
When the entire scene of a photograph is the focus, the eye often wanders, since it lacks a single point to hold the viewer’s attention.
Composing the image with foreground, middleground, and background is one technique you can use to capture breathtaking landscape photos with different elements of interest.
When done right, such elements of interest will add depth and dimension that makes the shots interesting in the eyes of the viewer.

This site contains affiliate links which means WE may receive commissions for purchases made through these links. We only provide links to products we actually use and/or wholeheartedly recommend! As an Amazon Associate, we earn from qualifying purchases. Read the full Disclosure Policy.
Camera Gear for Landscape Photography
- Tripod: take a look at these compact and lightweight travel tripods!
- Camera Bag: protect your camera from sand and water → We use Lowepro camera backpacks for outdoor photography.
- Neutral density filter: to compensate for variance of light you’ll need to use a neutral density filter. → Check out the Kase magnetic filters we use!
- Camera cleaning kit: remove dust or water that WILL get on your lens. NOTE: this is not for cleaning the sensor.
- Memory cards: purchase name brand memory cards since you’re trusting your images to the card! → We use Lexar and Sandisk!
- External hard drive: copy photos to a portable external hard drive ‘just in case’.
- Headlamp: use when taking sunrise and sunset photos!
Camera Gear at B&H Photo

Foreground, Midground and Background Photo Ideas
Check out these foreground, midground and background photo ideas shared by members of our Facebook Group, Your Photography Journey to illustrate this compositional technique.
What is Foreground, Middleground, and Background in Photography?
The overall concept is quite simple. The foreground is the part of the photo that is close to the photographer’s eye. The background is the part that is the farthest away from the photographer. So the middleground is the section between the foreground and the background.
Unlike our human eyes which are 3-Dimensional, photos are usually compressed into a flat 2-Dimensional art. Depth is achieved by placing elements of interest in the foreground, middleground, and background.
Understanding how this technique works will give your compositions a sense of dimension, thus making your landscape shots scenic.

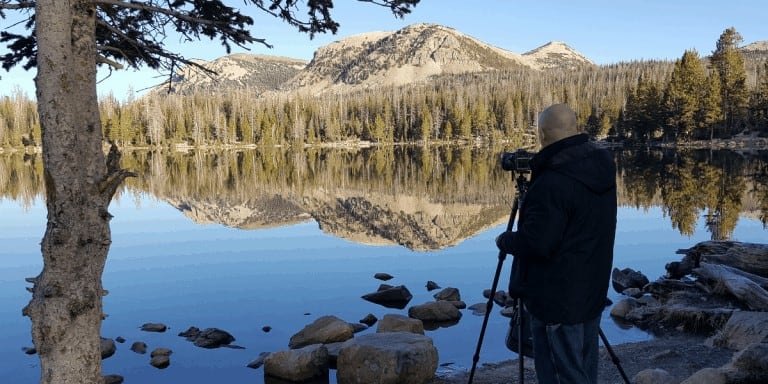
For example, in the above image, the pine trees close to the front of the frame is considered the foreground. The mountain lake is the middleground, and the mountains in the distance farther away is the background.
Perhaps the best way to understand these three elements is to imagine a photo is made of different layers. The foreground would be the first layer. And as you peel off to see what’s underneath, you’ll get to the midground, then the background as the last layer.
How to Use Foreground, Middleground, and Background in Landscape Photography
To create outstanding landscape images with the concept of foreground, middle ground, and background, all you need is to practice these three steps:
#1. Identify an Object of Interest in at least 2 of the 3 Sections
The first step to using this technique when framing your shots is to identify the elements of interest.
It would be wonderful if the frame of your composition has an element of interest in each of the three sections. That would make such a perfect landscape scenery!
But in real life, placing interesting elements in all these sections is not always possible. In most cases, you’ll have two interesting elements in a frame, which is enough to create impressive landscape photos with a sense of depth.
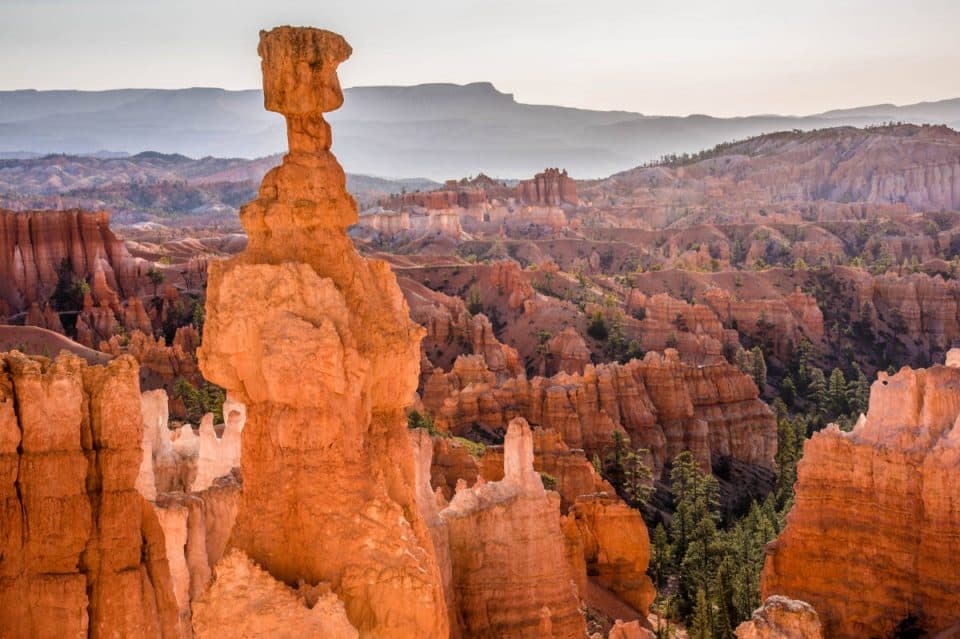
In the photo above, when photographing Bryce Canyon National Park, we placed Thor’s Hammer in the foreground, and more colorful hoodoos filled in the middleground. The faraway mountains create the background, but that’s not the interesting part of this landscape scene.

You’ll see in the Arches National Park photo above, there are two interesting subjects here. The weathered log is a foreground element and Skyline Arch is the background element. The middleground of red dirt and green foliage isn’t a focal point, but helps provide depth.
#2. Arrange the Elements of Interest According to the Rule of Thirds
The rule of thirds is a simple technique that involves positioning the important elements in your photo along imaginary grid lines that divide your scene into thirds (nine parts) using two horizontal and two vertical lines.
By arranging the elements of interest you identified in step #1 at the intersection points, of along the grid lines, you’ll end up creating a balanced composition.
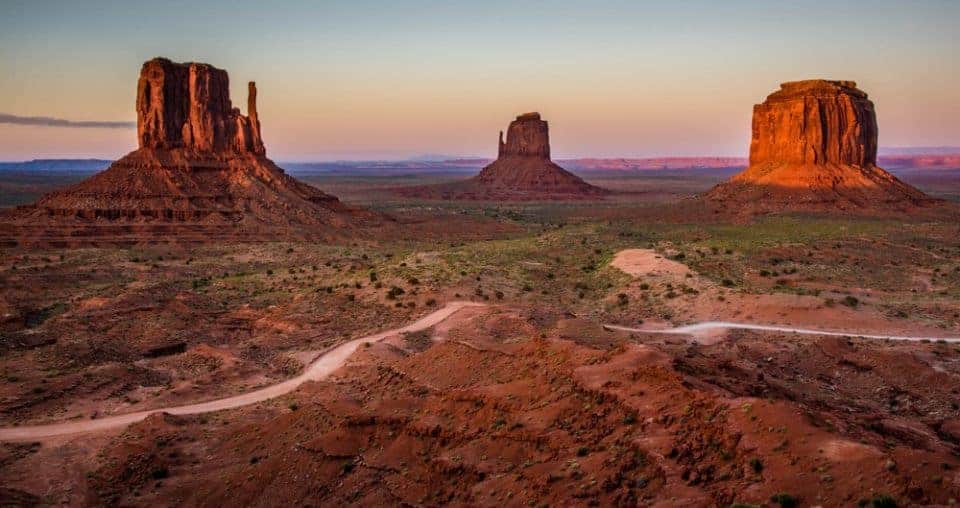
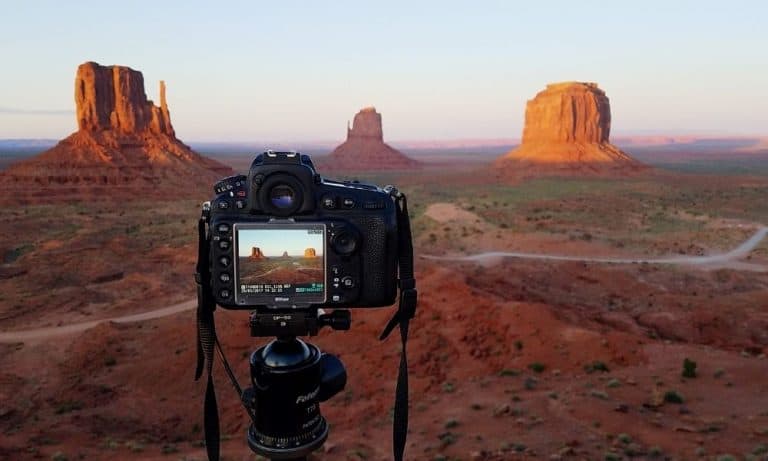
The image above places the buttes at Monument Valley along the top horizontal line of the rule of thirds grid. There’s a distinct foreground with the road, the middleground elements are the buttes, then the sky and faraway land is the background.
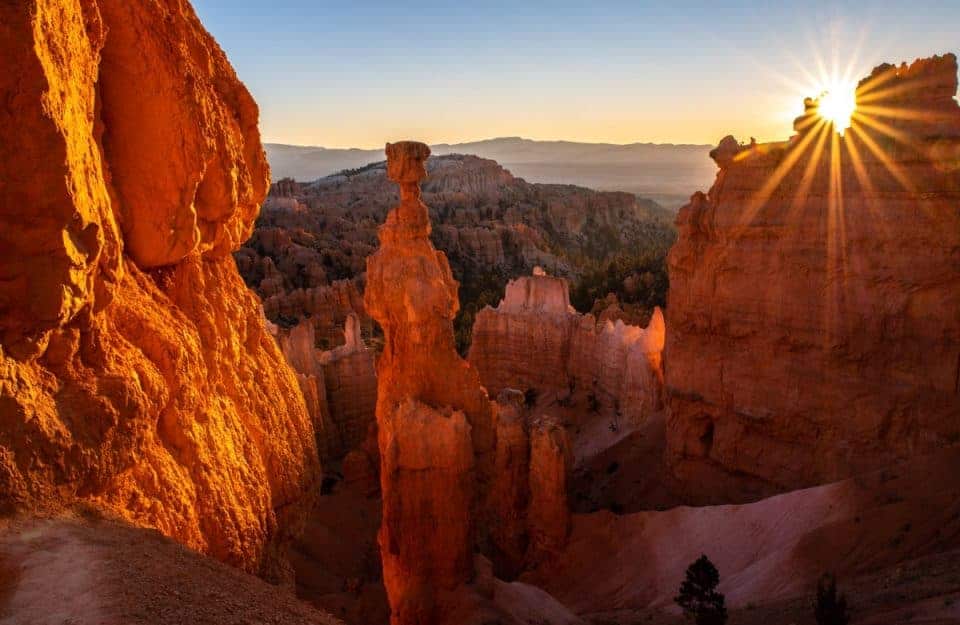
Another photo of Bryce Canyon places the sun in the upper right corner using the basic photography principle of rule of thirds. There’s balance with the sun on the right and the sunlit rock wall on the left. You can see the distinct layers in the image that provide depth to this scene.
#3. Use Leading Lines
Leading lines are natural or manmade lines that a photographer uses to gradually draw a viewer’s eye towards a specific element of interest.
Lines in a photo help to emphasize depth and dimension in landscapes.
Such lines can include roads, rivers, bridges, and even buildings. They let the eye of the viewer travel into the image, and arrive at the main subject.
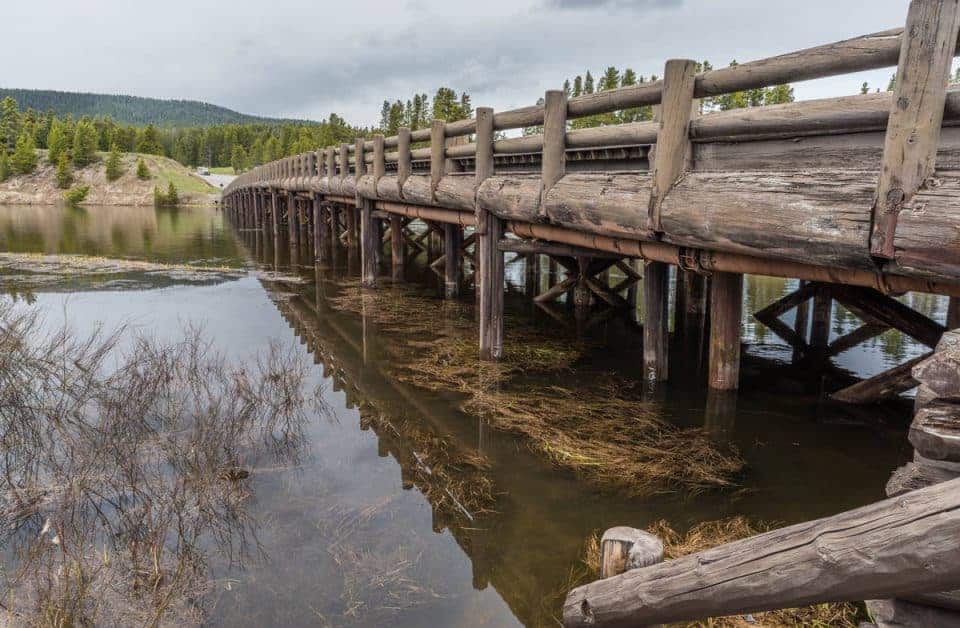
With proper use of leadings lines, the viewer will not only land at your element of interest but also get a sense of scale, which helps them understand how extensive the scene is.
Just like any other photography technique, learning how to use foreground, middleground and background are best learned through practice.
The trick is to get out there and practice intentionally using them in your composition.