How to Photograph Waterfalls and Rivers
Learning how to photograph waterfalls and rivers is a great way to capture the beauty of nature. With the right basic photography techniques, you can create stunning images that will last a lifetime.
Photographing these natural wonders can be both rewarding and challenging. By following some simple tips and composition techniques, you’ll be able to take beautiful photographs of waterfalls and rivers.

The most important thing to remember when photographing waterfalls and rivers is to think about the conditions. Depending on the time of day, season, and weather conditions, you may need to adjust your settings accordingly.
Don’t be afraid to get creative with your compositions and try something out of the ordinary – you may just end up creating a stunning image that stands out from the rest!
By following these simple tips, you’ll soon become an expert at capturing waterfalls and rivers!

This site contains affiliate links which means WE may receive commissions for purchases made through these links. We only provide links to products we actually use and/or wholeheartedly recommend! As an Amazon Associate, we earn from qualifying purchases. Read the full Disclosure Policy.
Camera Gear for Landscape Photography
- Tripod: take a look at these compact and lightweight travel tripods!
- Camera Bag: protect your camera from sand and water → We use Lowepro camera backpacks for outdoor photography.
- Neutral density filter: to compensate for variance of light you’ll need to use a neutral density filter. → Check out the Kase magnetic filters we use!
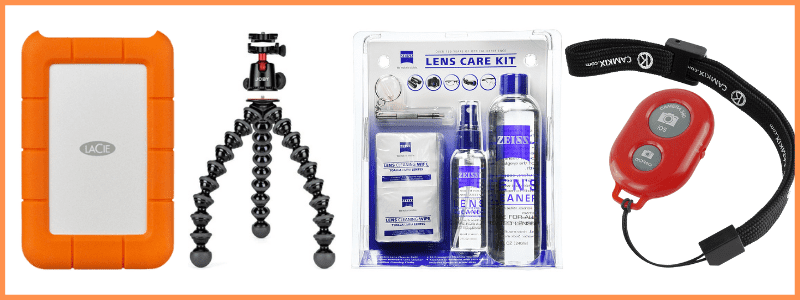
- Camera cleaning kit: remove dust or water that WILL get on your lens. NOTE: this is not for cleaning the sensor.
- Memory cards: purchase name brand memory cards since you’re trusting your images to the card! → We use Lexar and Sandisk!
- External hard drive: copy photos to a portable external hard drive ‘just in case’.
- Headlamp: use when taking sunrise and sunset photos!
Camera Gear at B&H Photo
How to Photograph Waterfalls and Rivers
Whether you’re a beginner or a professional photographer, there are some important tips and techniques that can help you take amazing pictures of waterfalls and rivers.
By understanding how light works in outdoor settings, learning how to use shutter speed effectively, and mastering other key aspects of photography like composition and focus, you’ll be able to create beautiful photos every time.
Here are the things I’ve learned over the years that have improved my waterfall and river photography.
Composition: Tell the Story of the Waterfall or River Location
Take time to understand the scene where the waterfall and river are located so you can convey the emotion and experience of being there in person.
- What about the location moves you?
- What do you enjoy in the scene?
- What parts constitute the whole?
- How do you frame and shoot your image to express all the pieces that are important to you?
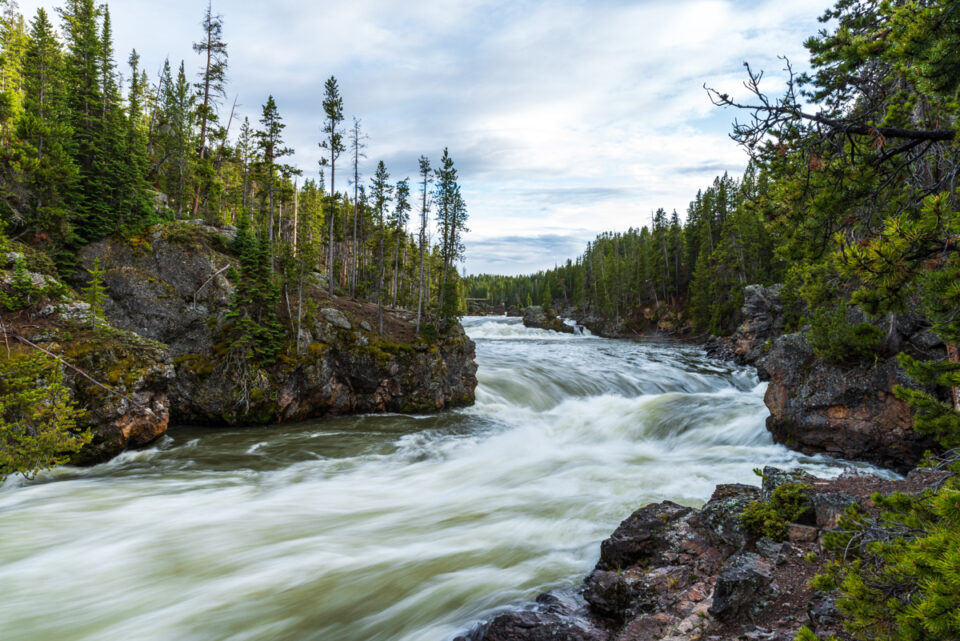
When I first arrived at the river in the image below, I started photographing the river from the bridge. The results were fine, but they didn’t convey the beauty of the scene as I was seeing it.
As I walked along this river I finally found the perfect spot that captured the essence of what I was seeing in person. The photograph of the river below contains a number of components that combine to create what I find to be a stunning and moving image: bridge, stone wall, and rocks in the foreground.
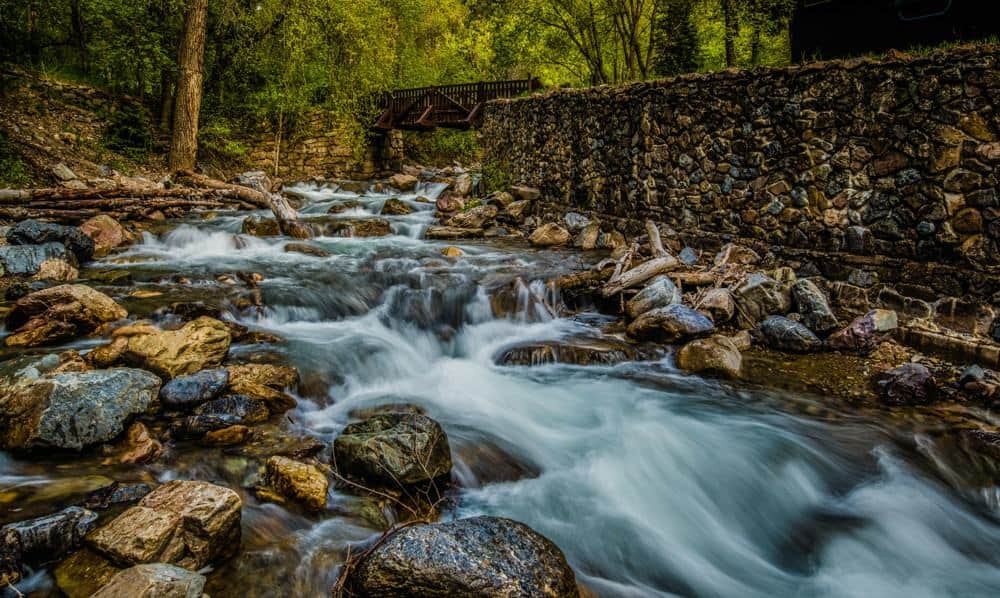
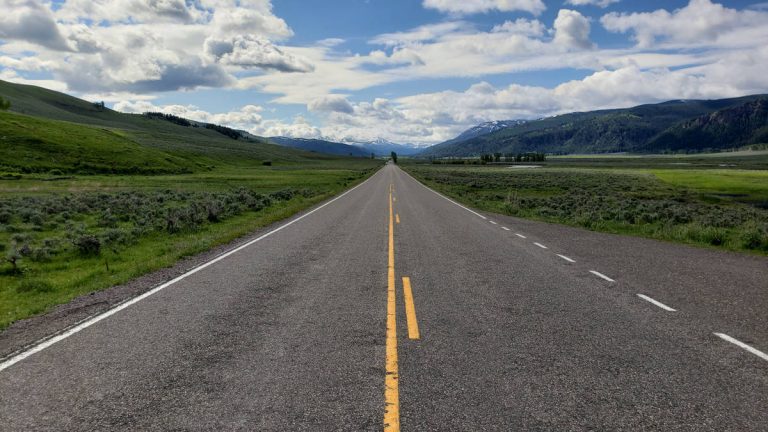
The leading line of the river helps draw the eye into the photograph toward the bridge. Every time I look at this picture I feel the same peace and connection I felt when I experienced it.
PHOTO TIP: When photographing rivers or waterfalls, experiment with angle, depth and perspective to create differing compositions of the subject.
Composition: Get Close to the River or Waterfall for a Unique Perspective
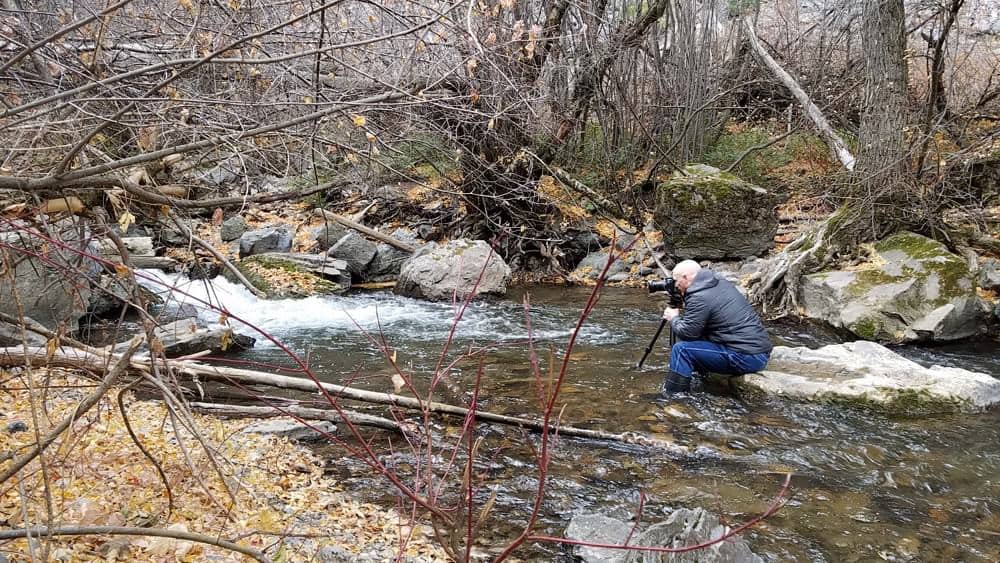
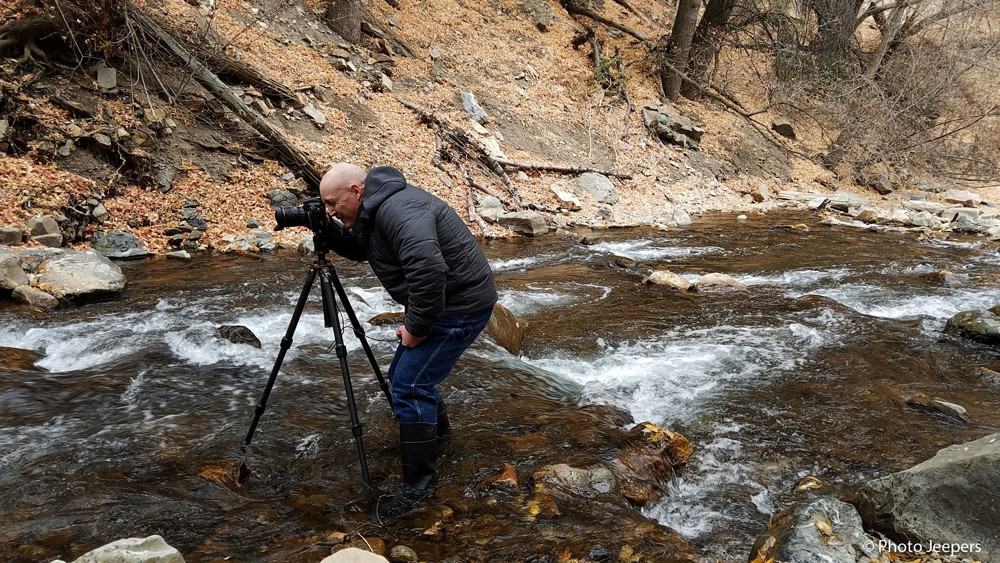
Many times the best shot of a river or waterfall requires you to get close to, or even in, the water.
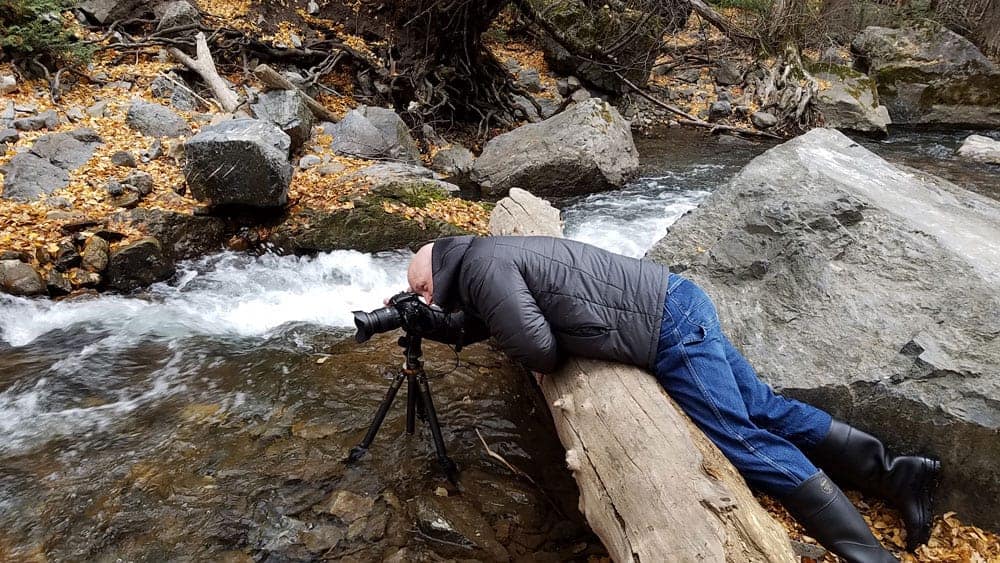
PHOTO TIP: Be prepared with protective gear for yourself, your feet and your camera equipment when taking pictures of waterfalls and rivers.
Part of my photography routine is to walk around and take various shots of any subject. One angle I wanted to take required getting right in the middle of the river!
I had no problem plunging through the cold water since I had winter gear to keep me warm and had water boots to keep my feet dry.
One thing I always carry in my camera backpack is a package of camera lens cloths. You will need these whenever you photograph water.
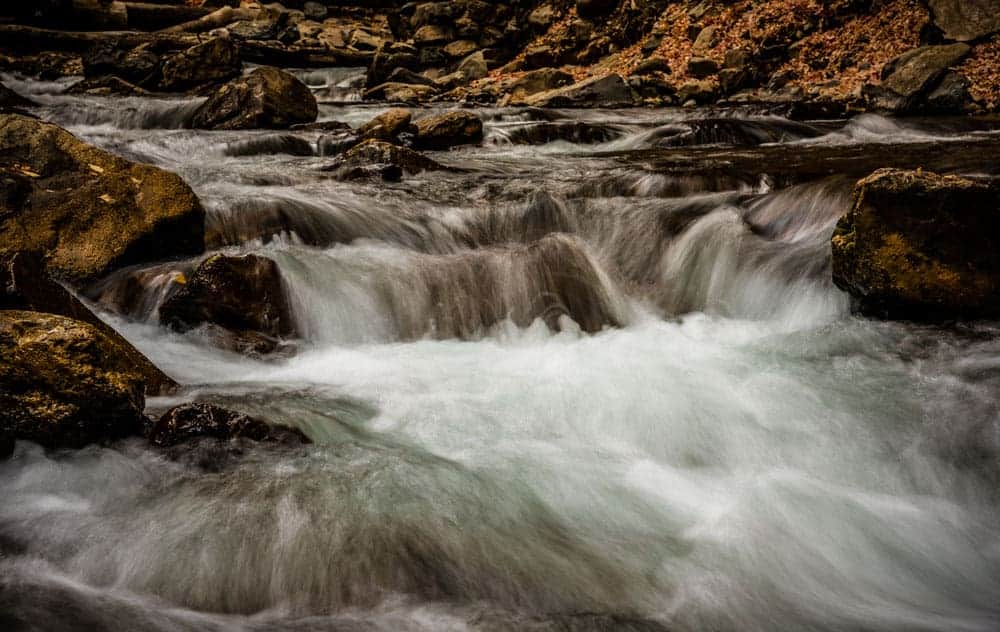
My efforts to get closer to the mini waterfall in the river resulted in a terrific photograph! By filling the frame with this small part of the whole river scene, created impact!
PHOTO TIP: Spray from waterfalls and rivers WILL get your lens wet. Use a good quality lens cloth to remove moisture.
Camera Stability – Use a Tripod When Photographing Waterfalls and Rivers
Keeping the camera still is one of the most important factors to getting a sharp image. If you find your photos are blurry, we recommend you use a tripod. When you try to hold your camera to take photos, any small muscle movements will blur parts of the scene.
I also recommend a remote shutter release. Your goal when taking pictures is to reduce the amount of camera shake. Some of this is caused by touching the camera body when you press the button to take a picture. Use your camera’s self-timer if you don’t have a remote shutter release.
Camera Settings for Taking Pictures of Waterfalls or Rivers
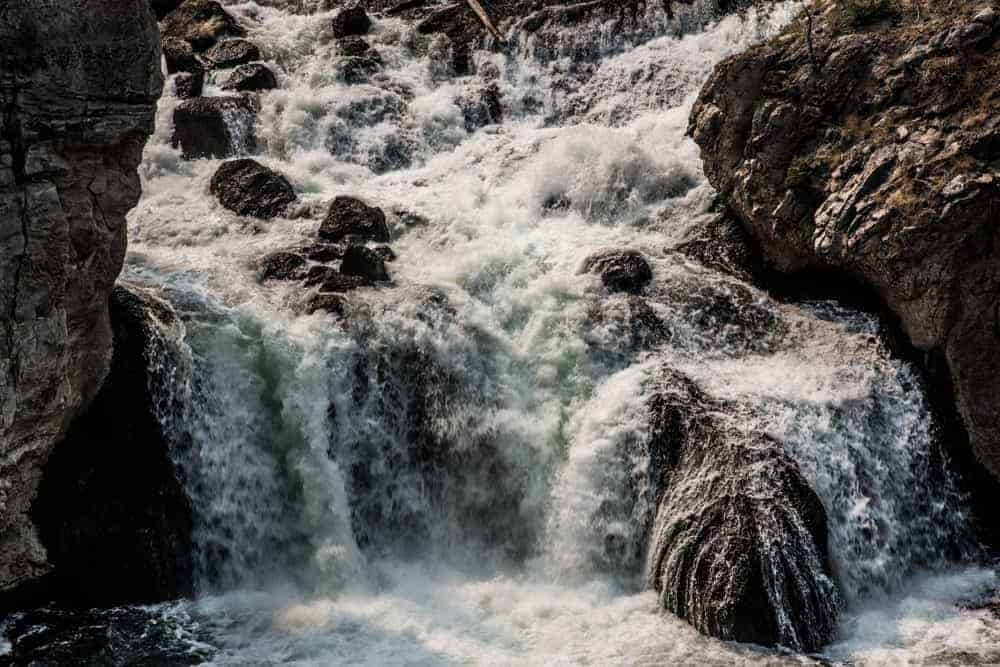
When you photograph a waterfall or river, you’ll need to decide if you want to use freeze motion or blurred motion. Each technique produces a completely different feel and appearance.
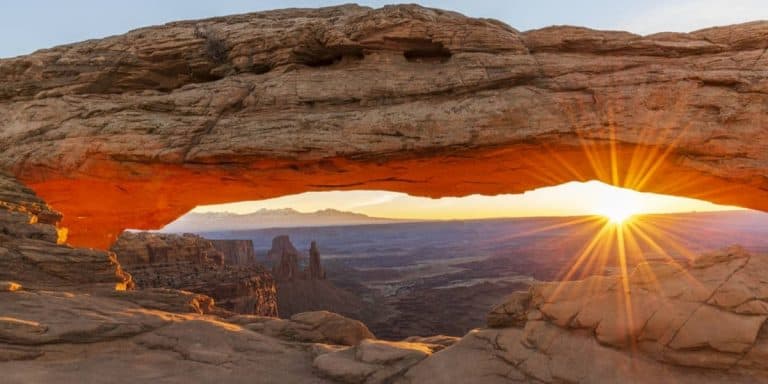
Freeze motion captures a specific time where the moving water stops in time as seen in the image below.
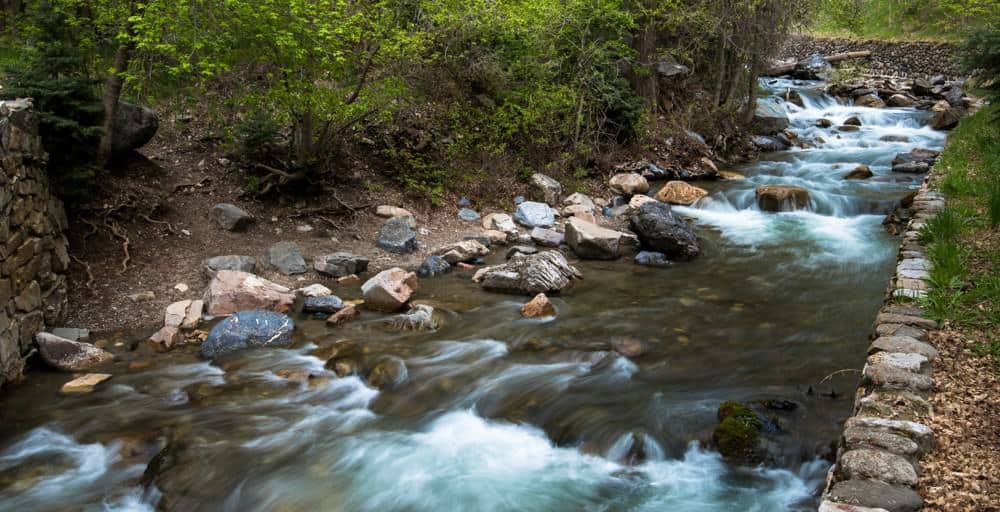
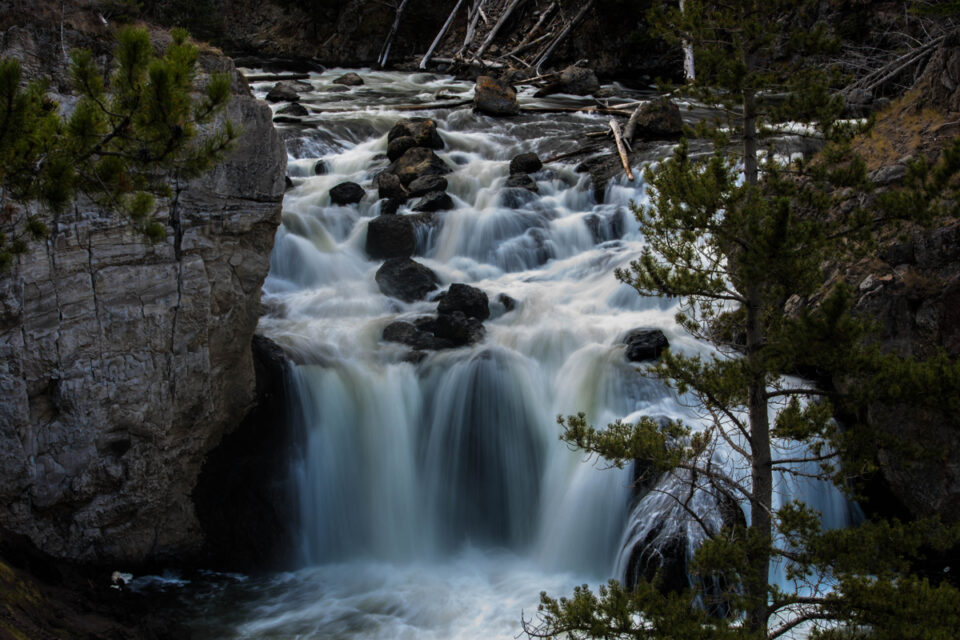
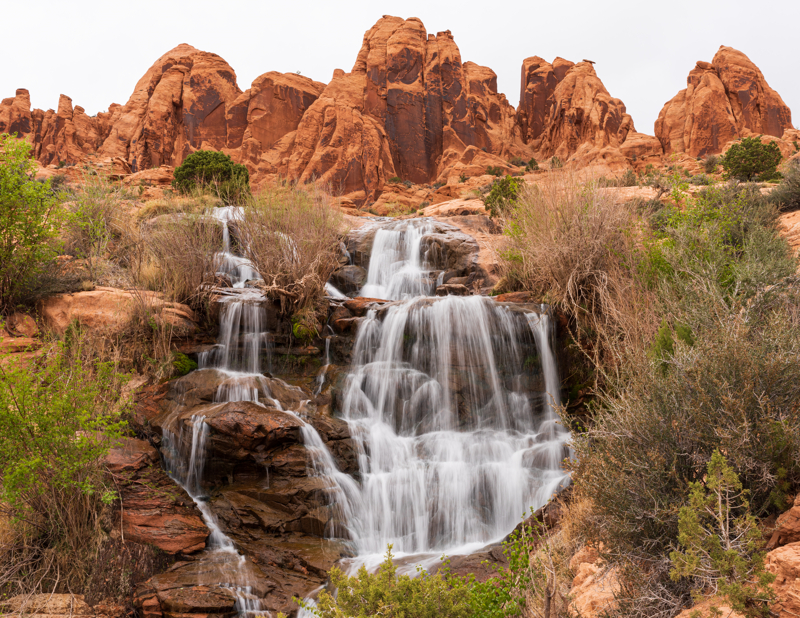
Blurred motion captures a continuous flow of moving water to give it a silky appearance as seen in the image below.
The shutter speed setting determines how much movement you see in the water. This is my process for finding just the right camera settings for photographing waterfalls and rivers:
1. Using the camera meter, I adjust the settings for the scene the same way I do when taking any landscape photo.
2. My preferred camera settings for waterfall and river photography are:
- Aperture f14
- Shutter Speed ⅛ second (I get motion blur and still maintains detail in the image)
- ISO 100
Sometimes conditions require adjustment from these settings. If so, I may change to a smaller aperture and a lower ISO in order to accompish the longer exposure.
I don’t like to go smaller than an f16 aperture so that light diffraction is minimal. The light diffraction can affect the sharpness of the image. Instead of going smaller than an f16 aperture, I use nuetral density filters to create longer exposures. They are good to use when light conditions are too bright for the long exposures to be captured with only camera settings.
Camera Settings: Watch the Light When Photographing Waterfalls and Rivers
The sun is not your friend when photographing waterfalls or rivers because it creates bright spots and dark shadows in the image.
It’s best to shoot during the Golden Hours around sunrise and sunset. Or take advantage of the shade from objects around the water.
Many waterfalls and rivers are in deep canyons. As long as the sun is behind a mountain with the whole waterfall or river in the shade, you can take a long exposure photo with nice even light.
Overcast days give you more time to photograph. You aren’t constrained to sunrise or sunset. The colors of moss and leaves around the waterfall or river are also more vibrant on overcast or rainy days.
You can also compose your shots to focus more closely on the river or waterfall itself when you don’t have the most ideal lighting conditions.
PHOTO TIP: If light conditions are too bright for the long exposures to be captured with only camera settings, then use neutral density filters to help balance the light in the scene.
Best Tip To Photograph Waterfalls and Rivers: Practice
One of the best things you can do to improve your waterfall and river photography technique is to spend time taking pictures. Get to know your camera and experiment with settings.
Find a location where you can photograph waterfalls or rivers at different times of day, with different types of settings and different weather conditions.
You should never get bored photographing at the same location because the resulting images will vary when you switch up the time of day, season, composition and angle.
AMAZON Landscape Photography Books: