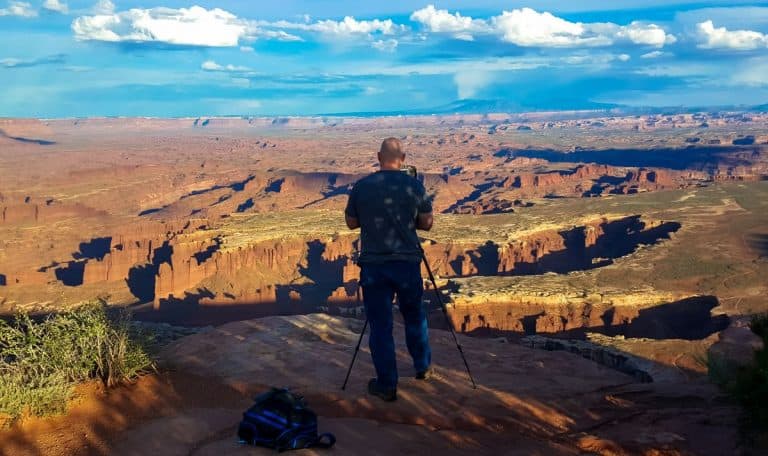
Foreground, Midground, Background Photography Ideas
Composing the image using layers in the landscape is a basic photography technique you should learn. Take a look at the following foreground, midground, background photography ideas and tips to use when capturing your own images.
Using foreground, middleground and background in photography is a key concept to achieve depth in a photo which makes the image more interesting and eye-catching.

Including interesting foreground elements really helps anchor your scene. Something like a compelling rock formation or branch can grab the viewer’s attention and draw their eye right into the frame.
The background provides the overall setting and context and the midground area includes elements of interest. Having distinct layers of foreground, midground, and background adds great visual interest and complexity to the composition.
Rather than a boring, one-note snapshot, you end up with a multi-layered, textured image that keeps the viewer’s eyes exploring. From the foreground elements to the background surroundings, the entire frame is visually engaging.
Layering the different planes adds intriguing depth cues and creates a much more dynamic, three-dimensional scene overall. The composition simply has more substance and aesthetic appeal.
Be sure to grab your free copy of our Photography Checklists by clicking the image below. You’ll get a packing list, settings list, and a basic photography technique list that includes the top basic photography techniques to capture amazing photos!

This site contains affiliate links which means WE may receive commissions for purchases made through these links. We only provide links to products we actually use and/or wholeheartedly recommend! As an Amazon Associate, we earn from qualifying purchases. Read the full Disclosure Policy.
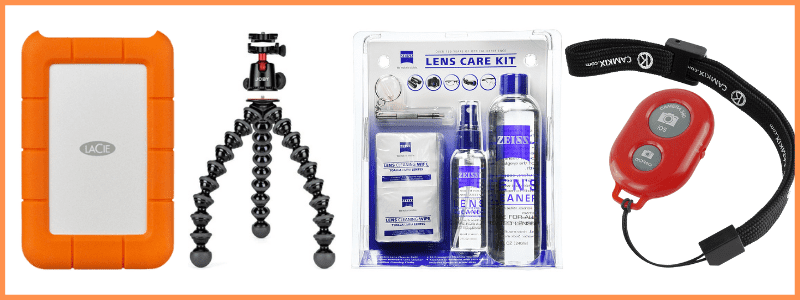
Camera Gear for Landscape Photography
- Tripod: take a look at these compact and lightweight travel tripods!
- Camera Bag: protect your camera from sand and water → We use Lowepro camera backpacks for outdoor photography.
- Neutral density filter: to compensate for variance of light you’ll need to use a neutral density filter. → Check out the Kase magnetic filters we use!
- Camera cleaning kit: remove dust or water that WILL get on your lens. NOTE: this is not for cleaning the sensor.
- Memory cards: purchase name brand memory cards since you’re trusting your images to the card! → We use Lexar and Sandisk!
- External hard drive: copy photos to a portable external hard drive ‘just in case’.
- Headlamp: use when taking sunrise and sunset photos!
Camera Gear at B&H Photo
Foreground, Midground, Background Photography Ideas
Using layers in the landscape emphasizes depth and turn a 2-dimensional photo into a 3-dimenstional scene will help to create interest.
The foreground is the part of the photo that is close to the photographer’s eye. The background is the part that is the farthest away from the photographer. So the middleground is the section between the foreground and the background.
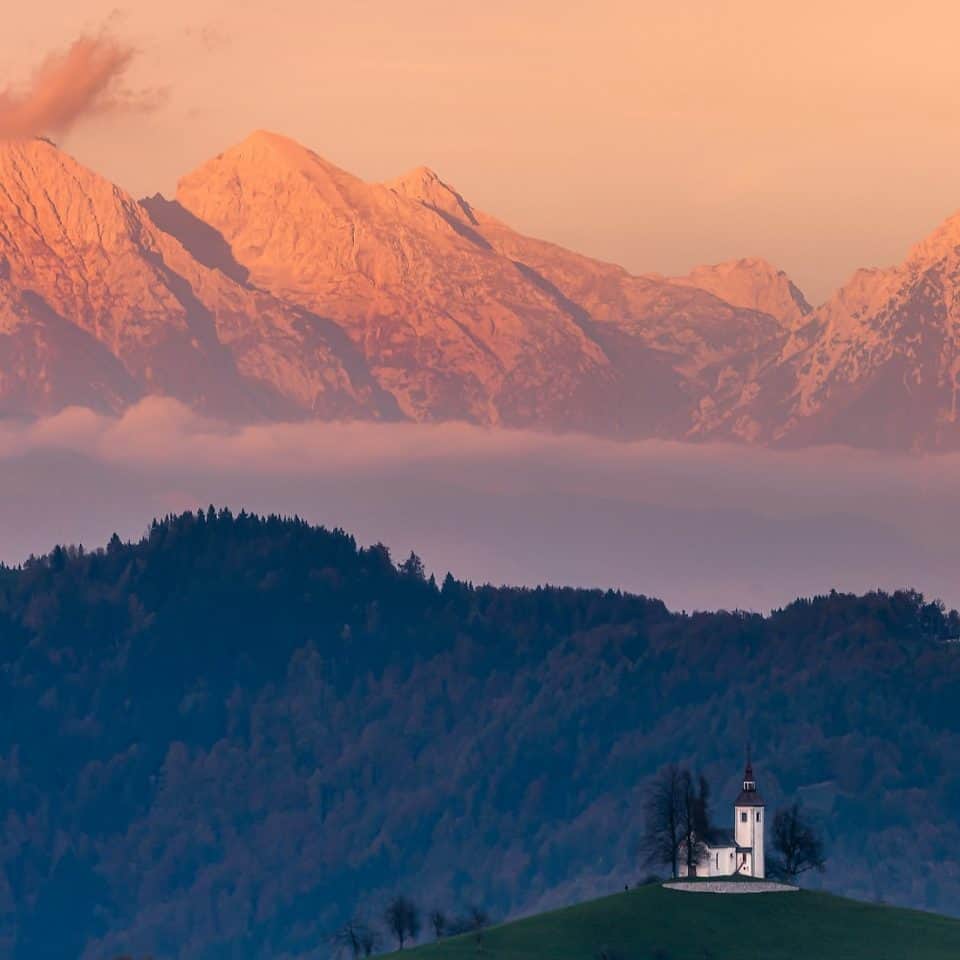
Subject in the Foreground
There is a prominent subject placed in the foreground of this photo by James Carro. It’s easy to see the layers here: the foreground with the white building, the midground is the green hill beyond, and the background is the sunlit mountain.
These elements combine to show depth between the building close to the viewer and the mountains far from the viewer.

In the image above by Bobby Skidmore, the tree is placed in the area closes to the photographer.
Then you see the amazing sky that’s the background. The rolling hills in between is considered the midground.
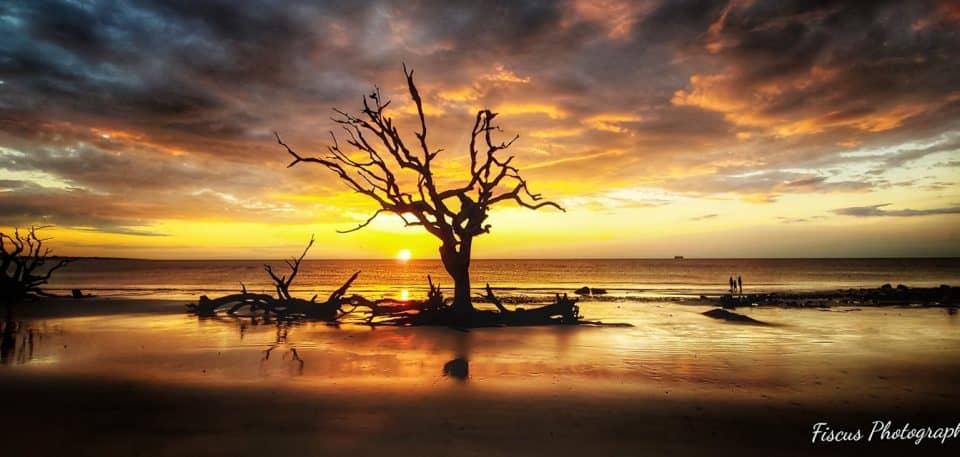
Subject in the Midground
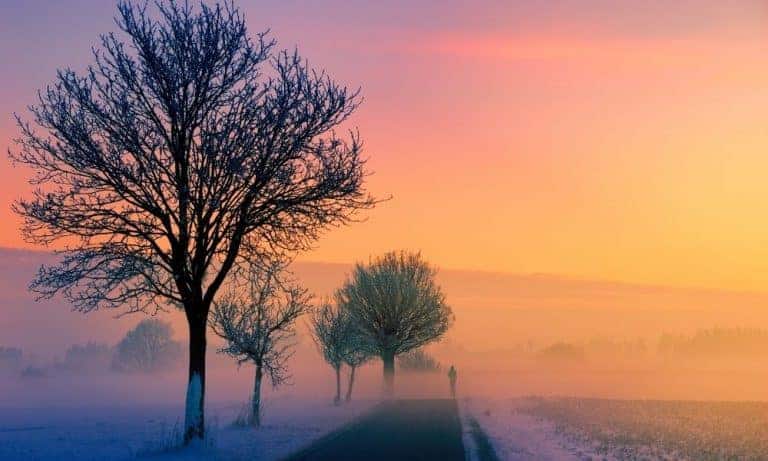
Paul Fiscus placed the silhouetted tree in the middleground of this photo. The colorful foreground and background help to make the tree pop. In this scenario, Paul could have placed the tree in the foreground, but doing so would have diminished the reflection of golden light in the water on the beach in front of the tree.
As the photographer, it’s good to try both compositions then decide which one you like best.

It’s nice to see an example of foreground, midground and background with a vertical orientation like this photo taken by James Griffin. The grassy foreground leads the eye to the weathered barn, which then leads the eye to the sky with dotted clouds.
Because the sky is so interesting here, he created balance by having the foreground and midground combined the same amount of space in the photo as the background.
Using Layers to Create Depth
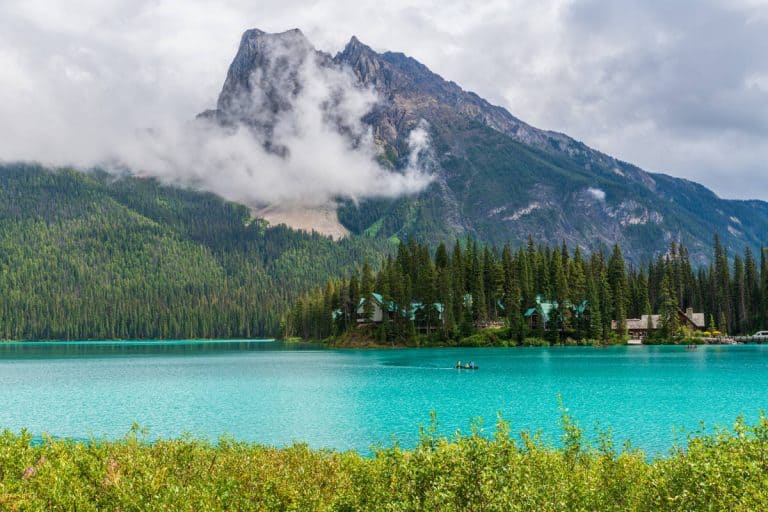
It’s easy to see the layers and distance between the elements in this photo by Goldhara McKay.
You see the pine trees in the foreground, the jutted rocks in the midground, then the rolling mountains in the background. The depth of the scene helps illuminate the concept of 3D versus a flat picture.
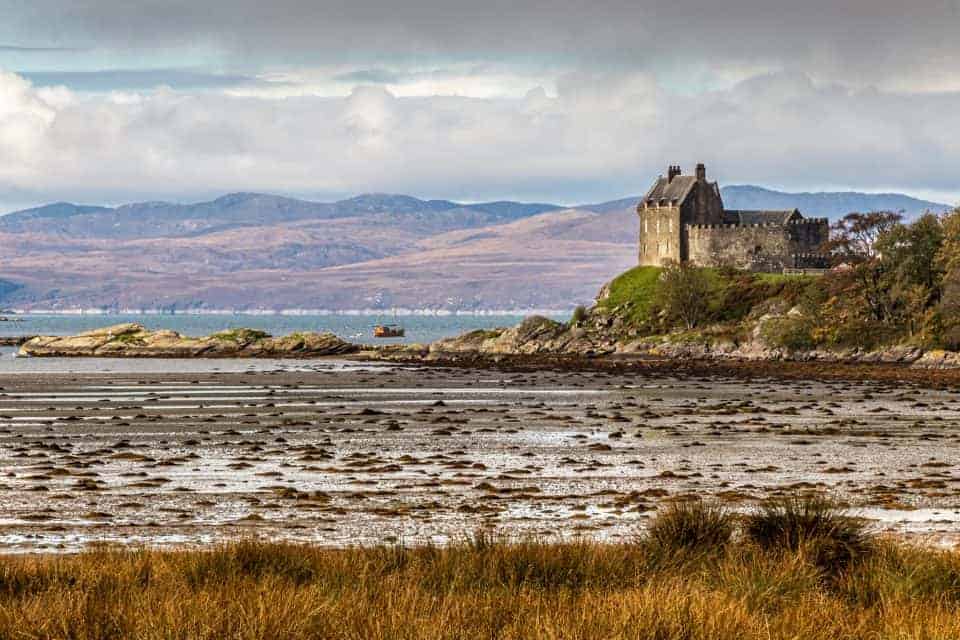
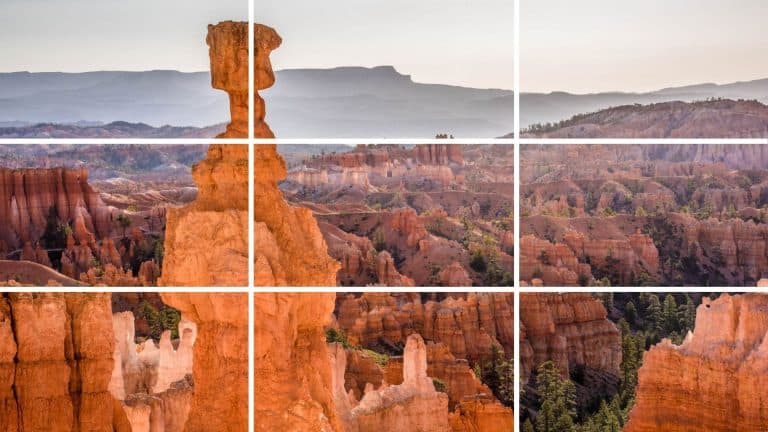
It’s easy to see the various layers in the landscape in this photo taken by William Holmes. As the viewer, you can imagine the time and distance to walk from the foreground, through the wet beach, taking a boat across the water, in order to reach the mountains in the distance.
William also used the rule of thirds to place the home along the far right grid line.

James Carro intentionally placed elements in this photo to showcase the layers and depth in this landscape scene.
The tree is the foreground element, that also acts as a frame to focus on the boats. The midground is the area with the boats. And the background is the faraway hills and sky.
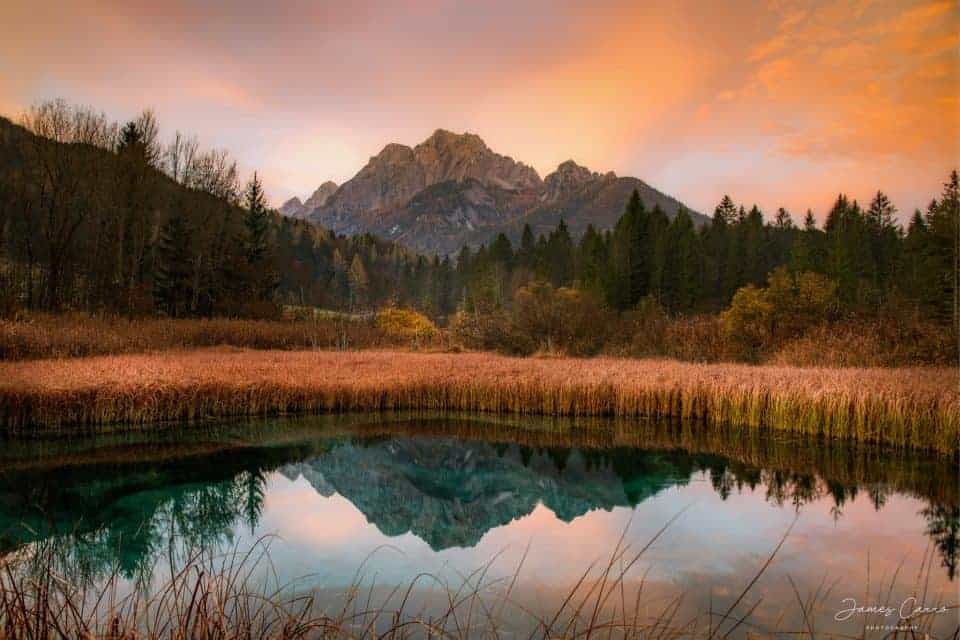
In the photo above by James Carro there are various layers in the scene that help the viewer understand the depth or distance between the elements.
Adding the top of the tall grass as a foreground element helps give the viewer a place to stand if you will. You can see the layers of grass, water, reeds, tall trees, mountain peak then colorful sky.
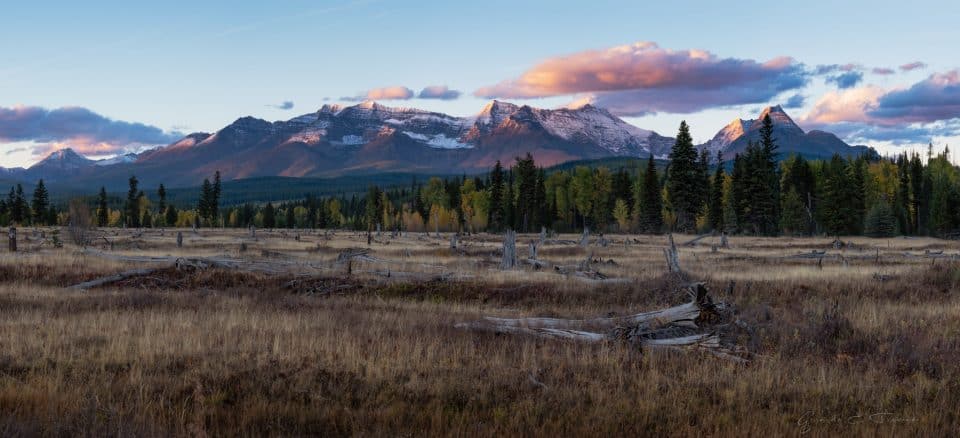
This photo by Gerardo Trevino also shows depth in a landscape by composing the image using foreground, midground and background.
There’s a layer of grass, a layer of dead tree stumps, a layer of green trees, a layer of mountains then the sky as the final layer.
Using Leading Lines
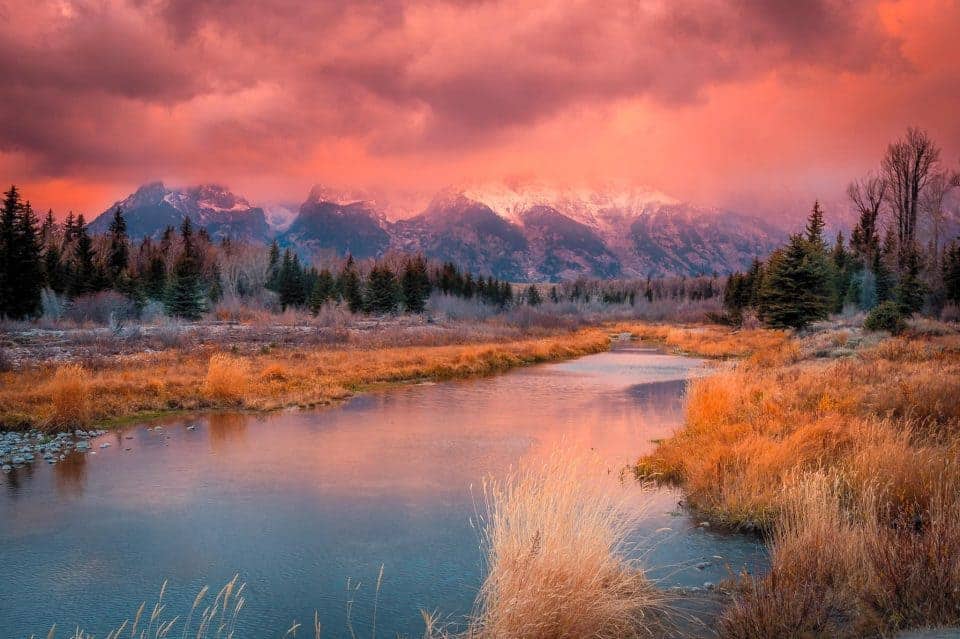
Ghe Buhay uses the river at Schwabacher Landing, a popular photo spot at Grand Teton National Park, to lead the eye through the layers in this scene.
The river is part of the foreground and it moves through the midground to lead the eye to the mountains in the background.
Ghe said he was disappointed with all the clouds and didn’t think he’d capture any good sunset photos. He is SO HAPPY he decided to see what would happen, and wow! What a photo!
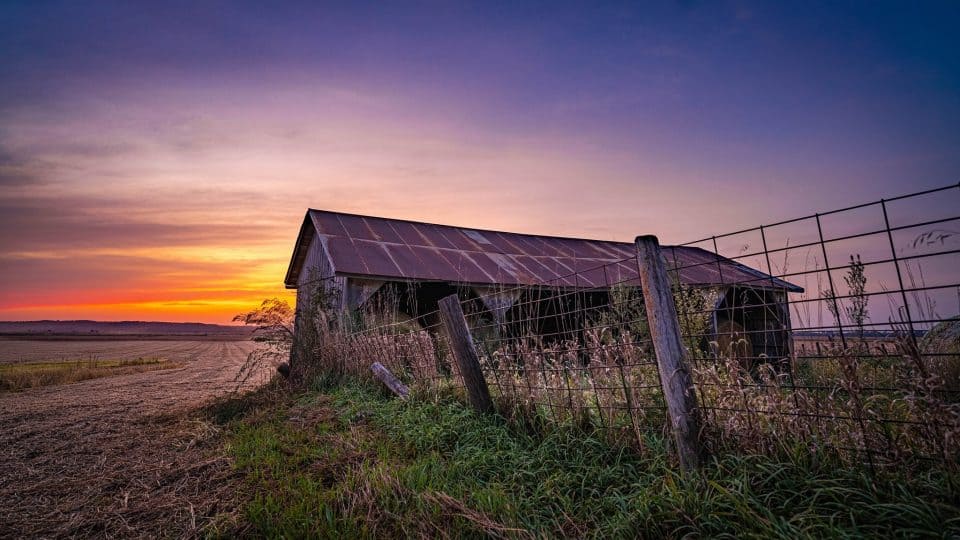
Here’s a terrific photo by Richey Oliver where us used an element in the scene to lead the viewer’s eye through the photo.
The fence starts in the foreground and leads the eye to the barn structure in the midground, then on to the colorful sky in the background.
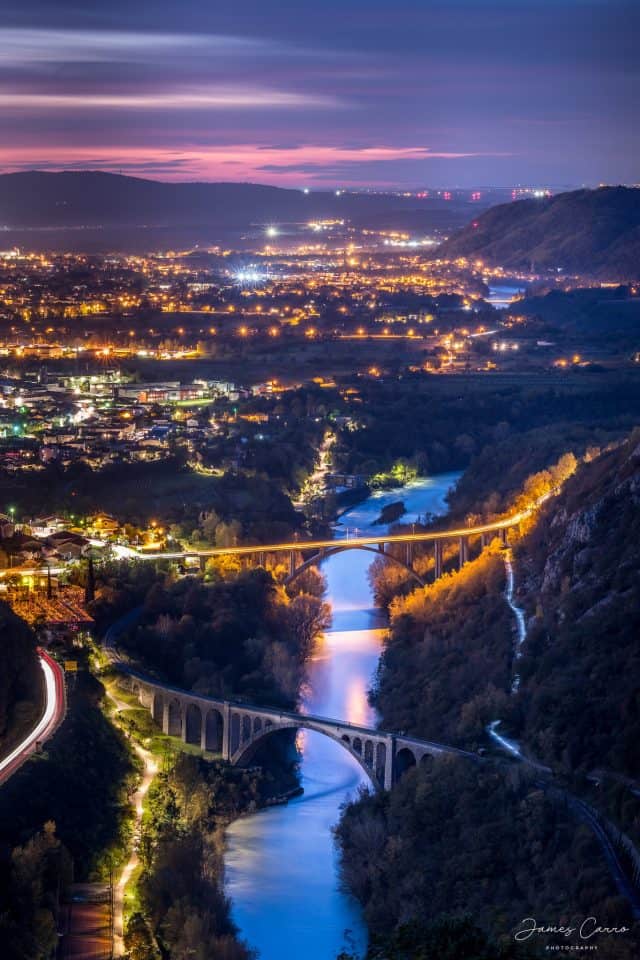
James Carro used the same concept to lead the viewer through a vertical photo. The river starts in the foreground and leads upward through the midground. Even though the river doesn’t continue through the photo uninterrupted, the eye still follows the upward motion ending at the background.

Using Rule of Thirds to Provide Balance
Using the Rule of Thirds is also helpful when trying to place your foreground, midground and background elements in your photo. James Griffin placed the foreground in the lower right corner, which balances with the pop of color in the upper left corner.

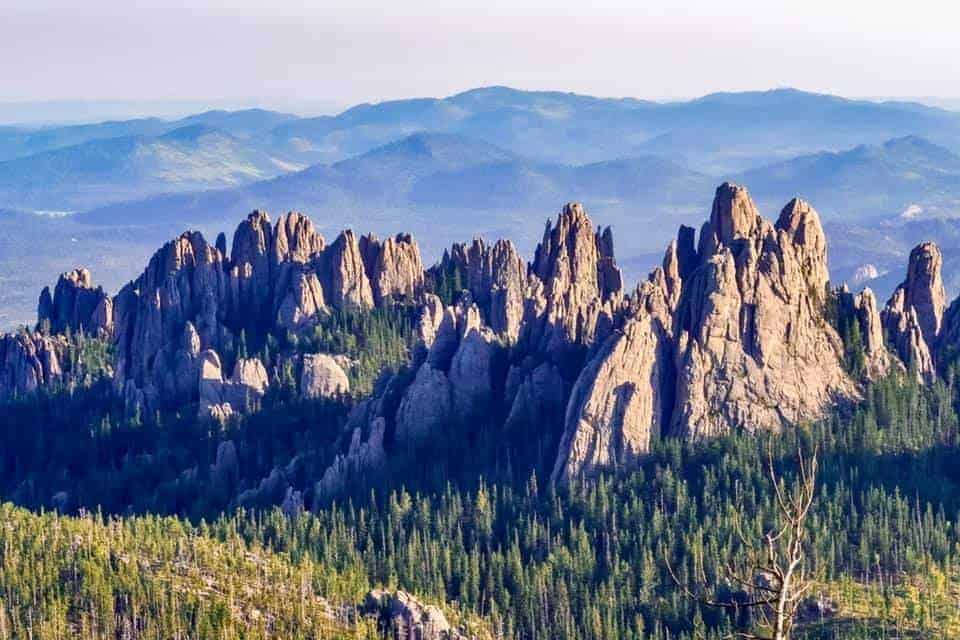
In the picture by Jan Irons below, the large bush foreground element in placed in the bottom right and along the right line of the horizon line grid.
While the midground rock formation balances since it’s on the left side of the photo and had equal ‘weight’.

Mel Simpson has placed the elk closes to the viewer right along the intersecting point of the right vertical and bottom horizontal lines of the rule of thirds grid.
The barn in along the left vertical line. Even though the ‘weight’ of the elk and barn aren’t equal in size, due to their placement in the photo, the image is balanced.
AMAZON Landscape Photography Books:

Photography Challenges
The number one way to improve your photography is to practice! Photography challenges provide a subject or technique to find and photograph.
The challenge exercise helps boost your creativity and skills! Here are a few photo challenges to help you get out an practice! We also share fun ways to get the kids involved in photography!
- 52 Week Photography Challenge
- Spring Photo Challenge
- Summer Photo Challenge
- Fall Photo Challenge
- Winter Photo Challenge