Using Perspective in Photography to Create Impact
Photographers use perspective in photography to add interest to their photos and create a sense of depth and scale.
Understanding perspective is one of the basic photography techniques you should learn. It helps you create a two-dimensional representation of a three-dimensional scene in the real world.
This site contains affiliate links which means WE may receive commissions for purchases made through these links. We only provide links to products we actually use and/or wholeheartedly recommend! As an Amazon Associate, we earn from qualifying purchases. Read the full Disclosure Policy.
Camera Gear for Landscape Photography
- Tripod: take a look at these compact and lightweight travel tripods!
- Camera Bag: protect your camera from sand and water → We use Lowepro camera backpacks for outdoor photography.
- Neutral density filter: to compensate for variance of light you’ll need to use a neutral density filter. → Check out the Kase magnetic filters we use!
- Camera cleaning kit: remove dust or water that WILL get on your lens. NOTE: this is not for cleaning the sensor.
- Memory cards: purchase name brand memory cards since you’re trusting your images to the card! → We use Lexar and Sandisk!
- External hard drive: copy photos to a portable external hard drive ‘just in case’.
- Headlamp: use when taking sunrise and sunset photos!
Camera Gear at B&H Photo
PERSPECTIVE PHOTO IDEAS
Take a look at the perspective photo ideas shared by members of our Facebook Group, Your Photography Journey.
WATCH the video as we discuss how perspective is used in each image.
WHAT IS PERSPECTIVE IN PHOTOGRAPHY?
Perspective can be described as the spatial relationships between objects in a photo.
To create the illusion of depth on a two-dimensional plane, photographers must pay careful attention to composition, dimensions, and the way objects interact with each other within the frame.
We do this by changing our position and angle to find the most compelling shot. This sounds more complicated than it actually is. The more you practice with camera angles and positions, the better your compositions will become.
Here’s an overview of the elements of perspective to help you transform a flat 2-D photo into a 3-D image with interest and impact.

ELEMENTS OF PERSPECTIVE IN PHOTOGRAPHY
Change your angle or your position, and you’ll ultimately change your perspective. Perspective changes how you, and the person looking at your photos, view the scene you’ve captured.
Here are some elements you can experiment with to change the perspective of your photo.
Perspective of Elevation
The perspective of elevation can be applied in a few different ways.
Normally, we take pictures from a standing position. We are used to seeing the world, and photographic images, from this standing perspective.
Using a change of perspective, like getting higher or lower than the viewer is accustomed to, will create impact and interest.
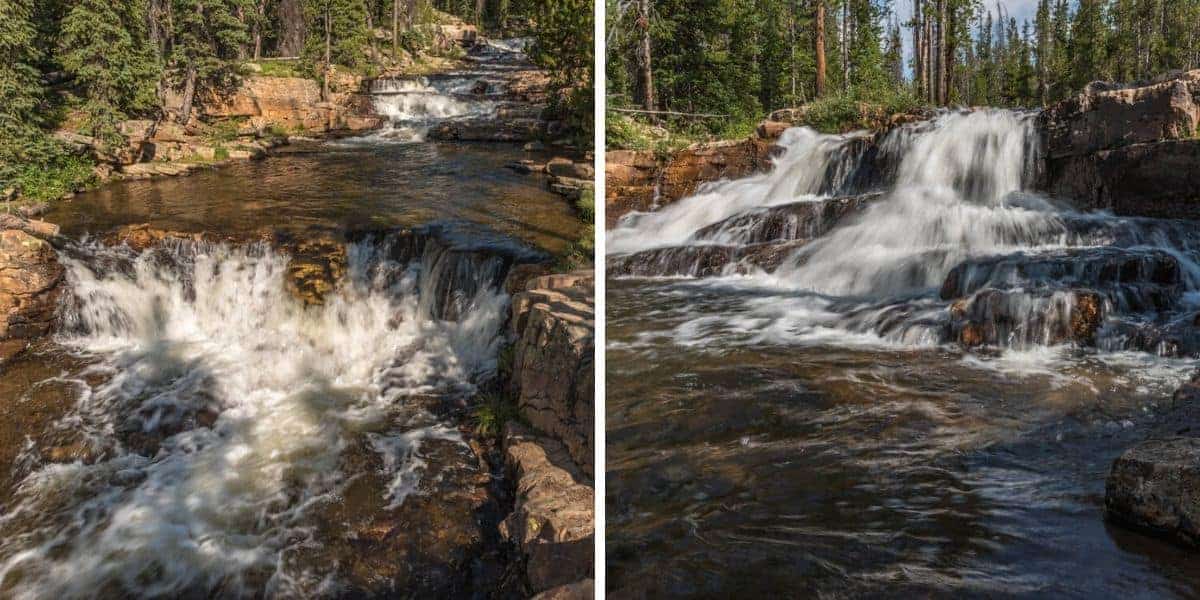
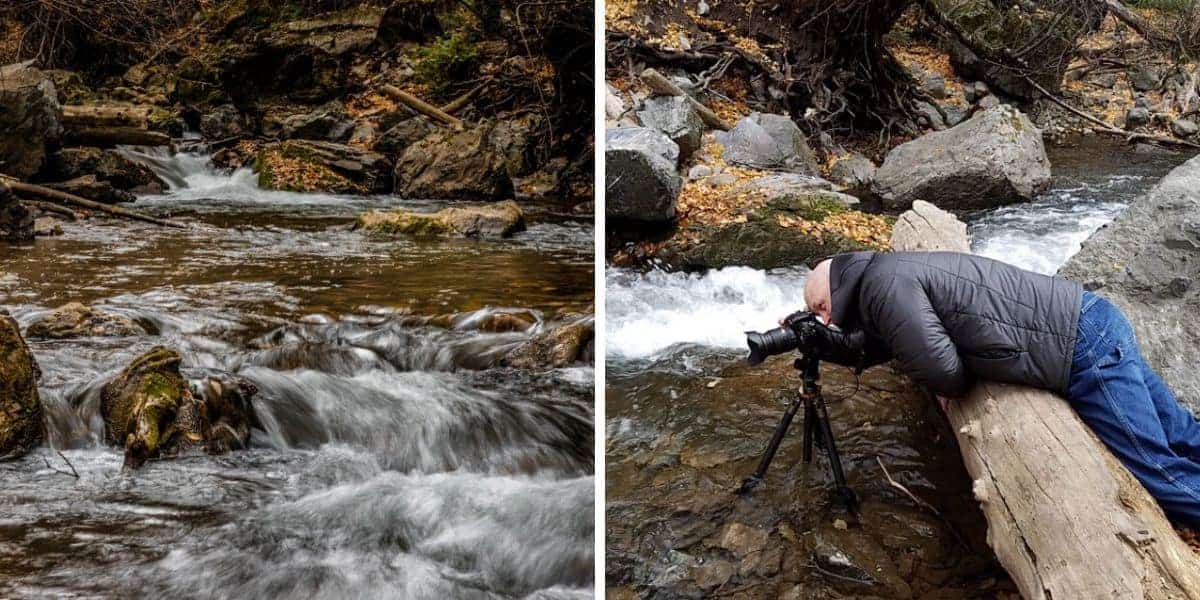
In the example above, there are two views of the river and falls. One was taken from the trail above, and the other was looking up river toward the waterfall.
A change of elevation showcases a different view of the scene in each photo.
Tips for a Low Perspective:
Drop your tripod low so that you are at eye level with a subject like flowers, insects, or a pet.
If you don’t have a tripod, try lying on your belly or kneeling for a worm’s eye view of your environment.
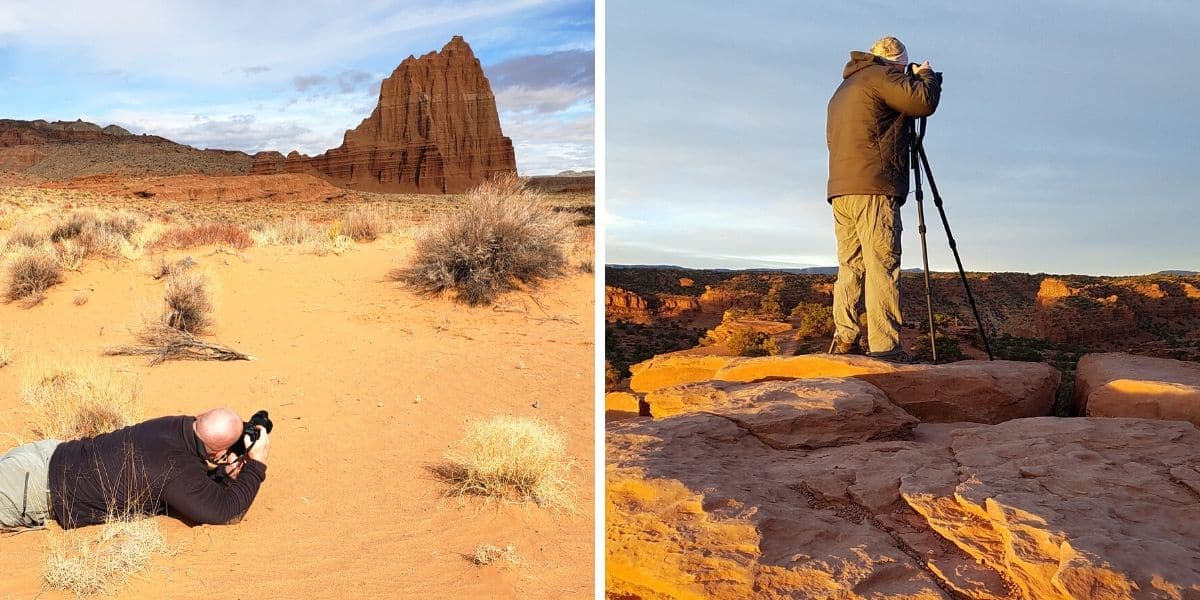
Tips for a High Perspective
To shoot higher than standing level, you can simply raise your camera above your head and compose your shot through your LCD screen.
On location you can look for steps, rocks or other ways to help you get a higher elevation to change the perspective.
As you become more comfortable with shooting from different elevations, you will notice that images captured at higher and lower than standing level create more impact and visual interest.
Camera Perspective
Camera perspective simply refers to adjustments you make to your camera.
You can stay in the same location and tilt the camera up or down or move it right or left. Or you can move the camera itself to the right or left in order to change the perspective of the scene you are shooting.
Even if you are shooting at standing level, changing the camera angle to adjust the view of the scene will totally change your image.
1. Move the Camera Perspective Right or Left
Swivel the camera to the right or left on the tripod to capture different angles of the subject or scene.
Or you can simply walk to the right or left of the subject to see a different angle to photograph.
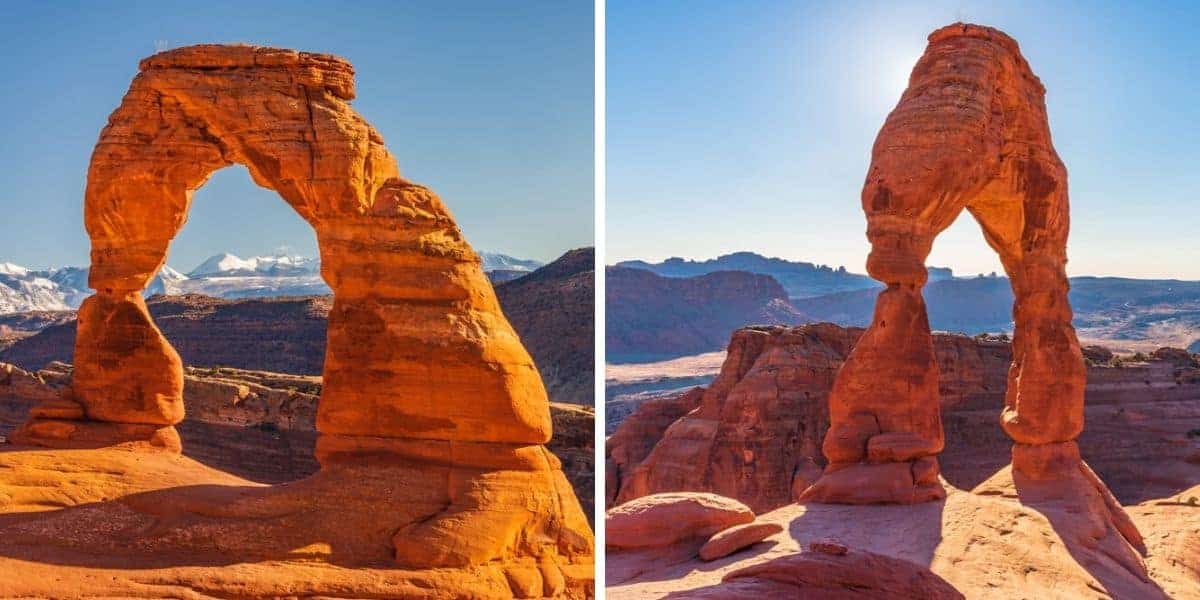
Do you see the difference in camera perspective with the waterfall images above?
Sometimes moving your body to a different location and changing your angle of approach will alter your entire view and feel of the shot.
Take your time to find all of the different angles, even if it means moving just 10 steps in one direction or another.
2. Move the Camera Perspective Up or Down
From a standing position, you can change perspective by tilting the camera up or down.
For example, if you tilt the camera up to capture only the tops of trees against the sky, that’s not an image that’s seen often. It creates interest for the viewer.
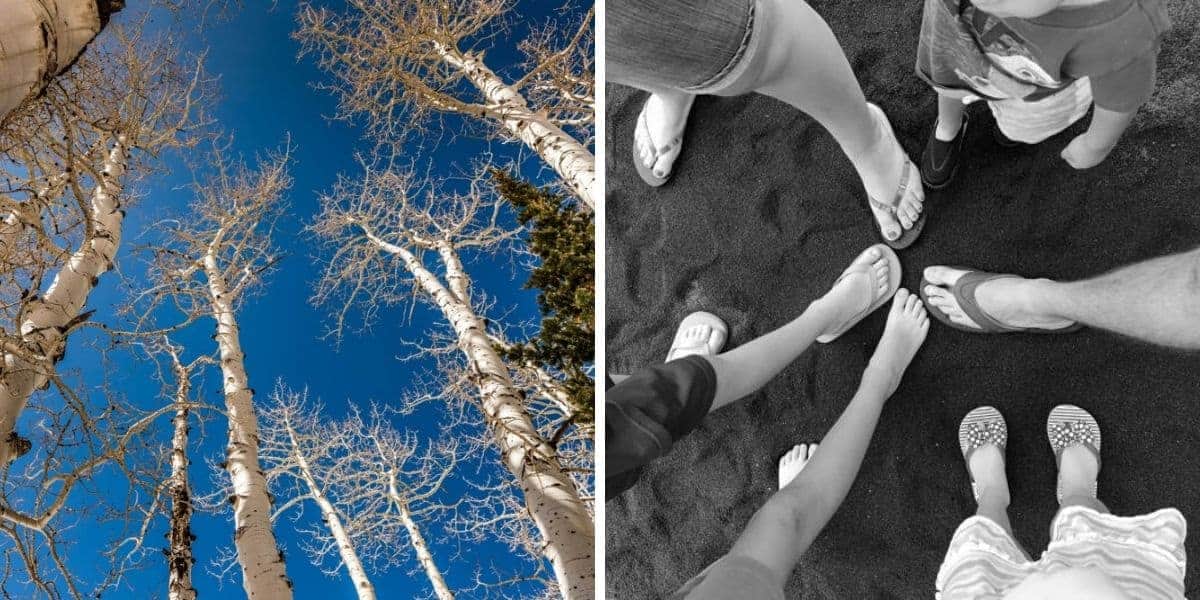
The same applies to tilting the camera down to find a unique perspective.
Be sure to look at all the possibilities around you capture the scene, and remember to look up and look down to find a different perspective.
3. Unique Camera Perspective Ideas
When you’re out shooting and trying to decide on your camera angle, don’t forget to think outside the box.
Is there a unique way to be part of the scene?
For example, don’t be afraid to get “in” the river like the example below.
Or angle the camera to get a tilted perspective of the subject as we did with the image below of the Space Needle in Seattle.
And don’t forget to change the orientation of your camera.
Taking a picture of a subject horizontally then turning the camera to take a vertical image will result in a different perspective.
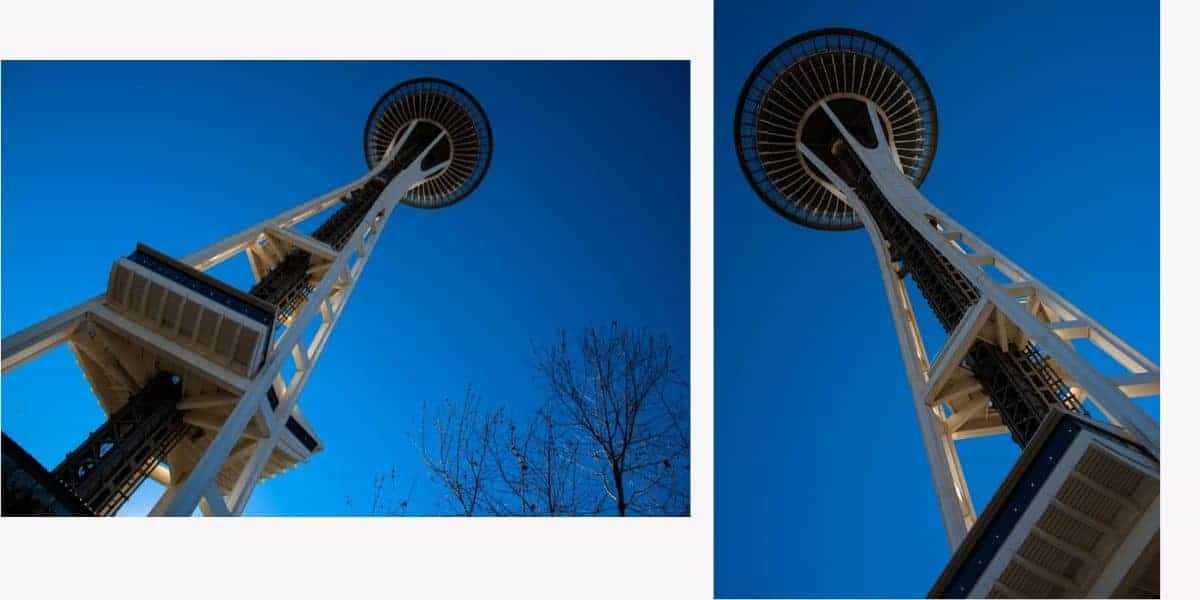
You can change perspective by changing image orientation from horizontal to vertical.
Crop Perspective
Crop perspective refers to how close you are to your main subject.
Get closer to a scene, either with your feet or a zoom lens, and you will dramatically change the perspective of your image.
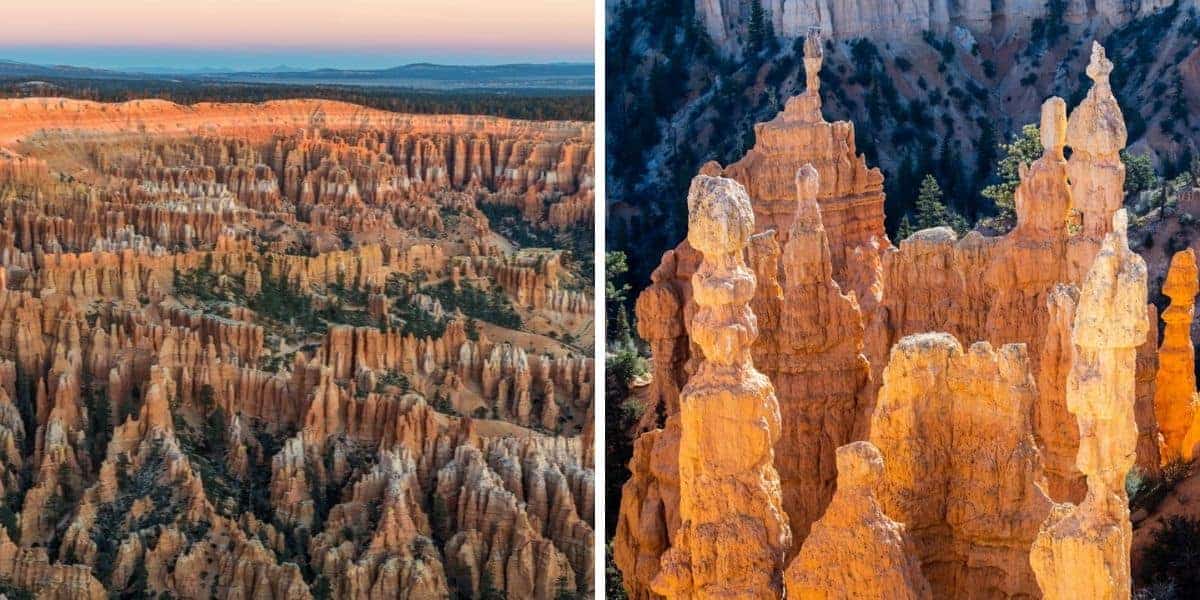
For example, in the Bryce Canyon photos above, when we fill the frame with hoodos, it creates drama and interest.
Both images capture a beautiful scene, in a different way, with a different perspective.
Next time you’re out with your camera, remember to use perspective to your advantage.
By switching the height and angle of your camera, you can easily add impact to your photos, taking them from flat and boring to dramatic and dimensional.