Sunset Photography Tips to Capture Amazing Images
Here are a few sunset photography tips to capture amazing photos before, during and after the sun sets.
One of the best ways to improve your photography is by understanding and using basic photography techniques. Use the tips below for taking sunset photos to inspire you to get out and capture your own pictures!
This site contains affiliate links which means WE may receive commissions for purchases made through these links. We only provide links to products we actually use and/or wholeheartedly recommend! As an Amazon Associate, we earn from qualifying purchases. Read the full Disclosure Policy.
Camera Gear for Landscape Photography
- Tripod: take a look at these compact and lightweight travel tripods!
- Camera Bag: protect your camera from sand and water → We use Lowepro camera backpacks for outdoor photography.
- Neutral density filter: to compensate for variance of light you’ll need to use a neutral density filter. → Check out the Kase magnetic filters we use!
- Camera cleaning kit: remove dust or water that WILL get on your lens. NOTE: this is not for cleaning the sensor.
- Memory cards: purchase name brand memory cards since you’re trusting your images to the card! → We use Lexar and Sandisk!
- External hard drive: copy photos to a portable external hard drive ‘just in case’.
- Headlamp: use when taking sunrise and sunset photos!
Take a look at these sunset photo ideas shared by members of our Facebook Group, Your Photography Journey.
SUNSET PHOTOGRAPHY TIPS
Find the Right Location
Sunset happens quickly and the light is constantly changing. You must scout the location and determine composition before you show up to take photos.
You’re looking for locations that have good compositional elements to provide interest for the viewer.
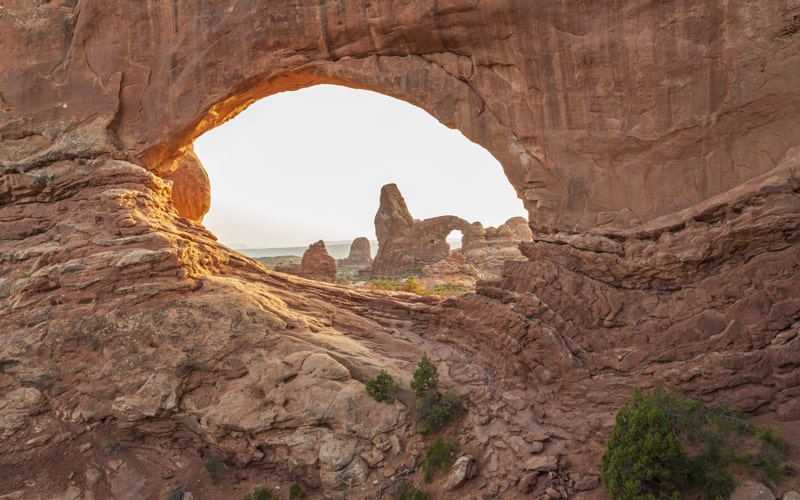
You can also look for compositions that will have both a front-lit scene and a backlit scene. They don’t have to be in the same spot, but should be close enough it only takes a few minutes to walk between them.
Track the Sun All the Way Down
The most popular type of sunset photo is to have a clear line of sight to the horizon where the sun will set.
Yes, you get to have the setting sun in your photos, but it also allows you to keep your camera focused on one location as the sunset progresses.
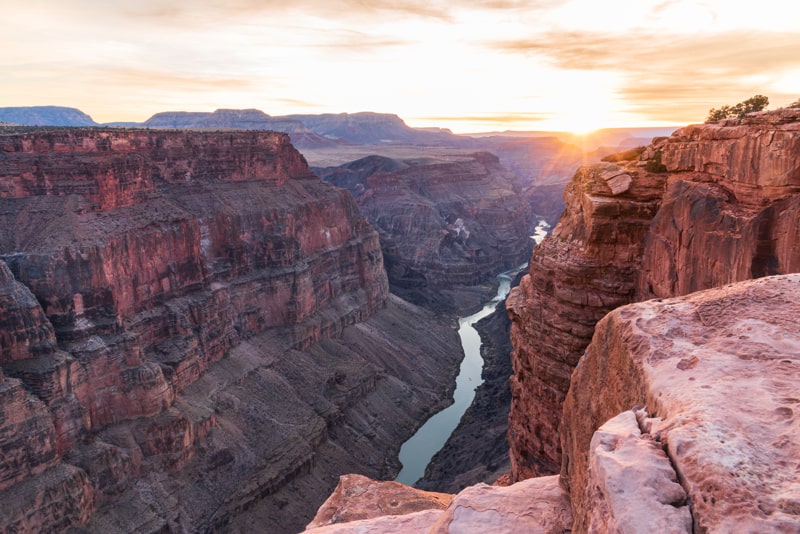
This makes it easy to only focus on adjusting your settings as the light changes, and not worrying about moving from one place to another.
We found a spot at the rim of the Grand Canyon where we could see the setting sun on the horizon. The spot also included the Colorado River that acts as a leading line toward the sun.
Track the Sun to a Point of Interest
Find an element that will provide interest to the photo, in addition to the setting sun. The Teton mountains are a stunning subject to photograph Grand Teton National Park.
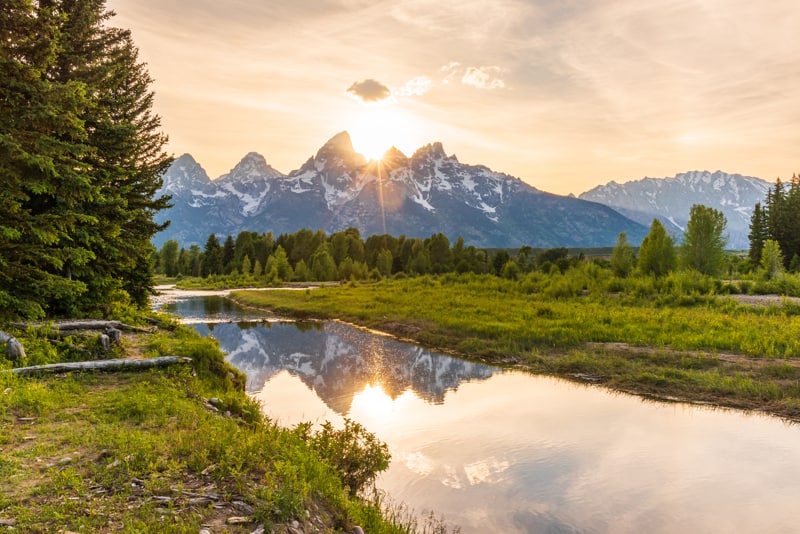
We found a location that would allow us to capture the setting sun as it began to dip behind the mountain peaks. And to have the reflection of the mountains in the river was an added bonus!
Include Interesting Elements in the Composition
A striking landscape photo, and this includes sunset photos, usually includes something out of the ordinary like clouds, fog or a reflection.
This photograph at Oxbow Bend at Grand Teton includes clouds and a reflection. The sun had already set, but the clouds illuminated with wonderful colors. And again, the scene reflected in the calm river adds even more interest.
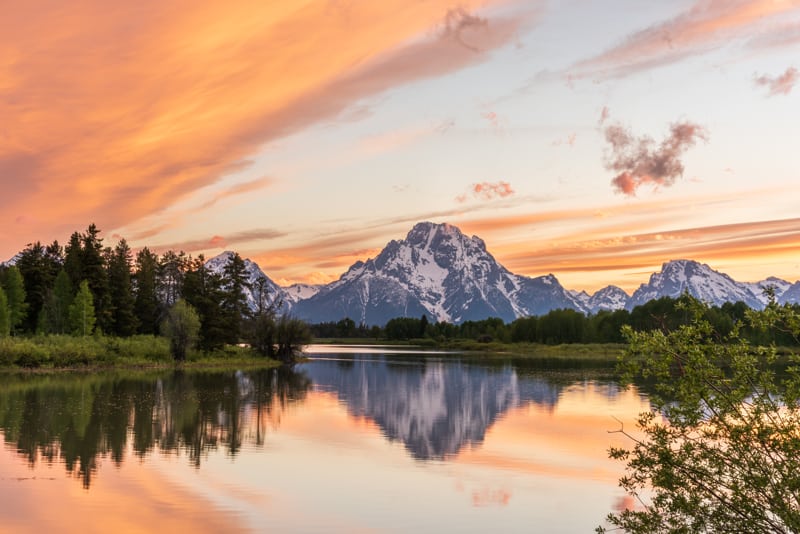
Natural elements are all around. Find that ‘something’ to help set your photo apart from the everyday landscape scene.
Capture the Reflected Light at Sunset
As you scout for good sunset locations, don’t limit yourself to only photograph toward the setting sun.
There are wonderful scenes and elements that glow with the reflected light as the sun sets.
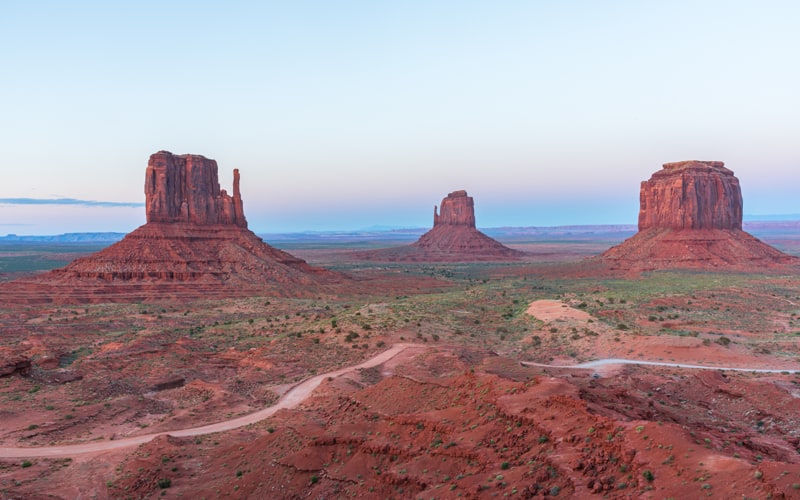
At Monument Valley, the golden hour light illuminates the buttes while the surrounding shadows help to make them stand out.
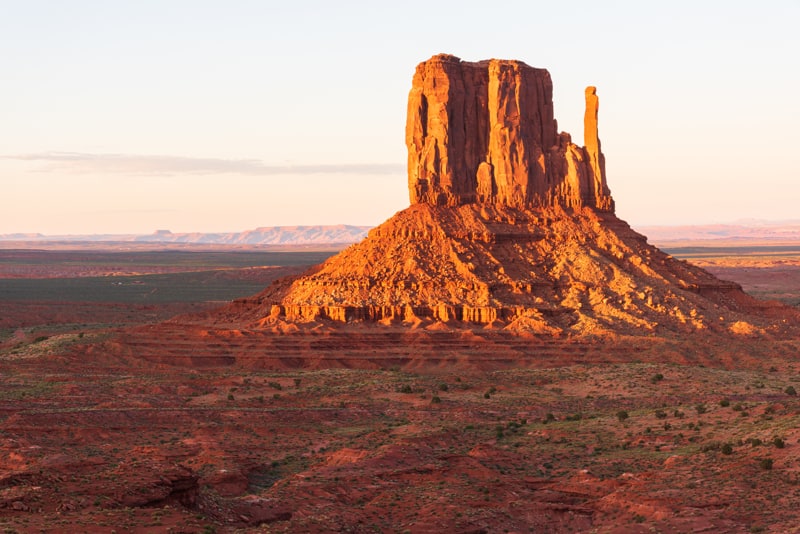
You may get tired of us showing photos with reflections in water, but it’s an element of composition that makes your photos pop!
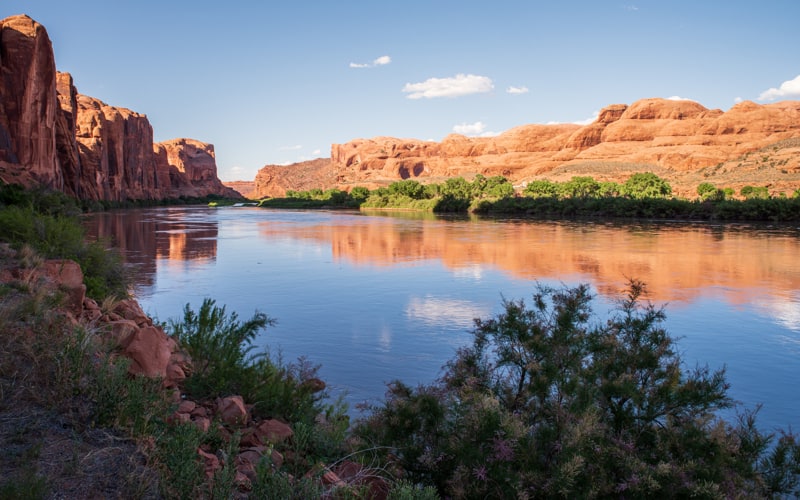
The soft light at sunset is casting a warm glow on the sandstone rocks at Moab, Utah. And look at how the reflection in the Colorado River provides impact and interest.
Use the Weather to Your Advantage
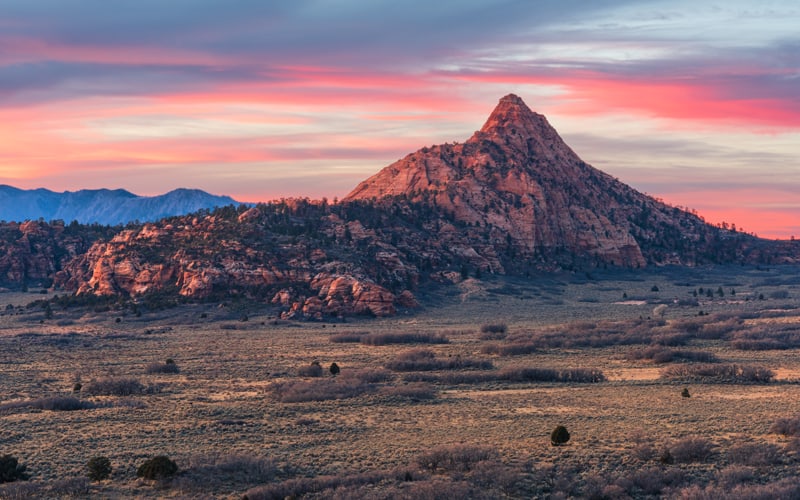
Clouds are one of those things that can instantly elevate your sunset photo. When the clouds capture the colors of the setting sun, you will get spectacular images.
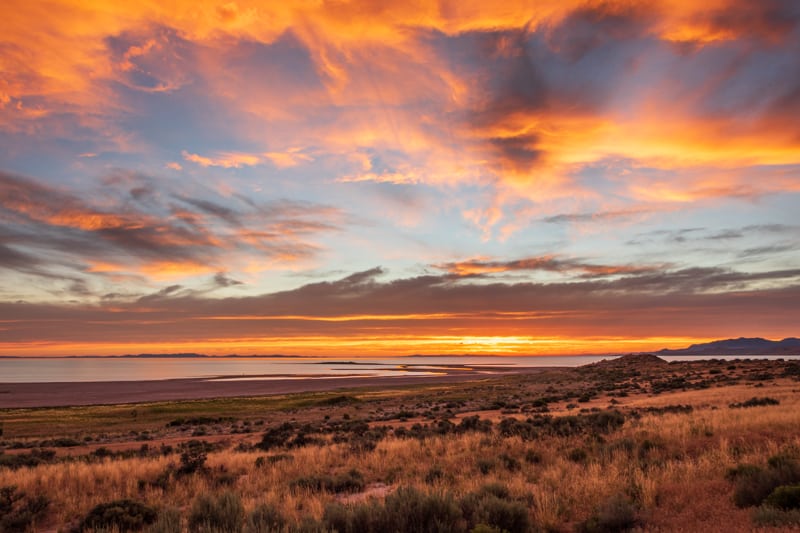
The more radiant colors appear when there are small, white, thin clouds very high in the sky. These types of clouds catch the sunlight from beneath and we can see the dramatic colors on the ground.
You’ll see perfect sunset clouds when the weather is hot and dry, like we found when visiting Zion National Park.
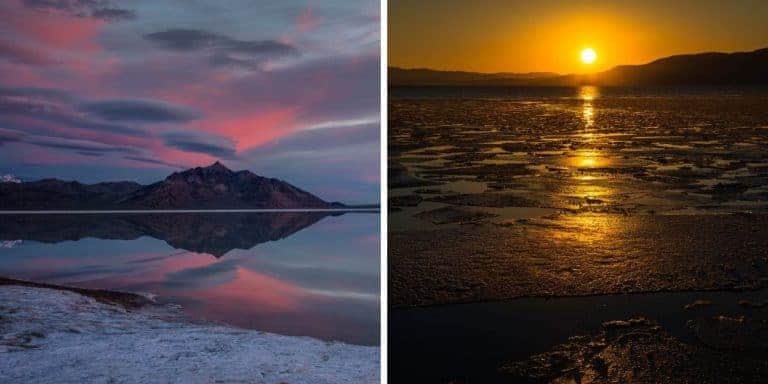
Did you know that when there is smoke or dust in the air, the color of the sun intensifies to orange or even red?
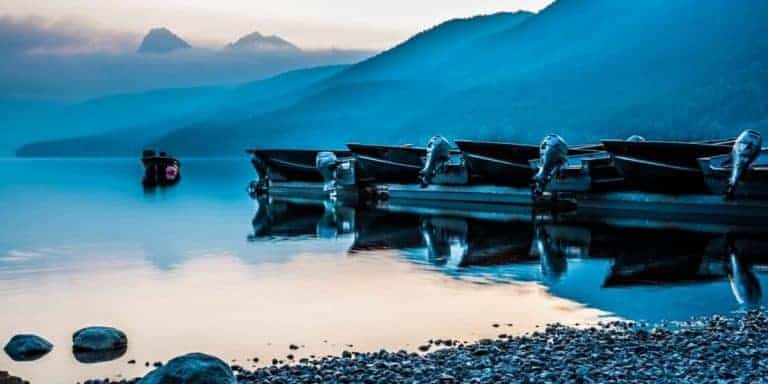
We discovered how beautiful the sun can be with smoke in the air when we visited Glacier National Park during the fall when there was a wildfire in the park.
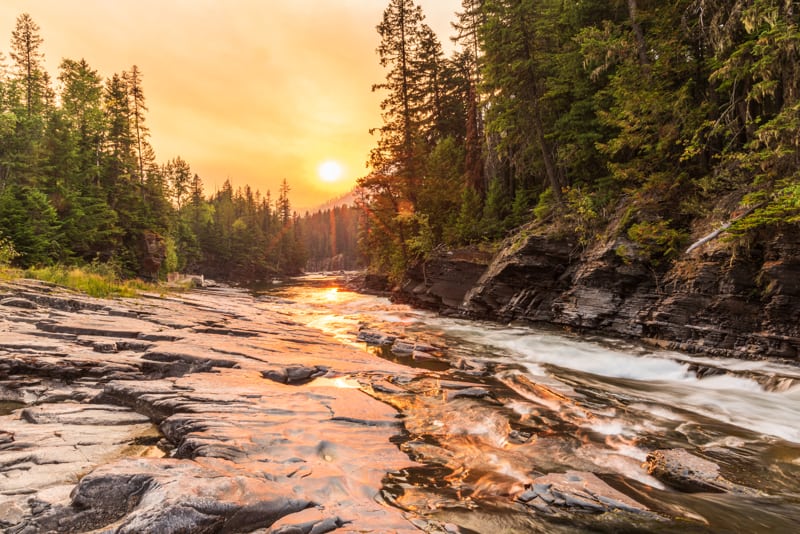
The trick is to find a scene that showcases the sun with elements to provide interest. When the conditions aren’t ideal, use them to your advantage.
The quality of the photograph has less to do with the situation, and more to do with how you react to it!
Look Behind You
There is one thing we hope our students learn from us: ALWAYS pay attention to the sky and landscape behind you.
Reflected light and color can create wonderful scenes away from the direction where the sun is setting.
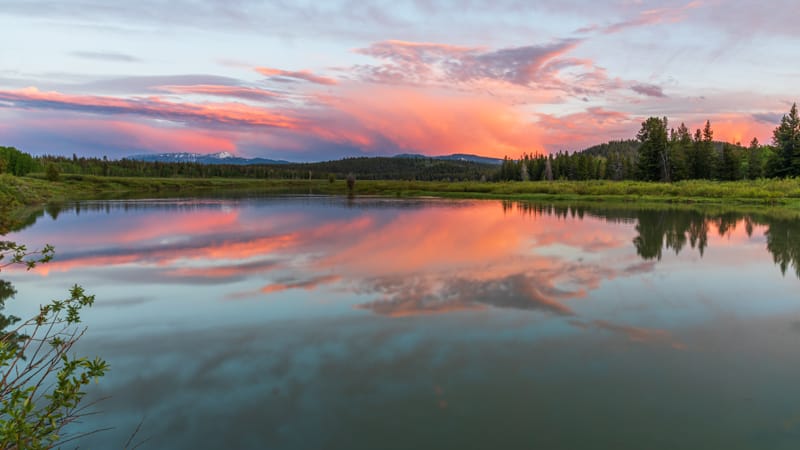
This was the dramatic sky at Oxbow Bend in Grand Teton National Park one evening. Most people were looking toward the mountains where the sun was going down, and they missed it!
Keep Taking Photos
The light is always changing as the sun drops toward the horizon. As the sun moves and sets, the colors you capture will change as well.
Golden Hour light produces orange, red and pink hues as seen in this photo at Monument Valley.
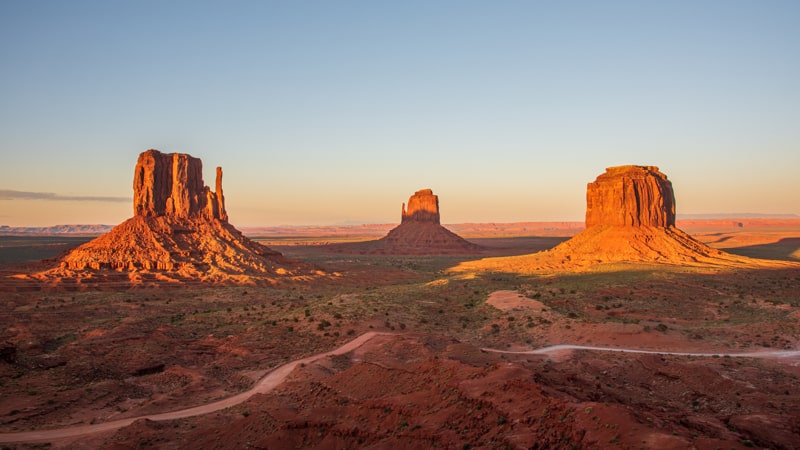
Notice the same scene taken a bit later during the Blue Hour. Photos taken at this time include more cool hues like blue and purple.
Don’t put your camera away after the sun drops below the horizon! There is variation of color in the sky that you can’t see. It’s so subtle to our eyes, but the camera will capture it.
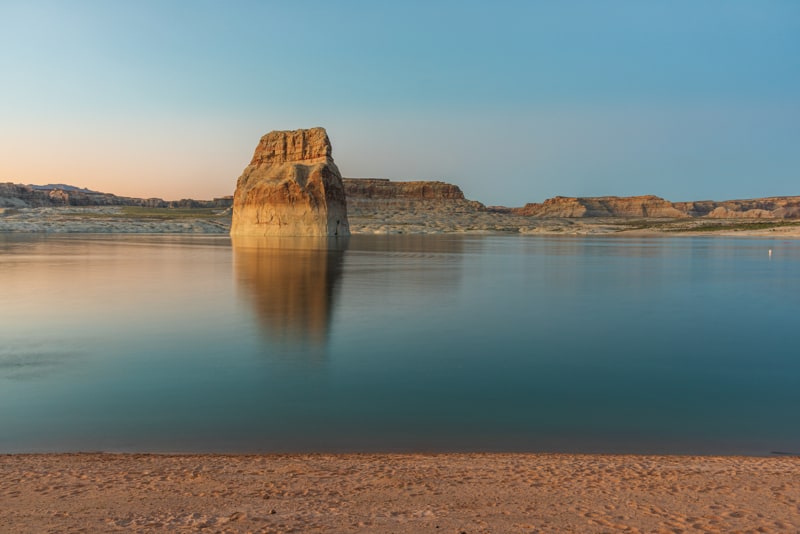
We rushed to this beach location at Lake Powell in Utah to photograph Lone Rock. It was pretty dim when we arrived, and I was skeptical we would get a good photo.
As you can see, the camera was able to capture the scene just fine. Dave did have to process this photo a bit in Lightroom, but not too much.
Your camera will need low-light capability to get good images. My smartphone photos turn out too grainy once the sun sets.
Check out these awesome SUNRISE AND SUNSET PRESETS at ETSY!




Great information. thank you so much.
First time out there and going on a sunset tour.
You recommend a ND filter? Which one?
We will be going first week in October. Excited but want to make sure I buy the right filters.
Thank you again for your help!
We use a Kase Wolverine 3 stop (.9) Graduated ND filter for sunrise and sunset landscapes. We prefer the Kase .9 because we have found that three stops provides the dynamic range adjustment we need in sunrise and sunset landscapes. There are lighter and darker filters available singly or in kits of three. The 2, 3, and 4 stop Graduated ND filters are best for this type of landscape photography. A key consideration in choosing a filter is obtaining one of good quality. There are a number of quality brands available such as Kase, Tiffen, Benro, Breakthrough or Lee depending on your budget. Please email info@photojeepers.com if you have any more questions. We’re happy to help you plan for your trip to Arches!