What Is ISO and How Does It Affect My Photos?
There are three pillars of photography – ISO, shutter speed and aperture. Each of these settings can dramatically affect the look of your images. What is ISO? The ISO settings you use control the brightness of your photos.
Understanding ISO is a basic photography concept you should understand if you want to take the best possible images. If you’ve ever wondered why some of your photos turn out grainy, while others are crisp and clear, the answer could be in your camera’s ISO setting.
ISO, alongside shutter speed and aperture, is one of the three pillars of photography that can dramatically impact the quality of your shots.
In the upcoming sections, we’ll demystify ISO, explaining what it is, how it works, and most importantly, how you can manipulate it to capture stunning, high-quality photos. So grab your camera and let’s dive in!
Be sure to grab your free copy of our Photography Checklists by clicking the image below. You’ll get a packing list, settings list, and composition tips list that includes the top basic photography techniques to capture amazing photos!

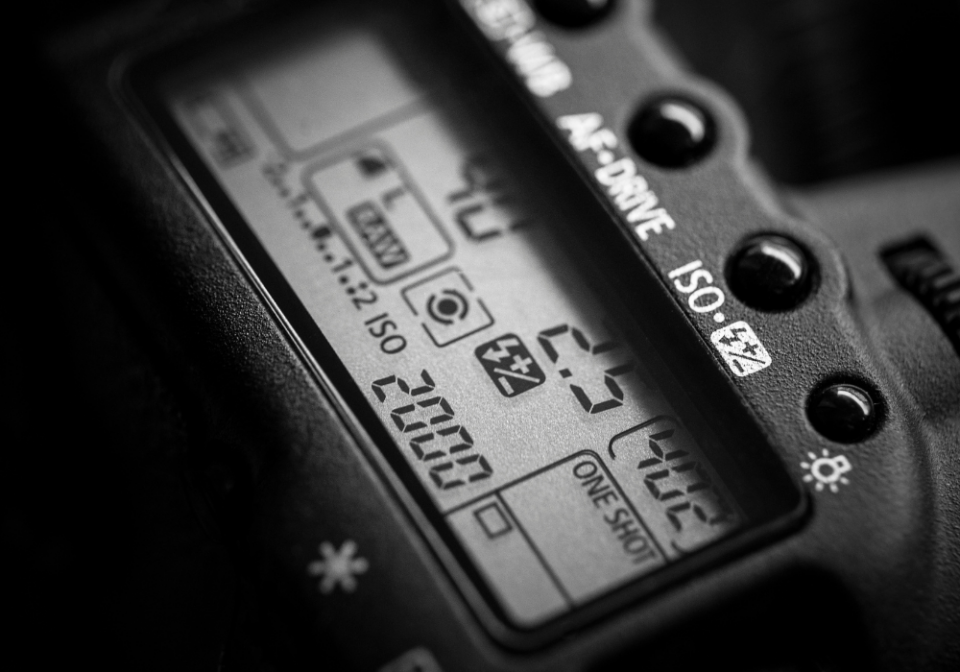
What is ISO?
ISO stands for International Standards Organization and is a measure of your camera’s sensitivity to light. The higher the ISO, the more sensitive to light it will be and vice versa.
In digital photography, you can usually adjust your ISO from 100-6400, though some cameras may support even higher settings. When adjusting the ISO on their camera, photographers need to consider two main things: lighting and noise.
How Do ISO Camera Settings Affect My Photos?
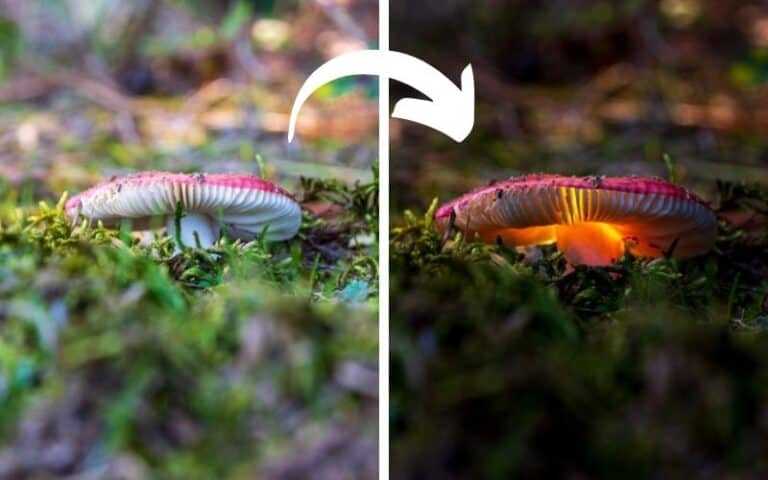
In low light situations, a higher ISO can help you capture the shots that might otherwise be too dark. However, increasing your ISO also increases image noise, which is the grainy texture that appears in certain photos.
So if you’re shooting in bright daylight or another situation with plenty of natural light, it’s best to keep your ISO as low as possible to ensure the highest image quality.
Now let’s delve a bit deeper into the topic of ISO.
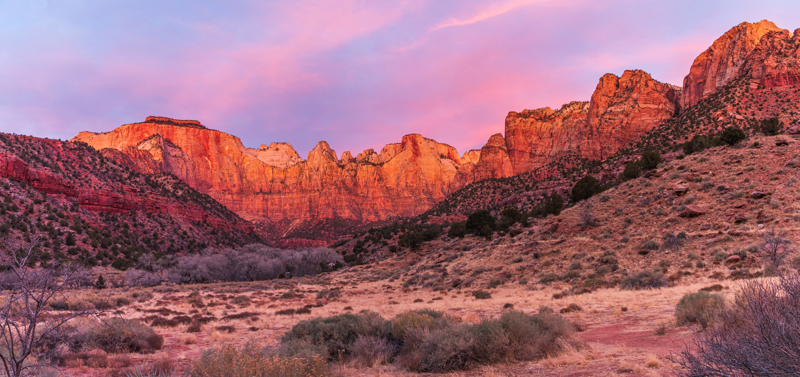
ISO Settings For Low Light Conditions
Now that you understand how ISO affects your photos, let’s look at when and how to adjust it in different situations.
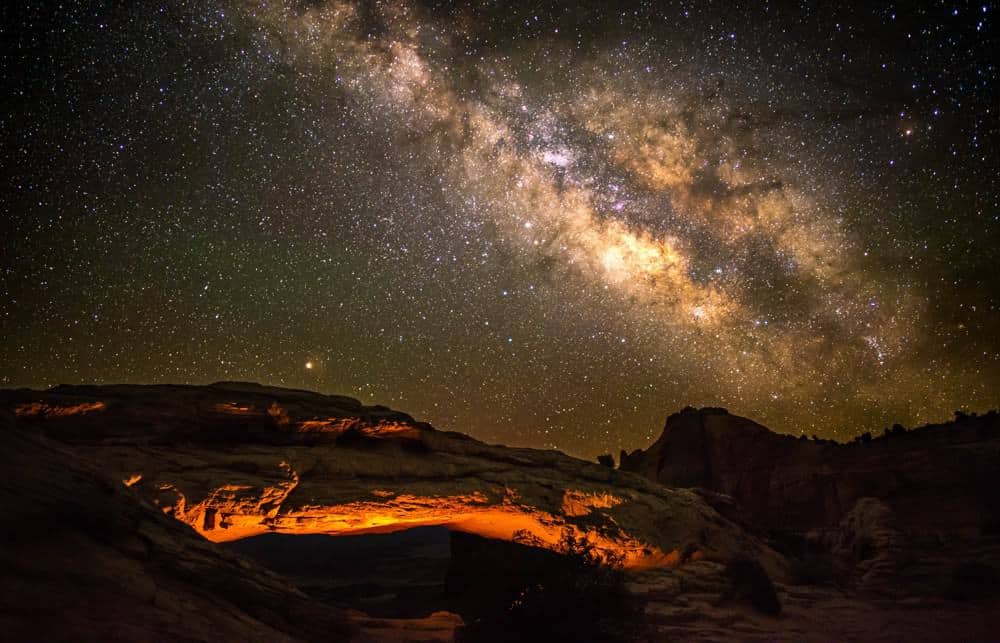
When shooting in low light conditions, like blue hour around sunrise and sunset, increasing your ISO can allow you to capture shots without having to use a flash or other artificial lighting sources.
However, if the light is too dim, you may have to compromise on image quality. In this case, raising your ISO will allow you to take the shot but make sure to keep it as low as possible to minimize the grain in your photos.
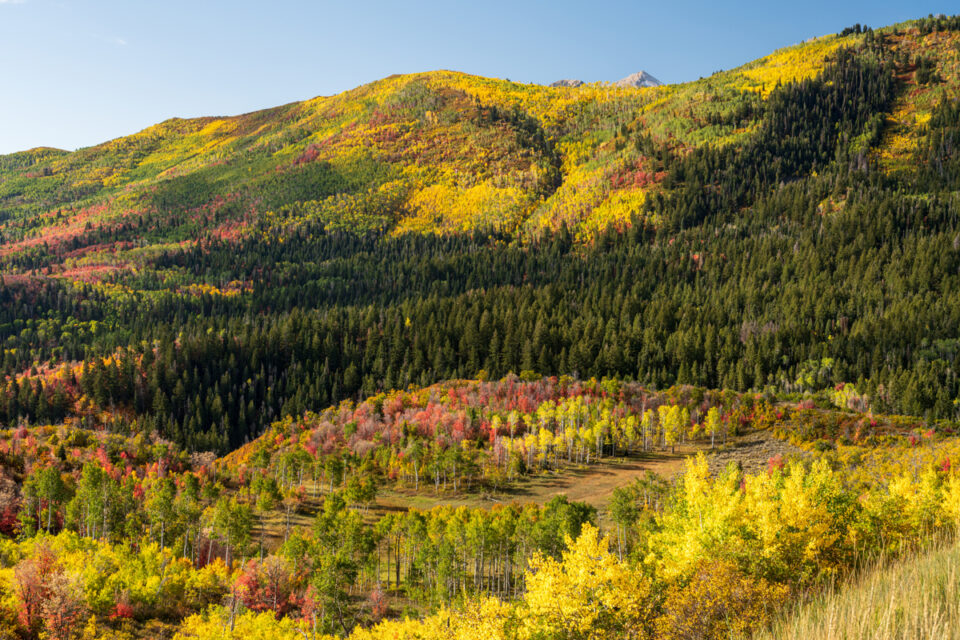
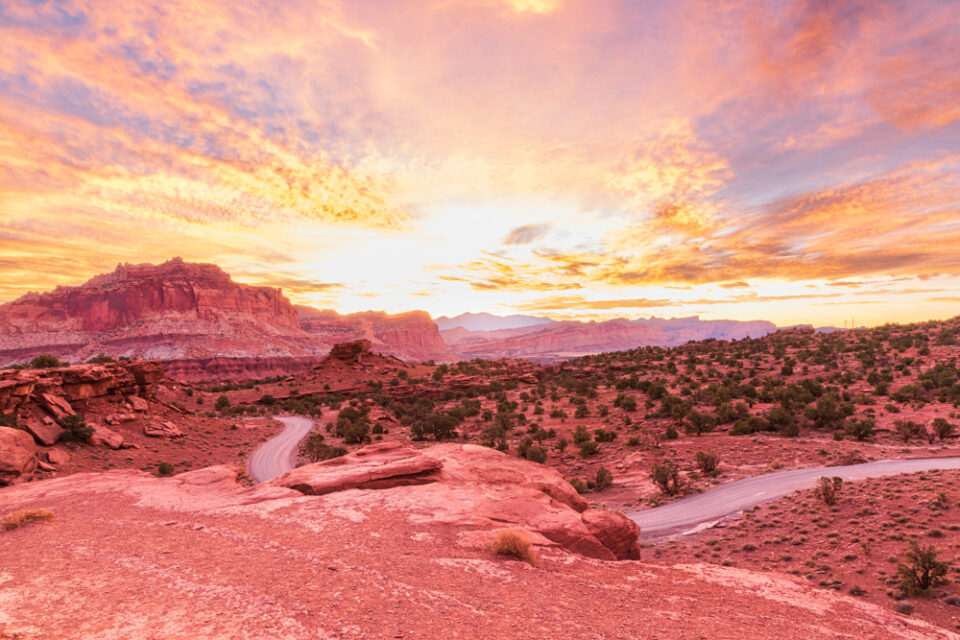
ISO Settings For Bright Light Conditions
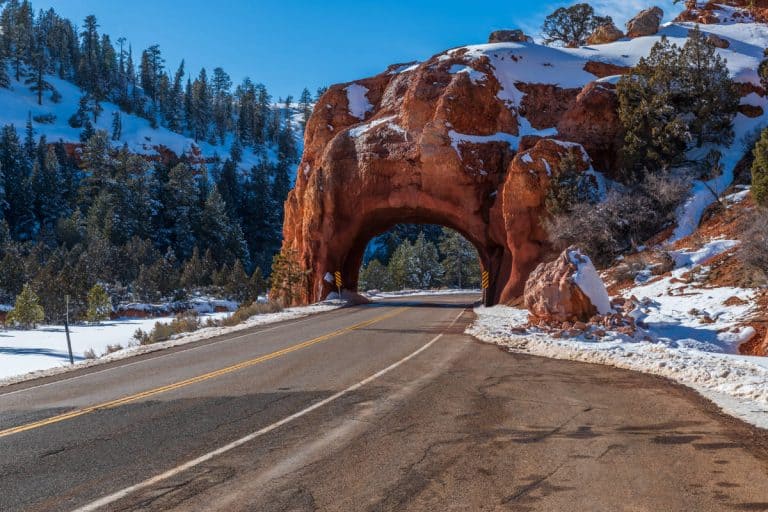
When shooting in bright daylight or another situation with plenty of natural light, keeping your ISO as low as possible is recommended for high-quality images.
However, if you need to capture a fast-moving object or increased depth of field, increasing your ISO can help you achieve this.
Keep in mind that the image noise will depend on how high you set your ISO.
ISO Settings and Noise
As mentioned above, when adjusting the ISO on their camera, photographers need to take both light and noise into consideration.
Do keep in mind that different cameras have different levels of noise; the more expensive models tend to produce less noise at higher ISOs.
All camera manufacturers also provide helpful guides and tutorials for their specific products, so it’s always a good idea to consult these resources when adjusting your ISO settings.
The noise from higher ISO settings can be corrected to a certain point in Lightroom during post processing. But at some point the images can become so filled with noise as to be unusable.
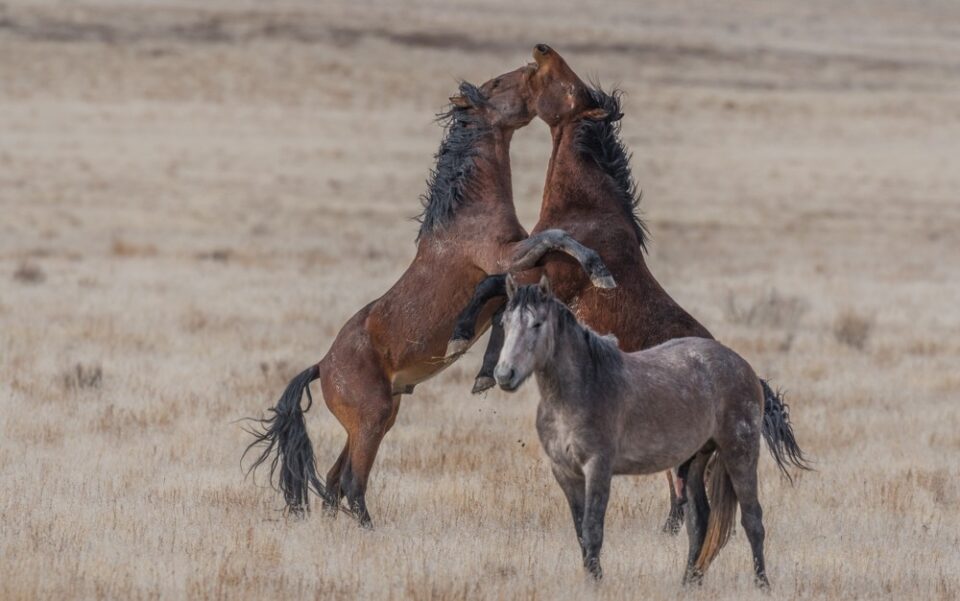
ISO and Wildlife
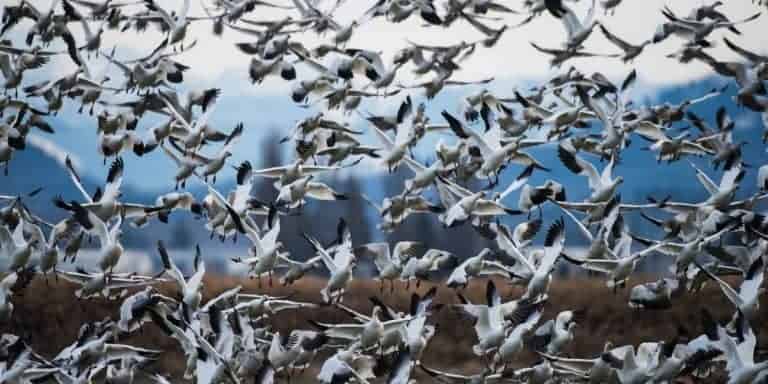
We use higher ISO settings to improve my shutter speed for wildlife shots. The best images of wildlife are often captured in lower light making freezing motion difficult.
As a general starting point, set the camera on aperture mode and adjust ISO until you have the shutter speed you want for the image you’re shooting.
To compensate for the lack of light and capture movement without blur, we tend to use a very high ISO. It is a balancing act to find the best camera settings that will maintain image quality.
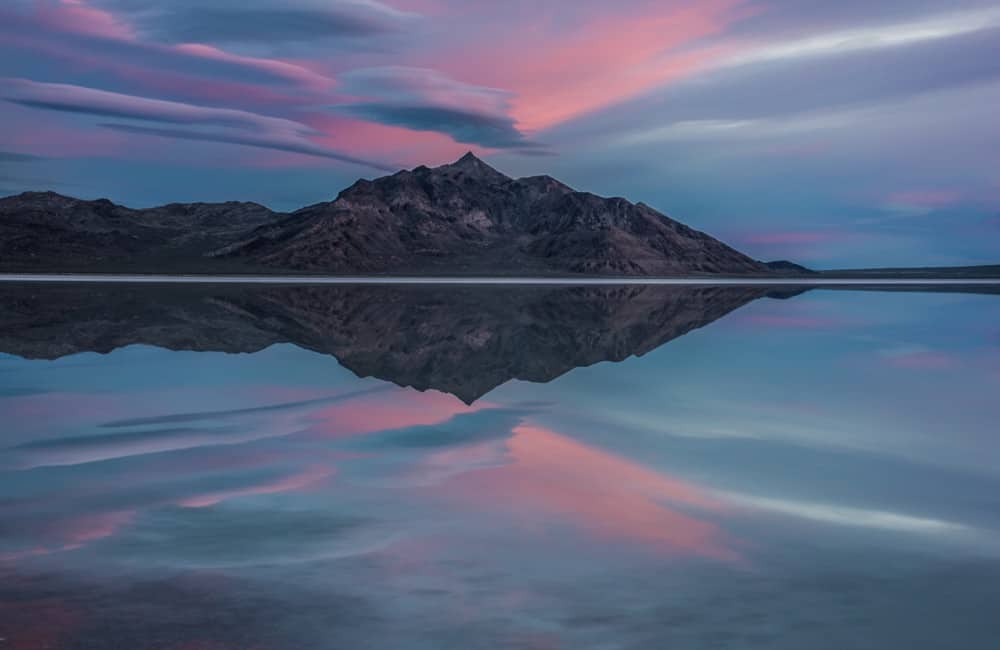
We personally do not enjoy a lot of noise in our images so we strive to keep the ISO settings as low as possible. Low light shots will always be grainy, but sometimes that’s part of the appeal.
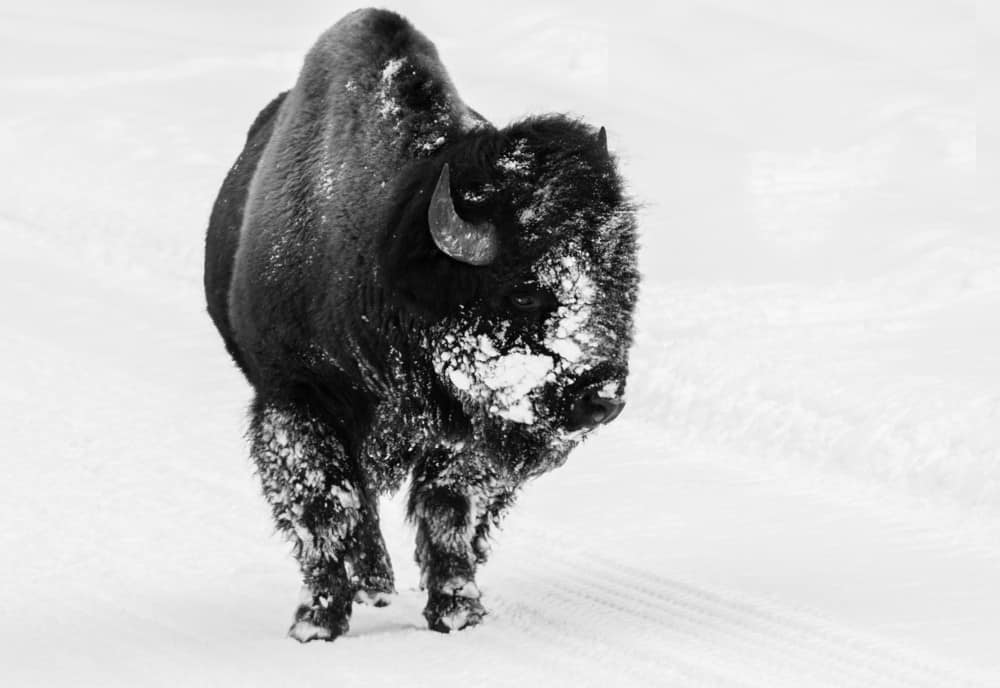
One of our preferences for processing low light shots is black and white. We think the black and white image is accented by the noise levels produced by higher ISO settings.
In processing low light or night images this way the ISO noise provides an appealing gritty texture.
Use a Tripod for Low ISO Settings
A tripod is essential to steady your camera and reduce shake. When you are taking photos in low light situations, you don’t want to add additional noise.
If you hand hold the camera in low light, it’s likely the shot will be blurry. Shaking equals blurring.
With a tripod, the shutter can stay open as long as needed. As long the camera remains still, the picture won’t be blurry.
LIGHTWEIGHT TRAVEL TRIPODS | TRIPODS FOR HEAVY LENSES
Practice ISO Settings
Now that you know how ISO works and how to manipulate it, you can start experimenting with your settings! As the saying goes, “practice makes perfect,” so don’t be afraid to start experimenting and testing out different settings.
With a little bit of practice and experimentation, you can quickly master the art of adjusting the ISO to capture stunning images!
In learning photography over the years we’ve been given a lot of advice regarding ISO settings and much of it has conflicted.
The end result is that with practice, we have a general idea where we want OUR ISO settings to be in the vast majority of photographic circumstances we face.
Not everyone will agree with settings that we use, but hey, we’re the ones shooting the shot and we’re the ones that have to live with it!
The most important instrument is the person behind the camera who creates the images. Be confident in your abilities and have fun!
Camera Gear for Landscape Photography
- Tripod: take a look at these compact and lightweight travel tripods!
- Camera Bag: protect your camera from sand and water → We use Lowepro camera backpacks for outdoor photography.
- Neutral density filter: to compensate for variance of light you’ll need to use a neutral density filter. → Check out the Kase magnetic filters we use!
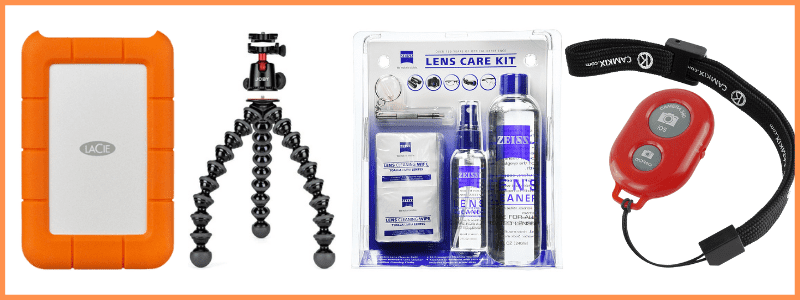
- Camera cleaning kit: remove dust or water that WILL get on your lens. NOTE: this is not for cleaning the sensor.
- Memory cards: purchase name brand memory cards since you’re trusting your images to the card! → We use Lexar and Sandisk!
- External hard drive: copy photos to a portable external hard drive ‘just in case’.
- Headlamp: use when taking sunrise and sunset photos!
Camera Gear at B&H Photo