Using the Rule of Thirds to Take Better Landscape Photos
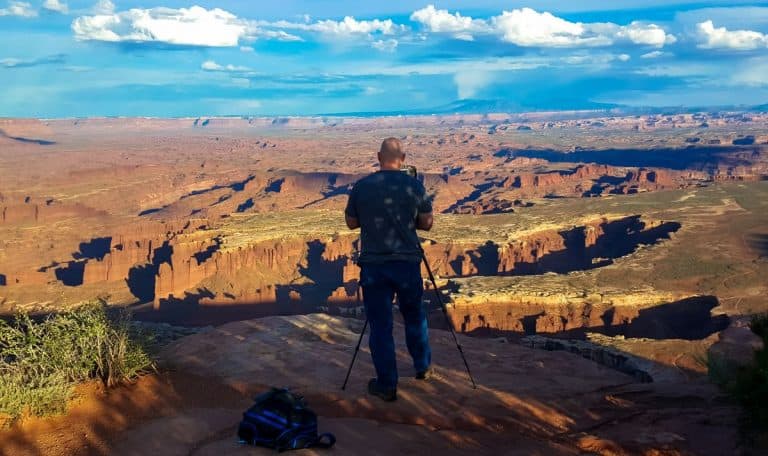
Add depth and interest to your composition by using the rule of thirds for landscape photography. It’s a basic photography technique that involves positioning important elements in your photo along imaginary grid lines that divide your scene into thirds, both horizontally and vertically.
The rule of thirds is an elemental composition principle used in all types of photography, from landscapes and wildlife shots, to street photography and portraits.
Like all good composition rules, this one is not set in stone, but it’s a great starting point for most compositions, and it is one of the easiest ways to take your photos from dull to dazzling.
With practice, this technique will become second nature and you’ll see a noticeable improvement in the overall impact of your images.
Be sure to grab your free copy of our Photography Checklists by clicking the image below. You’ll get a packing list, settings list, and composition tips list that includes the top basic photography techniques to capture amazing photos!

This site contains affiliate links which means WE may receive commissions for purchases made through these links. We only provide links to products we actually use and/or wholeheartedly recommend! As an Amazon Associate, we earn from qualifying purchases. Read the full Disclosure Policy.
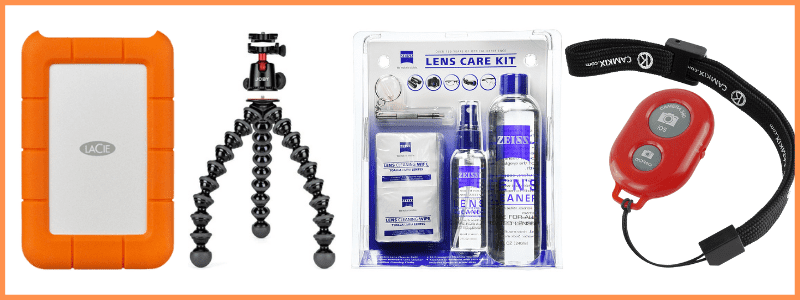
Camera Gear for Landscape Photography
- Tripod: take a look at these compact and lightweight travel tripods!
- Camera Bag: protect your camera from sand and water → We use Lowepro camera backpacks for outdoor photography.
- Neutral density filter: to compensate for variance of light you’ll need to use a neutral density filter. → Check out the Kase magnetic filters we use!
- Camera cleaning kit: remove dust or water that WILL get on your lens. NOTE: this is not for cleaning the sensor.
- Memory cards: purchase name brand memory cards since you’re trusting your images to the card! → We use Lexar and Sandisk!
- External hard drive: copy photos to a portable external hard drive ‘just in case’.
- Headlamp: use when taking sunrise and sunset photos!
Camera Gear at B&H Photo

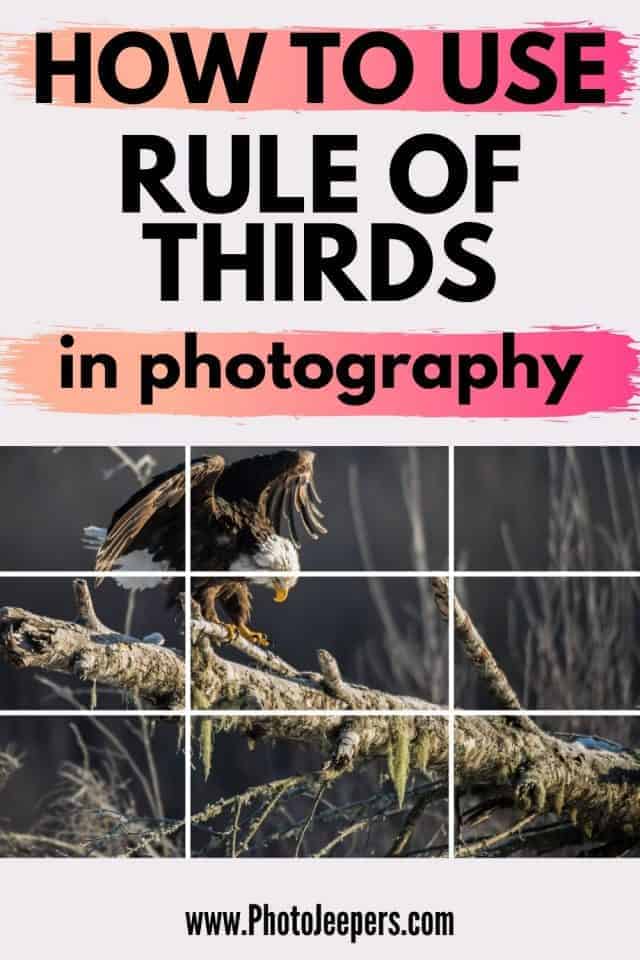
What is Rule of Thirds?
The Rule of Thirds definition is basically taking a photo and dividing into thirds with two imaginary lines vertically and two lines horizontally, similar to a tic-tac-toe board.
You’ll end up with three columns, three rows, and nine sections that are all equally sized. This is called the Rule of Thirds grid.
The rule of thirds grid should be applied to any photograph you take, whether horizontally or vertically composed.
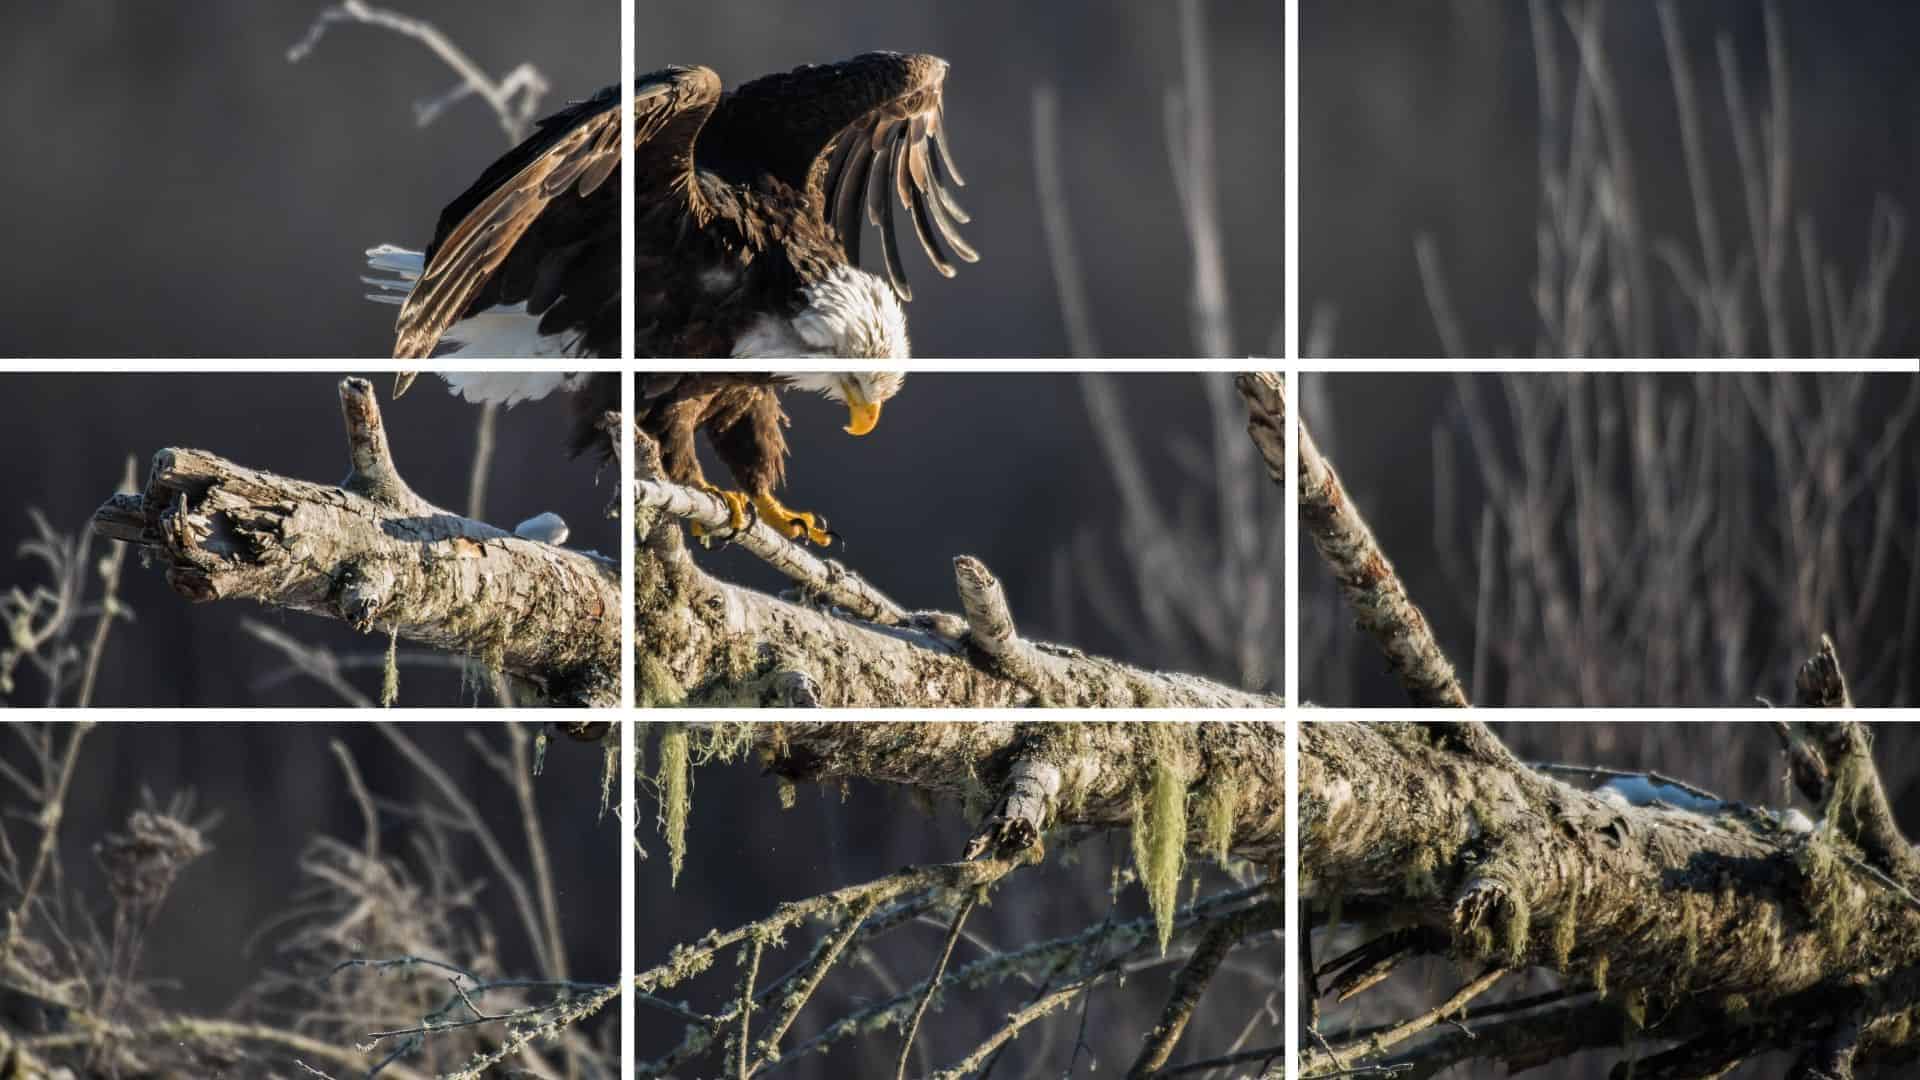 Rule of thirds grid to place the eagle in the upper left corner of the photo.
Using the Rule of Thirds in Photography
When framing your photo, mentally divide up your image into thirds using two vertical lines and two horizontal lines as shown above. The rule of thirds grid will become a guideline for helping you place important elements a bit off-center in your photo, creating balance while keeping the viewer’s eye moving through the photo in a pleasing way.
Exactly where you position the elements in your photo will depend on many factors, including your subject matter and the story you are trying to tell. The best way to create a pleasing composition is to experiment with different placements until you find something you’re happy with.
There are no hard, fast rules to this, and the more you practice using the rule of thirds, the better your compositions will be.
 Use the rule of thirds grid on your camera.
Using a Rule of Thirds Grid on Your Camera
Some cameras have a built-in setting that will allow you to overlay a rule of thirds grid on top of your scene when you’re shooting. This is great for beginners, and takes some of the guesswork out of creating a good composition.
Here’s how to use the rule of thirds grid with a few popular camera brands. If your camera isn’t listed here, check your manual, which will be able to tell you if your camera has the viewfinder grid option.
iPhone Rule of Thirds Grid
If you are shooting with an iPhone, you can easily display the rule of thirds grid when taking photos. Simply go to your phone’s Settings>Camera>Grid, and toggle it to the on position. Now whenever you take a photo with your iPhone, you will have the grid in place, ready to go.
Nikon Framing Grid
Many Nikon models give you the ability to add a rule of thirds grid to your viewfinder. To turn on this feature, Press your menu button and navigate to the Custom Setting Menu. Go to Shooting/display>Viewfinder grid display to turn it on. The grid only appears in your viewfinder, not over your LCD screen.
Canon Framing Grid
Not all Canon models have the viewfinder grid display option, but it is becoming more common. To turn on the grid display, press the menu button, then the “Q” button. Navigate to the small wrench icon on the top of the screen. Now navigate through the menu numbers until you find the Viewfinder display option. Select Grid display>Set>Show>Set. This will turn on your grid display over your viewfinder.
Sony Rule of Thirds Grid
Newer Sony camera models have the viewfinder grid option as well. To turn it on, press the menu button and use the control wheel to scroll to the very first tab in the custom settings menu. Highlight and select Grid Line, which will bring you to a submenu. Highlight and select Rule of 3rds Grid.
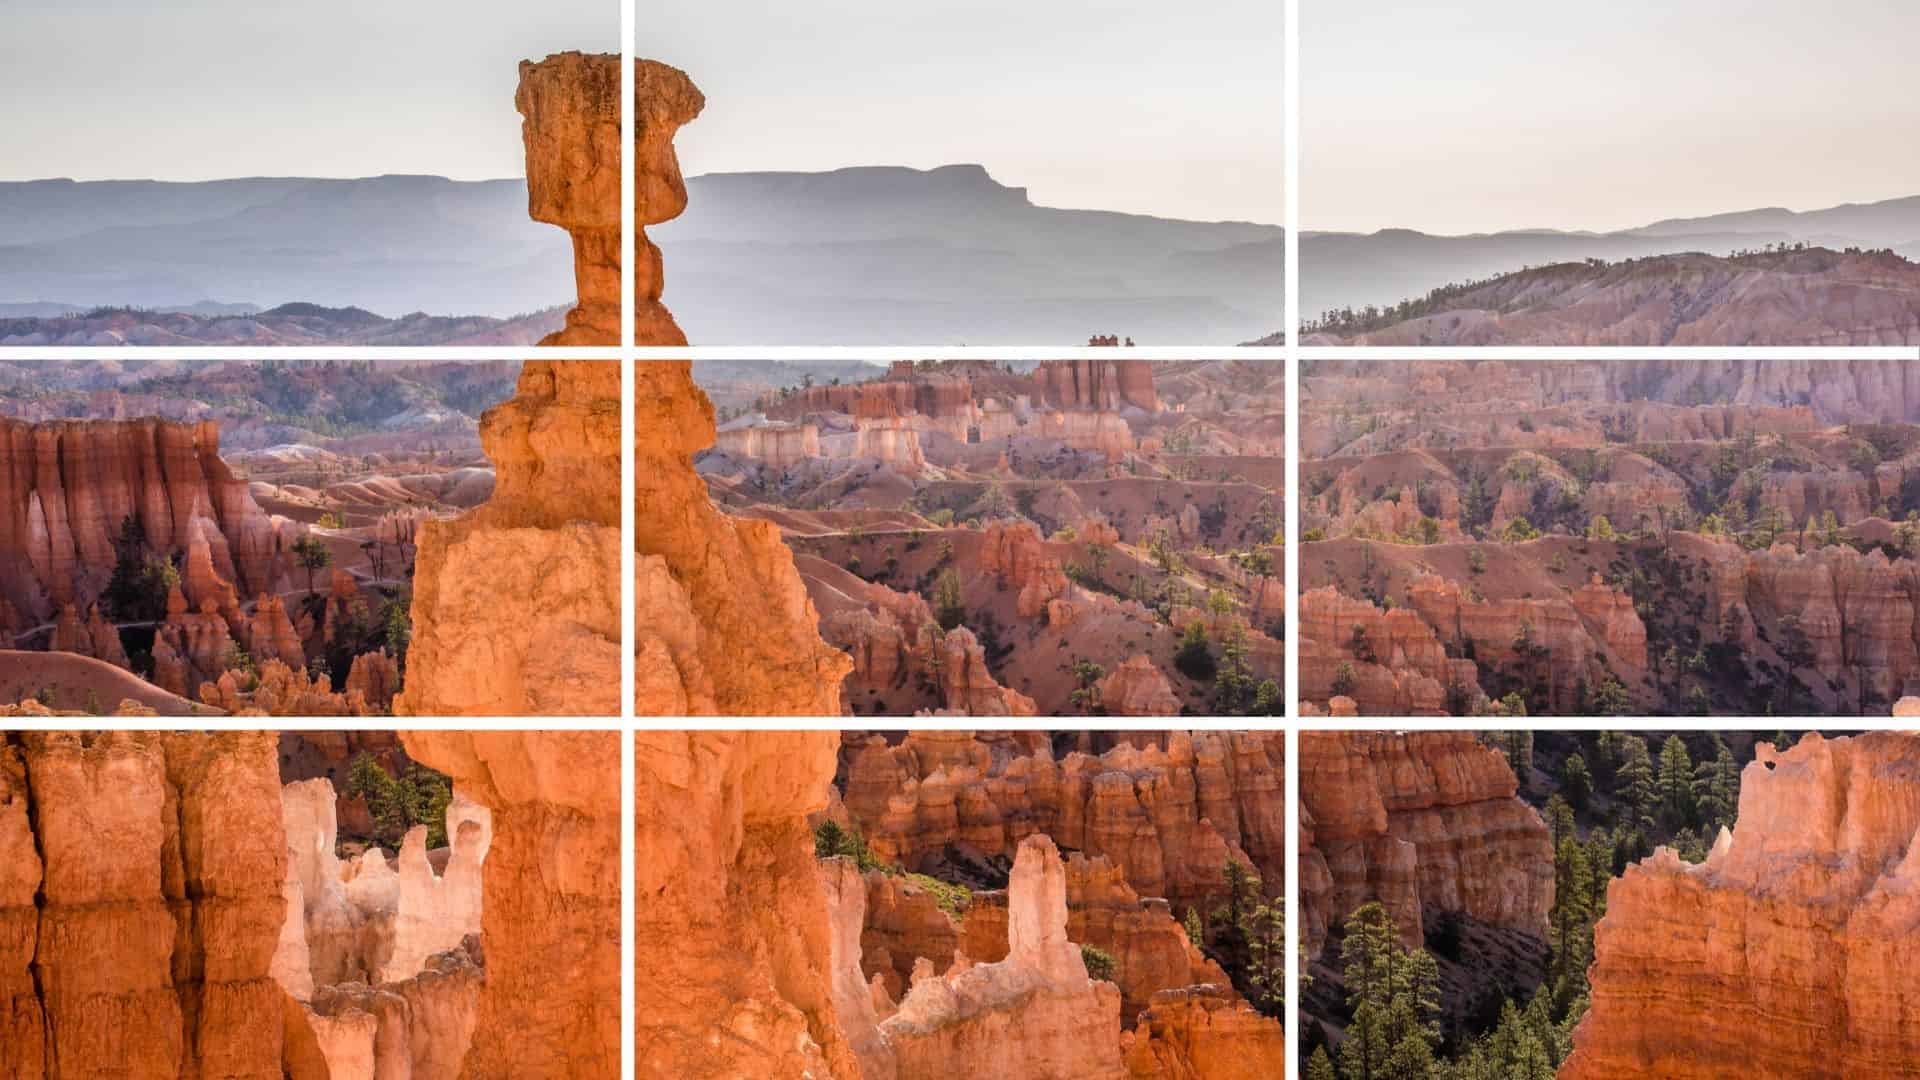
 The points of interest are placed in the upper right and right sections of the grid.
Question to Ask When Composing a Photo Using Rule of Thirds
The rule of thirds can be utilized in many different ways. Much of your composition will depend on your individual style and shooting preferences, as well as what you are trying to capture. Before composing your shot, ask yourself the following questions.
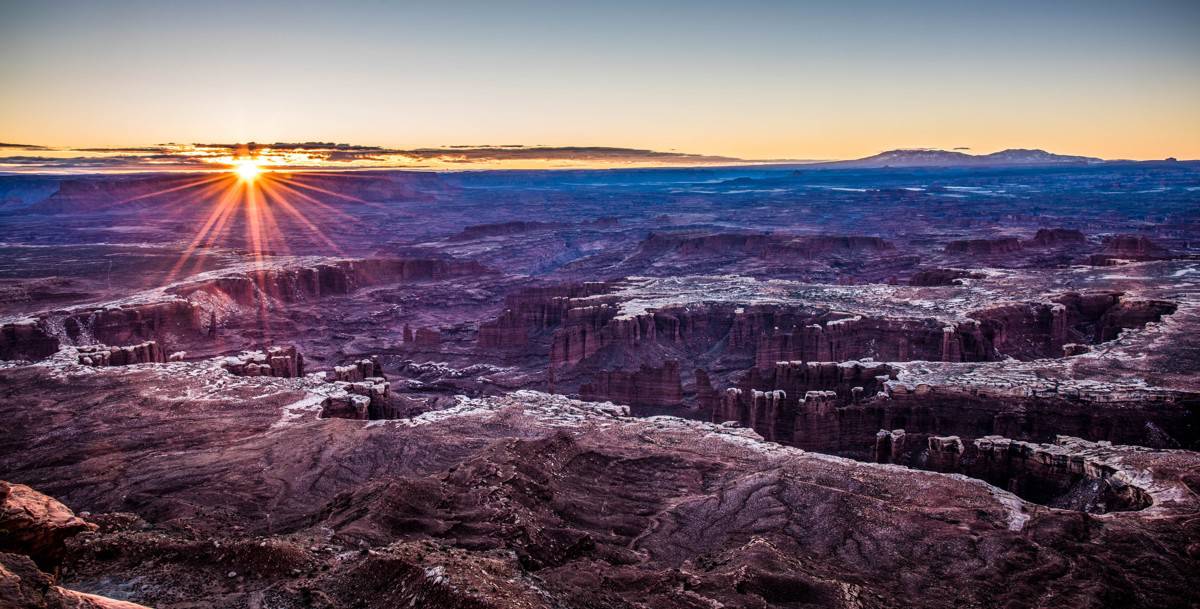
What are the Points of Interest I’m Trying to Capture?
Identify the elements in your scene that will add interest to your photo. If you are photographing a landscape, you may identify a mountain range, the setting sun, and a lonely tree. All of these elements can be combined to create an interesting composition.
Now, you simply have to find the right vantage point to create an interesting scene using the rule of thirds. The overall scene will dictate where you place the elements along the grid lines, and as you frame and shoot a few shots, you may want to experiment with different placements.
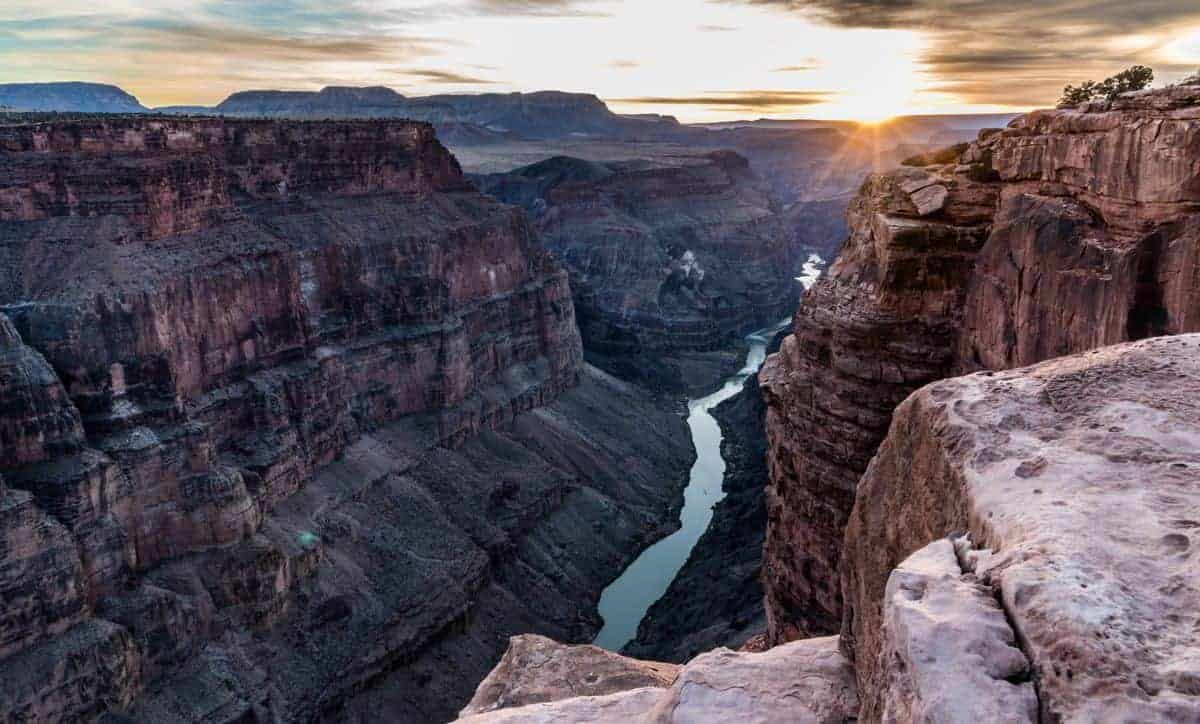
In the scene above, there are many interesting elements that work together to create a compelling image. The sun to the right of center is setting directly over the river, which diagonally bisects the scene. The walls of the canyon give the image depth and keep your eye moving throughout the photo.
 Use rule of thirds to tell a story.
What Story am I Trying to Tell?
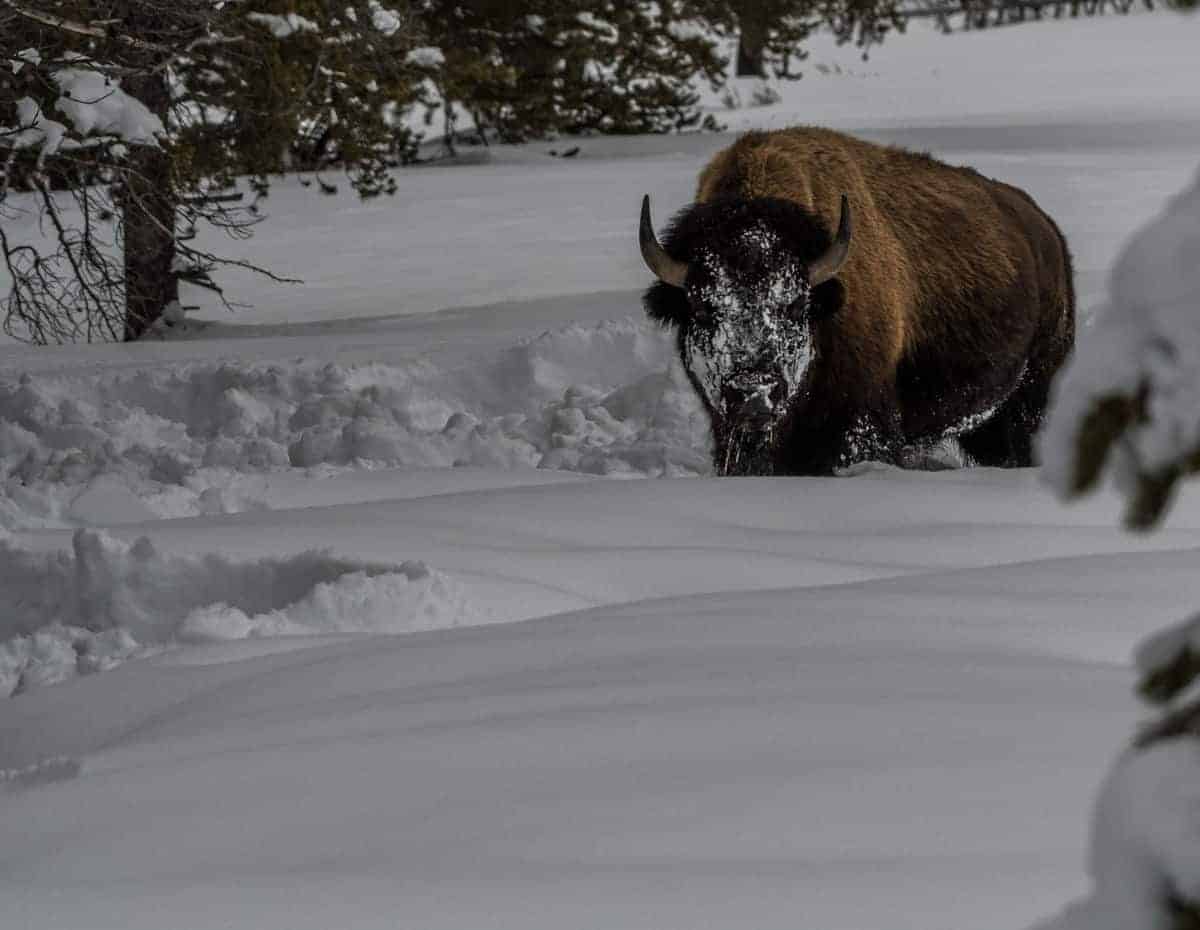
Every photograph has a story to tell, and it’s up to you to find the story you want to tell and capture it for your viewers. The scene above depicts a bison in Yellowstone National park. He is placed to the right of center so that we can clearly see that he has been pushing up snow to forage underneath.
His snow-encrusted face and beard gives us further clues about what he’s been up to. If we had positioned the bison to the left of center, we would not have been able to adequately tell the bison’s story.
 Use negative space for the subject’s eyes to move through the photo.
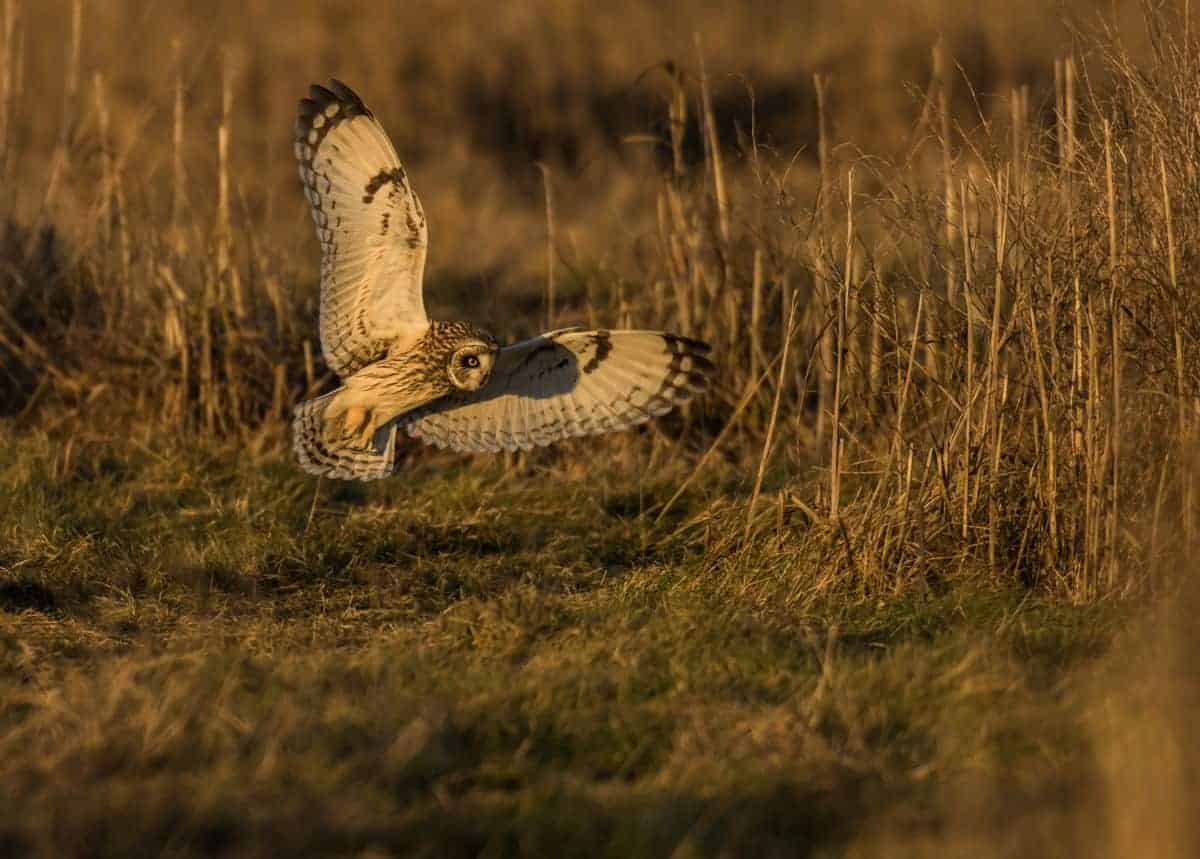
Where is My Subject Looking?
When shooting wildlife and people, it’s important to leave space so that the viewer can imagine the subject moving through the scene toward whatever they’re looking at.
This goes along with using your image to tell a compelling story. If you don’t leave enough space in front of your subject’s eyes, you create tension in your photo and leave the viewer feeling unsettled.
In the photo above, you definitely get the feeling that the still image was captured in the middle of an important moment. The owl is on the verge of capturing dinner. The added space in front of the subject’s eyes allows us to feel like we are part of the story.
 Use negative space and rule of thirds to create a beautiful composition.
How Can I Creatively Take Advantage of Negative Space?
Negative space is the “empty” areas that surround the main elements in your photo. Positive and negative space can work together to create a beautiful composition. Using lots of negative space surrounding your subject will add drama to your scene, and will help lead the viewer’s eye to the main elements of the photo.
Negative space does not have to be completely empty space. While vast expanses of sky, grass, or water can certainly create negative space, so can a busy street scene. The secret is to position the subject in such a way that it is complimented by the negative space and not overshadowed by it.
Is the Composition Pleasing to the Eye?
You don’t have to get bogged down with following all the rules to create a beautiful image. Sometimes you will choose a composition simply because it looks good, and that is perfectly okay.
The more you practice and experiment with your composition, the more likely that you will develop a unique style of your own.
 Emphasize the foreground with a high horizon line.
Practical Tips for Using the Rule of Thirds
As with any element in photography, getting out and practicing with your camera is the best way to learn and grow. If you get stuck on your composition while using the rule of thirds, consider these practical tips.
Position your horizon line on one of the horizontal grid lines – Putting your horizon line in the center of your photo is like cutting your image in half. You can create interest by positioning it in the top or bottom third of your photo.
Pay attention to your subject’s eyes – If you are using the rule of thirds for portrait photography, consider zooming in on your subject and using the rule of thirds grid to place the subject’s eyes on one of the intersecting points in your rule of thirds grid.
Align vertical elements along grid lines – When shooting subjects with strong vertical elements, place them on the vertical grid lines on either side of your photo. This is especially useful when shooting buildings, people, or flowers.
 Sometimes the shot just looks better with the subject centered.
When to Break the Rule of Thirds
All rules are meant to be broken at one time or another, and the rule of thirds is no exception. Once you have the basics down and you understand the concept, you can find ways to break the rule of thirds with striking results.
Here are some reasons why the rule of thirds may not be the best choice for your photo.
You want to create symmetry – Sometimes you’ll find a scene that provokes such beautiful symmetry that using the rule of thirds would not be nearly as powerful as putting your subject in the center.
You want to draw attention to your subject – There are times when centering your subject creates a more powerful image with fewer distractions. This is often true of portraits or wildlife shots when the subject is looking directly at the camera, or with iconic buildings or landmarks surrounded by negative space.
You want to minimize distractions – When shooting a busy scene, you sometimes are left with little choice but to position your subject in the center. You have to work with what you’ve got.
The shot just looks better centered – Sometimes the rule of thirds just doesn’t work. You can’t put your finger on it, but the image just looks better with the main elements centered in the frame.
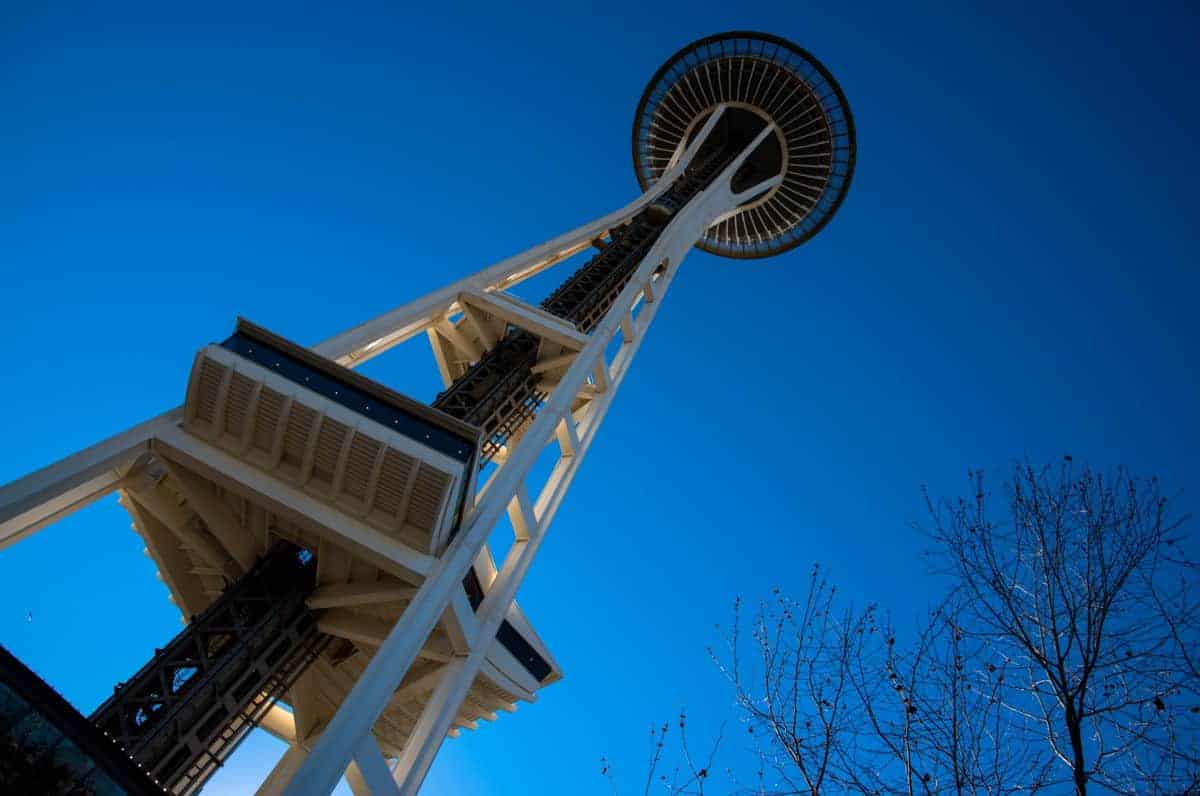 Using the Rule of Thirds to photograph the Seattle Space Needle.
If you are photographer who struggles with creating captivating compositions, then implementing the rule of thirds is a great place to start. It is definitely one of the more useful principles to follow, especially if you are a beginner.
Once you are comfortable using the rule of thirds in your photography, you can certainly ignore it as you see fit.
As with any art form, photography is not meant to encompass a rigid set of rules that you must follow achieve results. Composition principles have been created as tools to encourage you to think critically before framing your shot and to try new things.
AMAZON Landscape Photography Books:
Photography Challenges
The number one way to improve your photography is to practice! Photography challenges provide a subject or technique to find and photograph.
The challenge exercise helps boost your creativity and skills! Here are a few photo challenges to help you get out an practice! We also share fun ways to get the kids involved in photography!
- 52 Week Photography Challenge
- Spring Photo Challenge
- Summer Photo Challenge
- Fall Photo Challenge
- Winter Photo Challenge