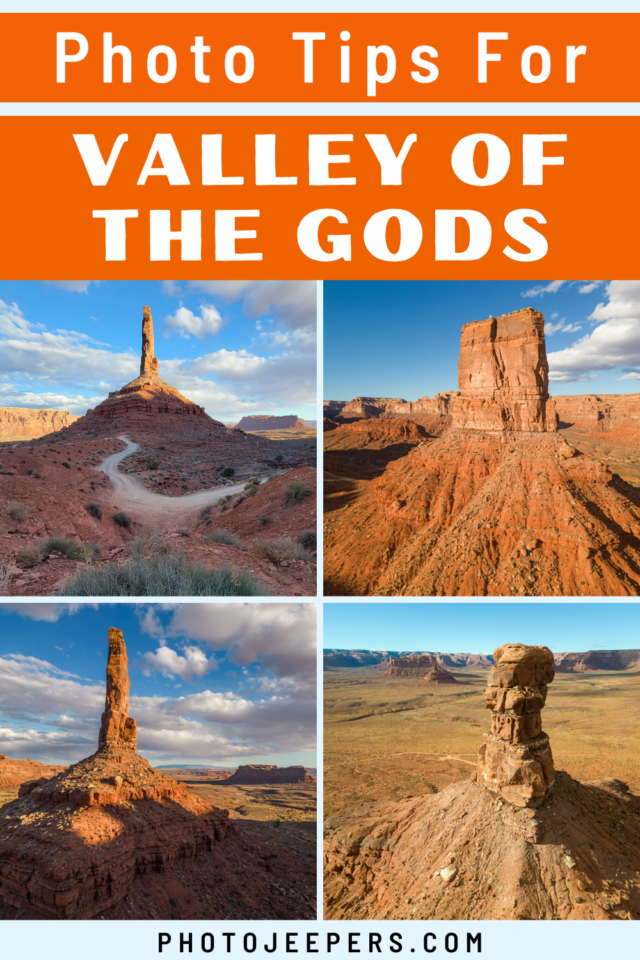
Tips to Take Valley of the Gods Photos
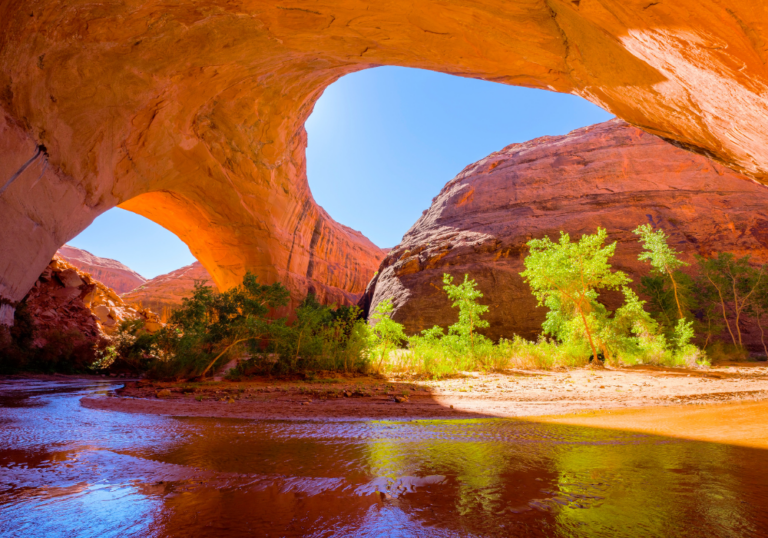
Valley of the Gods is a Utah scenic drive near Mexican Hat in Southeastern Utah. Have your camera ready to take Valley of the Gods photos as you drive through a sandstone valley with towering red rock formations.
We live just hours away so we’ve had the experience of photographing this area during every season and all types of weather and light conditions. Check out our tips for taking Valley of the Gods pictures of the towering red sandstone formations.
The Valley of the Gods scenic drive runs 17 miles along dirt and gravel road winding through a maze of towering pinnacles. It’s an isolated area so be prepared to be self-sufficient and carry emergency supplies. The road is recommended for high clearance vehicles. During wet weather you may need a 4WD vehicle, In dry weather we’ve seen family cars make the drive, but it will be a rough drive!
This guide is based on our experiences over the years capturing Valley of the Gods photos. We’ve also included a list of camera gear you’ll want for photographing this area. Remember that it’s important for YOU as the photographer to have the right clothing to brave the cold or heat depending on the time of year you’ll be visiting.
Use our Utah Packing Lists to make sure you have the right clothing and gear for visiting any time of year! Grab your free printable packing checklist by clicking the image below!

This site contains affiliate links which means WE may receive commissions for purchases made through these links. We only provide links to products we actually use and/or wholeheartedly recommend! As an Amazon Associate, we earn from qualifying purchases. Read the full Disclosure Policy.
Camera Gear for Valley of the Gods Photography
We have a printed Camera Gear Checklist to help us pack all the equipment we need – that way we don’t forget anything!
- Cameras for Landscape Photography
- Lightweight Travel Tripods
- Camera Backpack: Protecting your camera from the sand and dust at Valley of the Gods is essential. Using a camera backpack is so nice for hiking too.
- Graduated neutral density filter: There can be extreme differences in light around the various rock structures. To compensate for this variance of light you’ll need to use a GND filter.
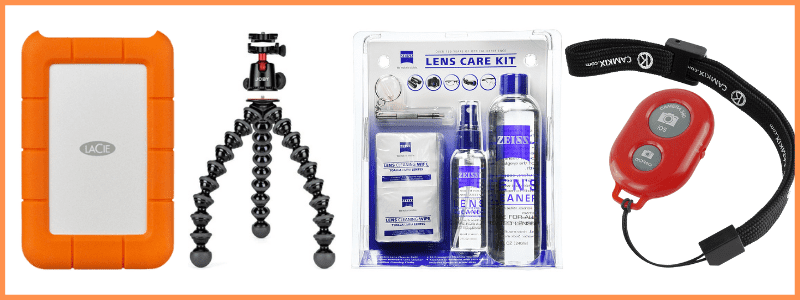
- Camera cleaning kit: You’ll want to remove dust that WILL get on your lens – this is NOT for cleaning the sensor.
- Memory cards
- External hard drive: Don’t forget to copy the photos to a portable external hard drive ‘just in case’.
- Headlamp with a red light: For the best sunrise, sunset or night sky shots, you’ll be navigating in the dark. Use a headlamp to light your way to/from the parking lot to your spot. Wearing a headlamp allows you to adjust equipment without having to hold a flashlight. Remember to use the red light setting and keep the beam pointed on the ground in front of you to avoid disrupting other photographers in the area taking long exposure shots.
Camera Gear at B&H Photo
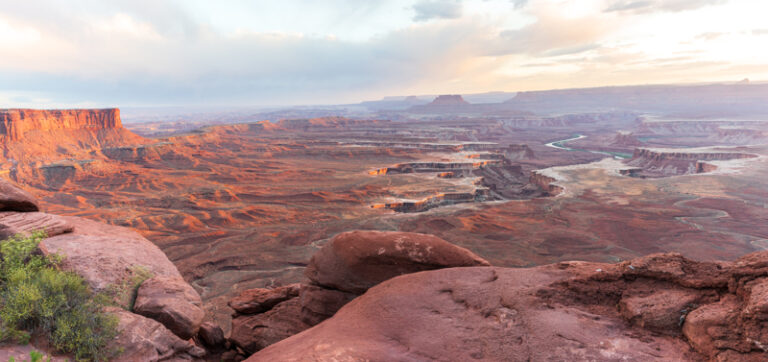
Visiting Valley of the Gods
Valley of the Gods is part of the Bears Ears National Monument in southwest Utah. The Valley of the Gods Road runs between Highways 163 and 261. The road forks away from Hwy 163 about 7.5 miles north of Mexican Hat. It winds north and west and then connects with Hwy 261 about 6.5 miles northwest of the point where Hwy 261 forks from Hwy 161.
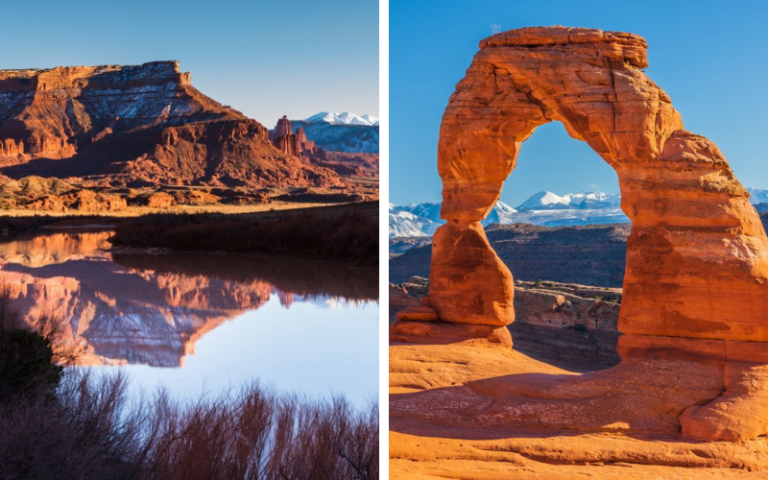
The landscape at Valley of the Gods is very similar to Monument Valley, without the tribal restrictions or crowds. Monument Valley is situated within the Navajo Nation territory and requires visitors to be accompanied by a Navajo guide for exploration and a tribal permit for backcountry hiking.
Valley of the Gods resides on BLM land, providing open access to hiking, backpacking, and camping without any tribal limitations.
We also recommend visiting Goosenecks State Park while you’re in the area. This Utah State Park is home to the San Juan River, which has slowly eroded this incredible canyon over the last 300 million years into the natural wonder it is today. The river sits 1,000 feet below the plateau, making it a dramatic sight to see the carved canyons that look like goose necks.
Valley of the Gods Weather
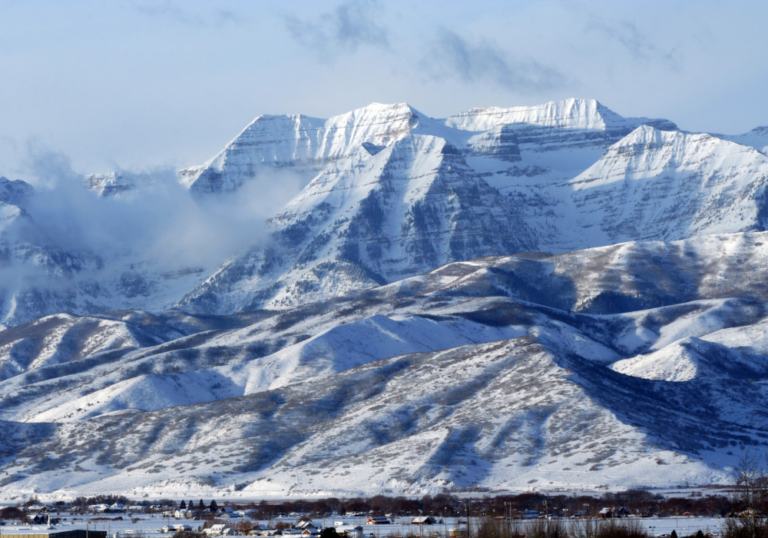
The weather in the Valley of the Gods can be quite diverse depending on the time of year. Summer temperatures often soar into the 90s Fahrenheit, while winter can see temperatures dropping below freezing at night. The spring and fall seasons offer more comfortable conditions, with daytime temperatures typically ranging from the 60s to 80s.
However, it’s important to remember that desert climates can experience dramatic temperature swings from day to night. Always be prepared with layered clothing, plenty of water, and sun protection regardless of the season.
Rain is relatively infrequent but can cause flash floods, especially in narrow, canyon-type areas. Always check the local weather forecast before venturing out for a hike or a scenic drive.
Have your warm winter clothing packed during the colder season so you’ll want to be out taking pictures! We recommend photographer gloves and rechargeable hand warmers!
Tips to Take Valley of the Gods Photos
When it comes to capturing the stunning landscape at Valley of the Gods, it’s crucial to consider a few basic photography techniques. We’ll give a brief summary here then provide more details and Valley of the Gods photos to illustrate the concepts.
First off, aim to shoot during the golden hours — just after sunrise or just before sunset. The soft, warm lighting during these hours brings out the vivid colors and intricate textures of the landscape, creating stunning contrasts.
Remember, patience is key: wait for that perfect moment when the natural light and landscape align, and you’ll be rewarded with breathtaking photos of Valley of the Gods.
The best time to photograph Valley of the Gods is at sunset during golden hour and blue hour. Sunset happens quickly and the light is constantly changing. We recommend that you scout the location and determine composition before you show up to take photos.
Valley of the Gods Drone Photography
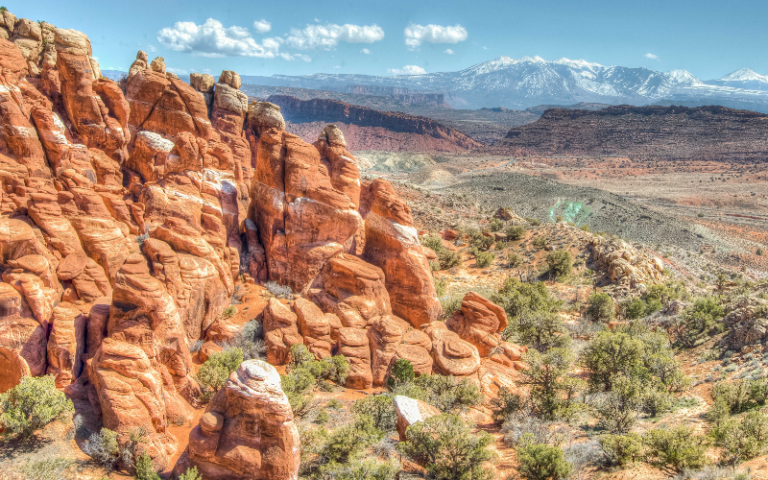
We entered Valley of the Gods from Highway 163. You’ll see a variety of unique butte and rock formations as you drive. This area is terrific for taking Valley of the Gods drone photos!
The Bears Ears National Monument list of Do and Don’t for drones currently doesn’t prohibit drones at Valley of the Gods. We recommend you always check for the most current policies before launching your drone here.
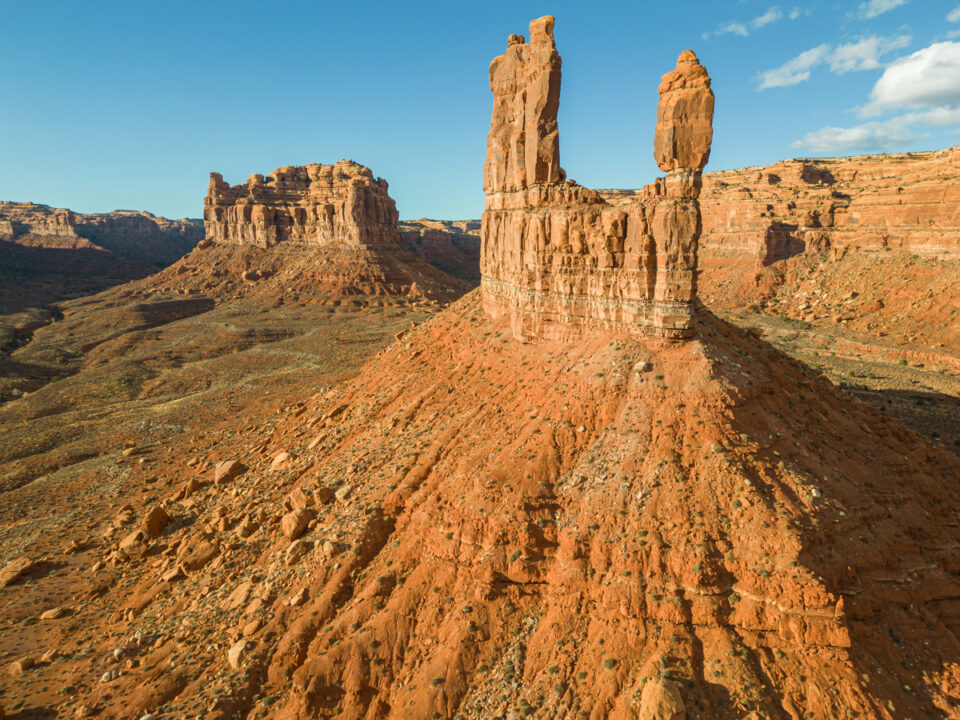
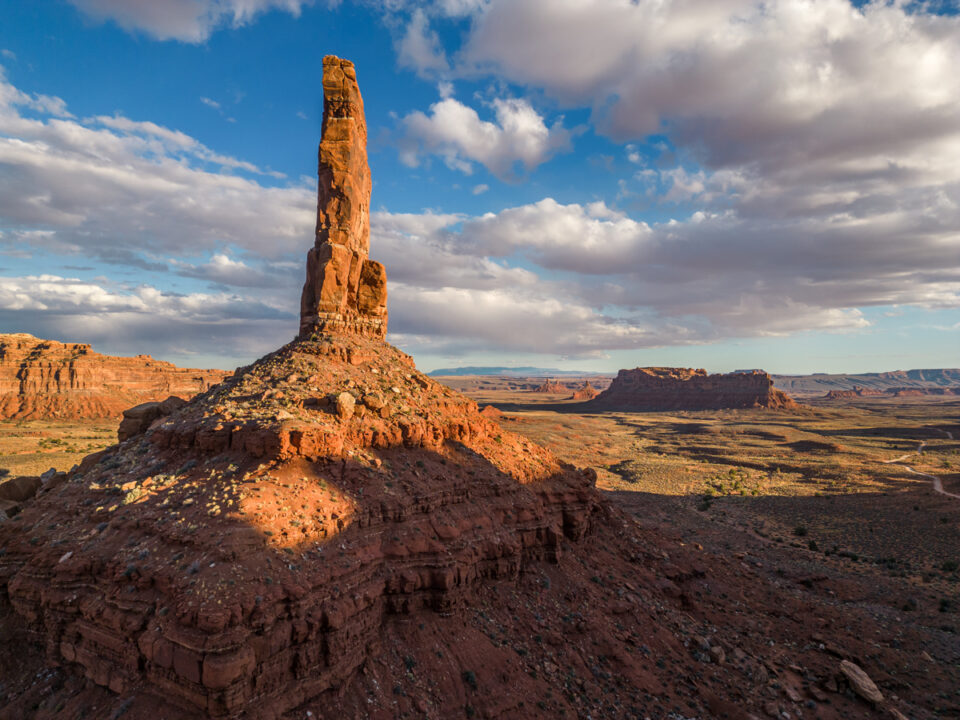
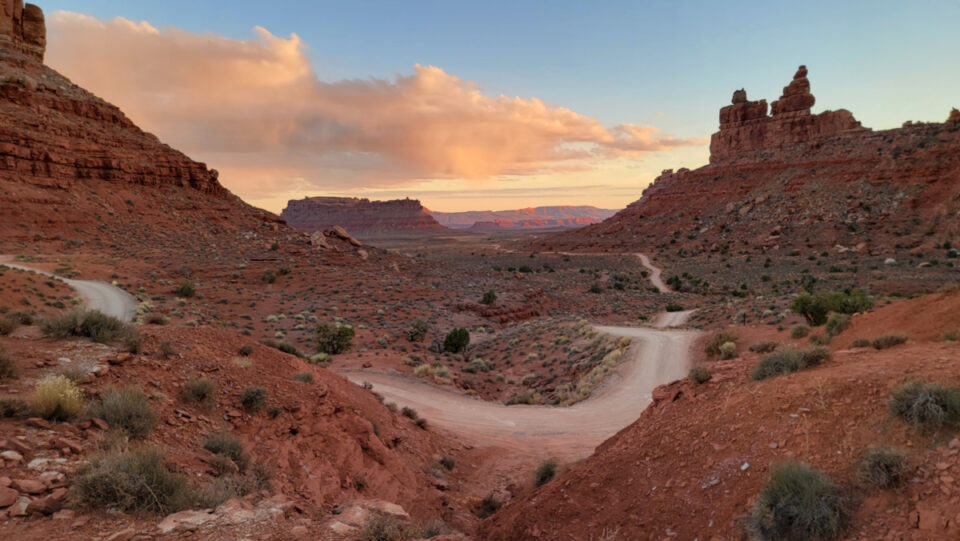
Be sure to use the same composition techniques for drone photos as you do for camera photos taken from ground level. Capturing foreground, midground and background adds depth and dimension to a landscape photo.
The overall concept is quite simple. The foreground is the part of the photo that is close to the photographer’s eye. The background is the part that is the farthest away from the photographer. So the middleground is the section between the foreground and the background.
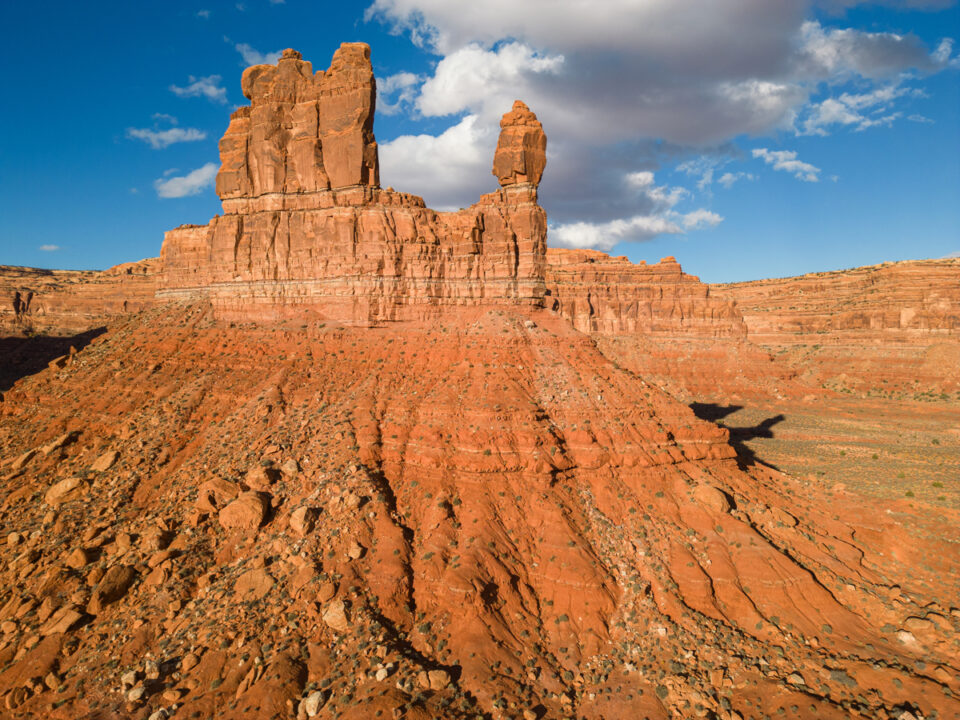
Unlike our human eyes which are 3-Dimensional, photos are usually compressed into a flat 2-Dimensional art. Depth is achieved by placing elements of interest in the foreground, middleground, and background. Drone photography creates the illusion of depth and makes the image more interesting and eye-catching.
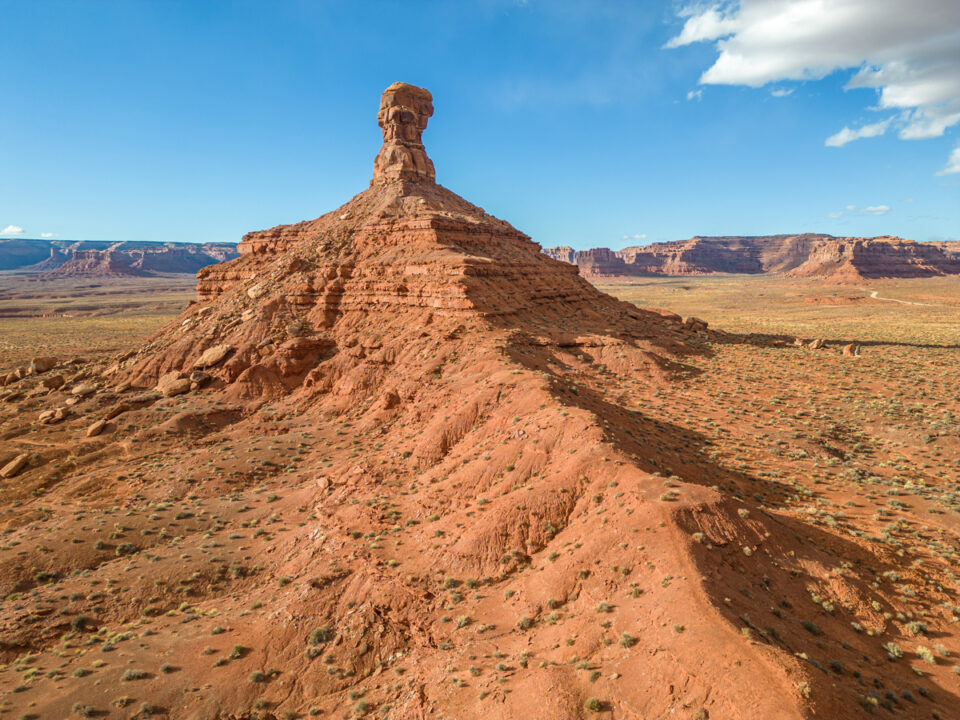
Look for other ways to implement composition elements in your drone photos. The image above creates a visual journey using a natural leading line that draws the viewer’s attention from one part of the image towards a specific point of interest.
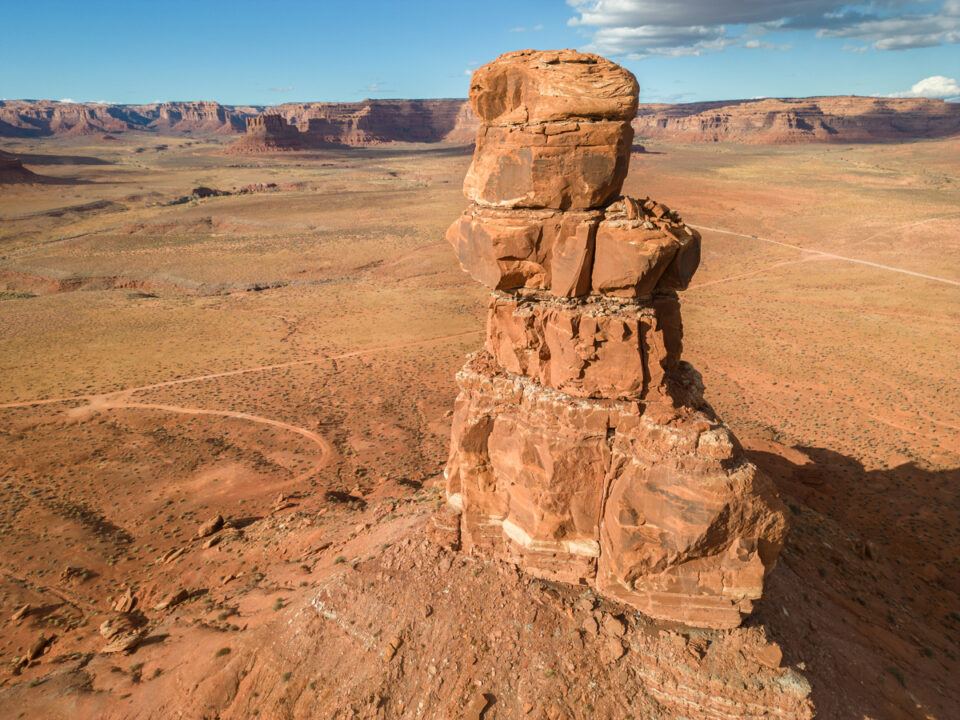
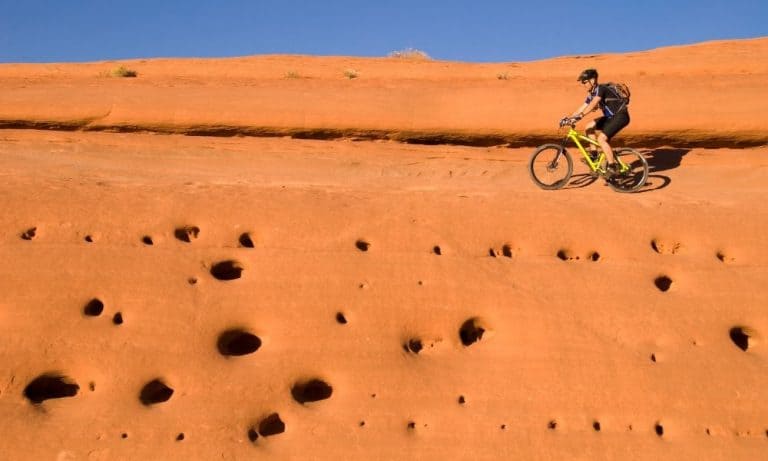
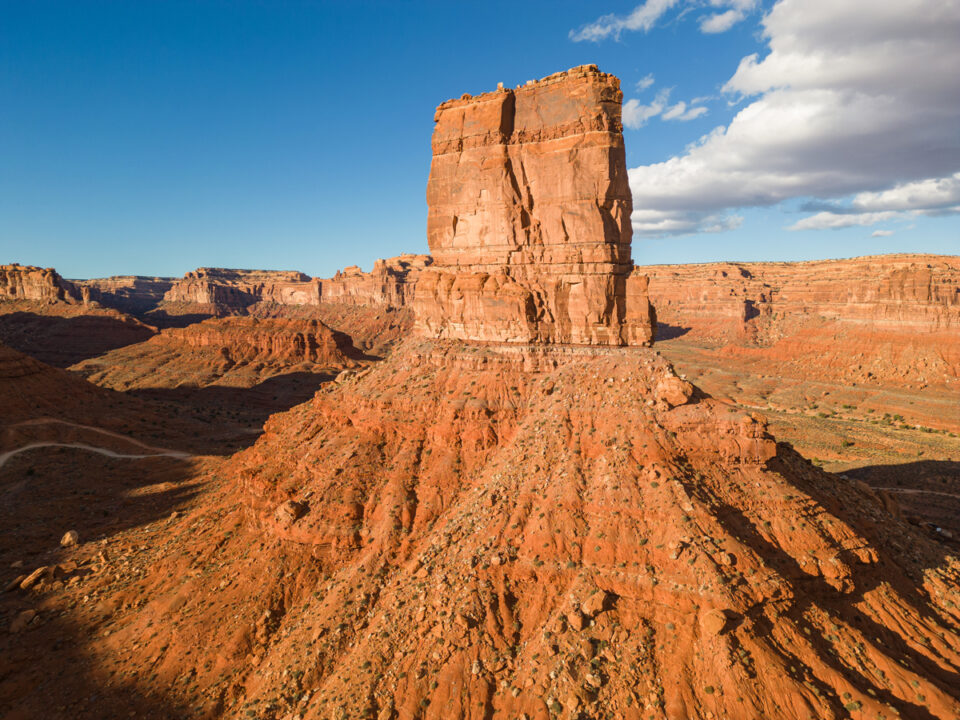
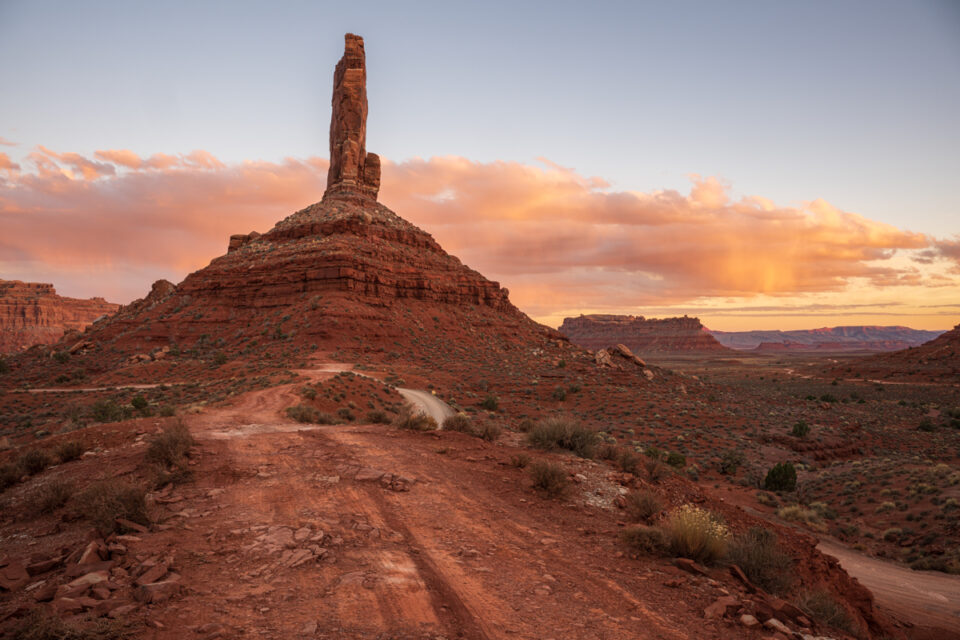
Another technique to remember is to fill the frame! The frame refers to the edges of your photograph. Fill the frame by moving closer to your subject so that it takes up most of the frame, leaving little empty space around it.
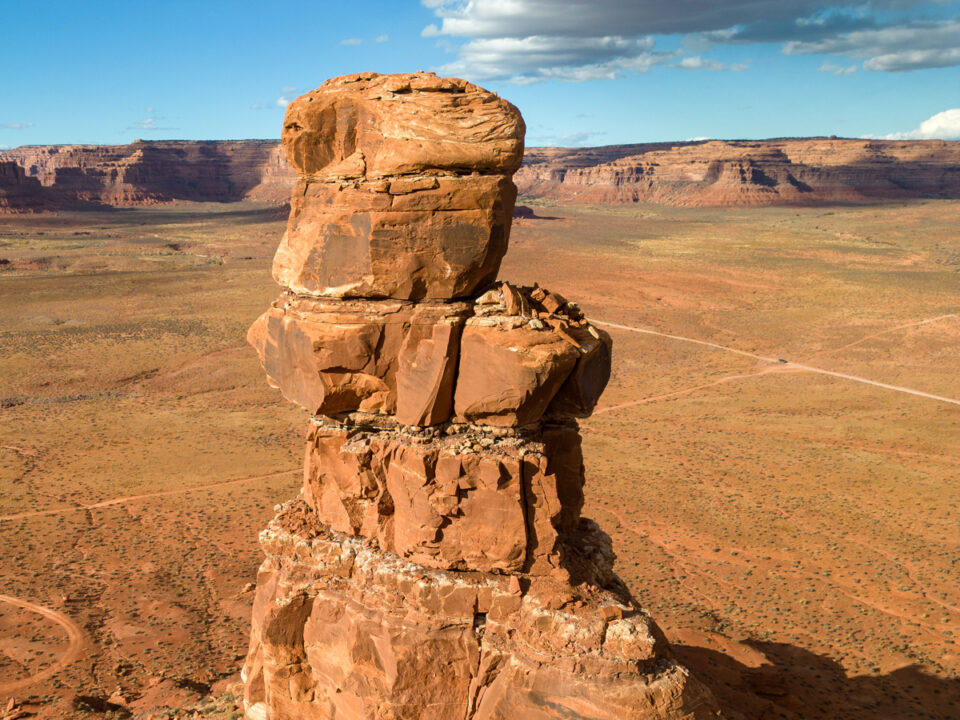
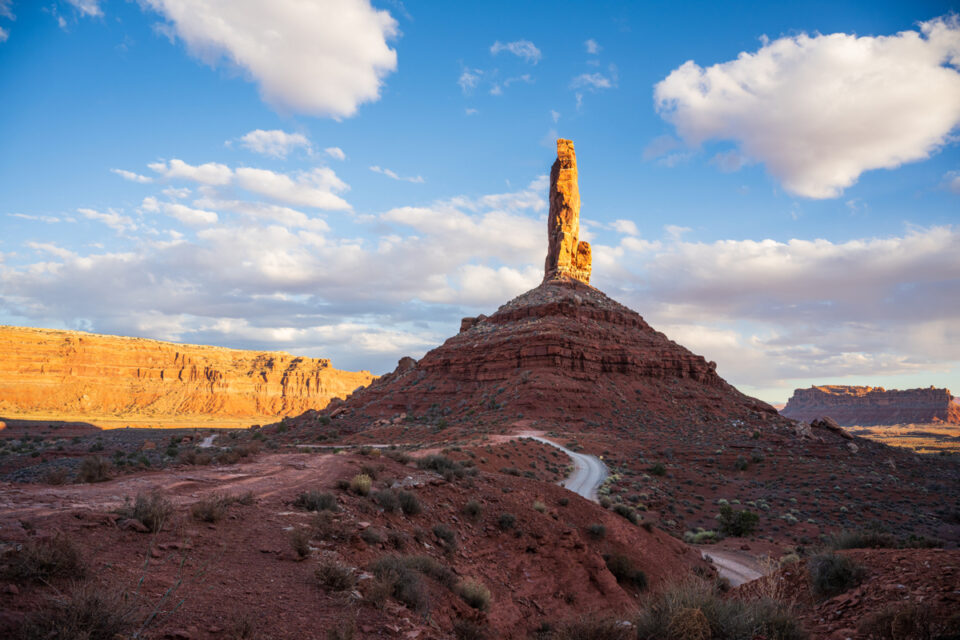
Draw the viewer’s eye to the subject of your photo by getting closer or zooming in. Capture a variety of pictures filling the frame with different zoom ranges! Do you see the small car to the right of the rock structure? This photo also shows scale by including an element in the photograph of a size or proportion that is commonly recognized by most or all viewers.
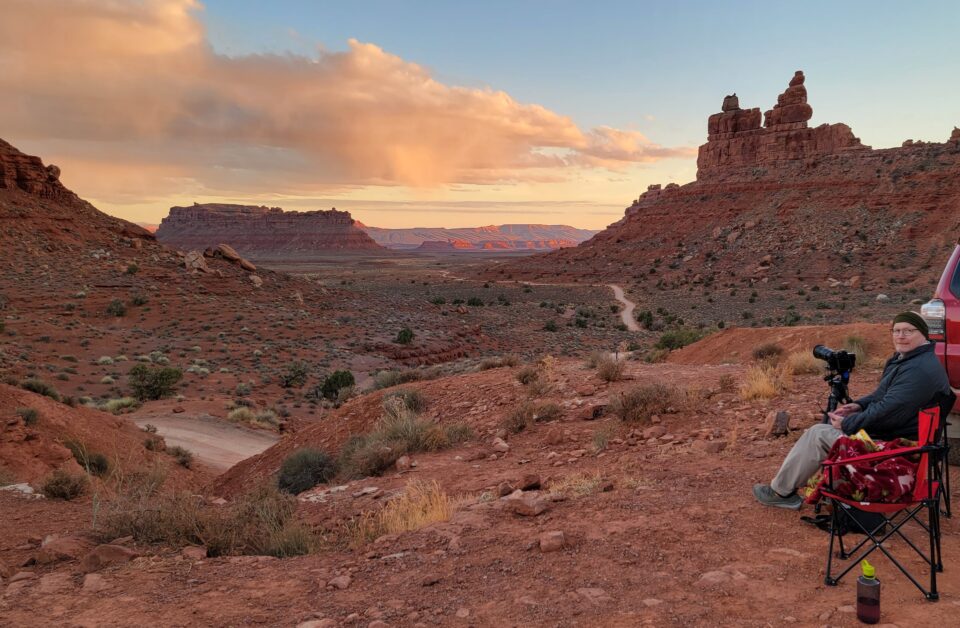
Use Contrast For Valley of the Gods Photography
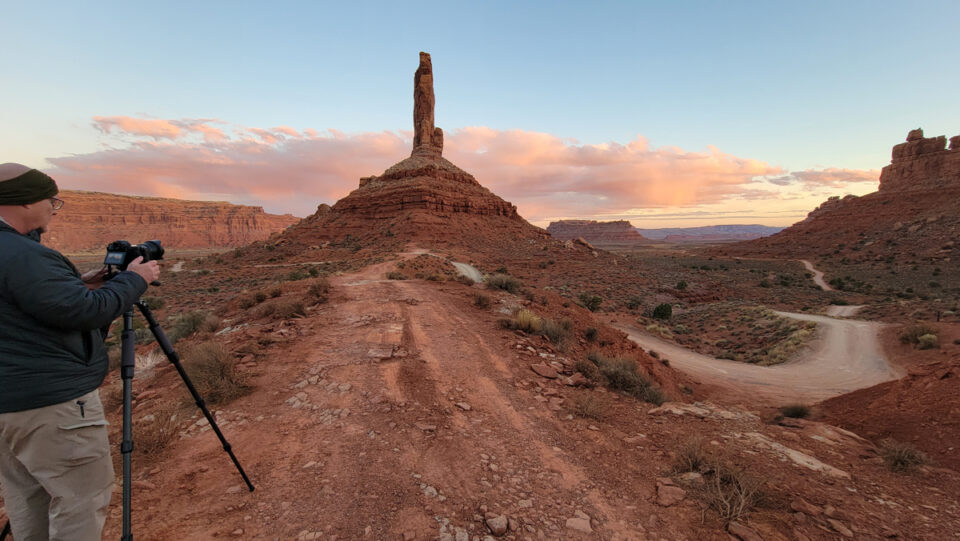
We made our way to “the spot” we wanted for taking Valley of the Gods photos at sunset. At this location there was a contrast in the landscape with half in shadow and half with sunlight.
Using contrast in photography composition refers to establishing striking differences between elements within an image. The background, and the tall spire, illuminated with sunlight pops in contrast to the shadowed foreground.
Horizontal vs. Vertical Valley of the Gods Photos
When it comes to photography, the decision between taking horizontal (landscape) and vertical (portrait) photos can greatly impact the final result.
Horizontal shots tend to be more popular since they align with the way human eyes naturally perceive the world. They offer a broad perspective, making them perfect for capturing landscapes, group photos, or any scene where you want to include a lot of elements.
On the flip side, vertical photos can offer a different perspective. They’re great for emphasizing height, capturing subjects like tall buildings or individuals.
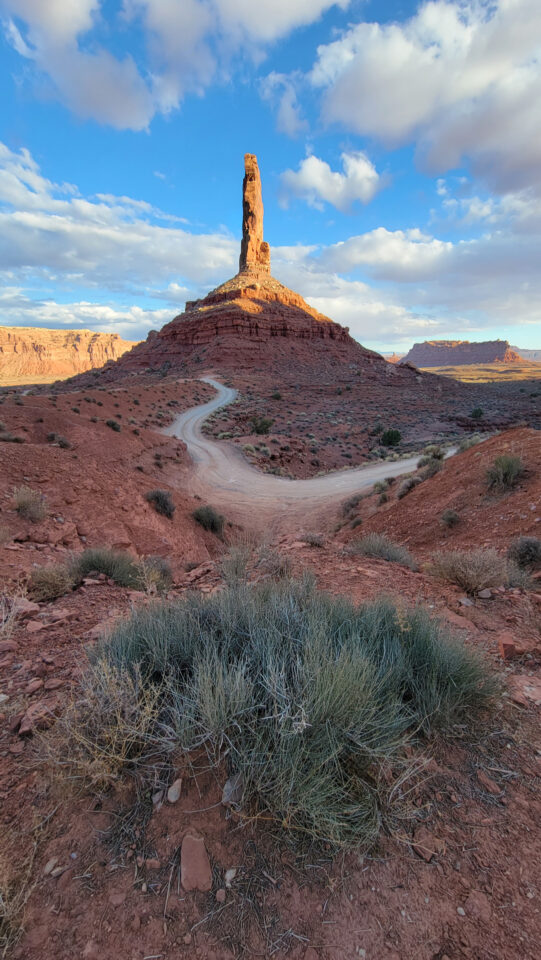
Don’t get stuck in a rut only taking horizontal photos. Be sure to look for ways to capture the landscape scene or subject by turning the camera over to shoot vertically too!
Valley of the Gods Sunset Photography
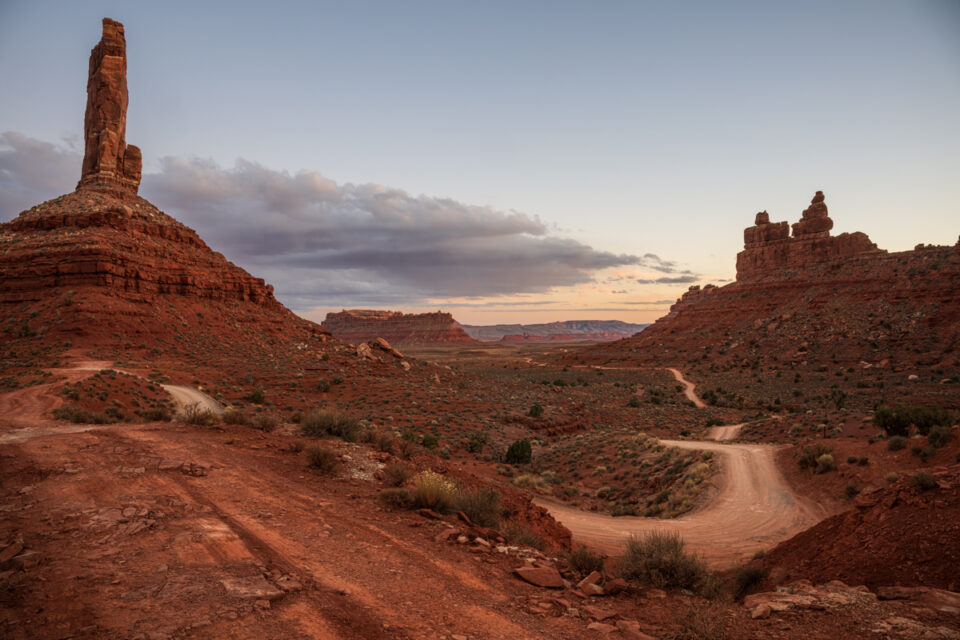
The spot we chose gave us the ability to walk around to get a variety of compositional perspectives using elements in the scene… and still see the sky to capture any color that might reflect on the clouds.
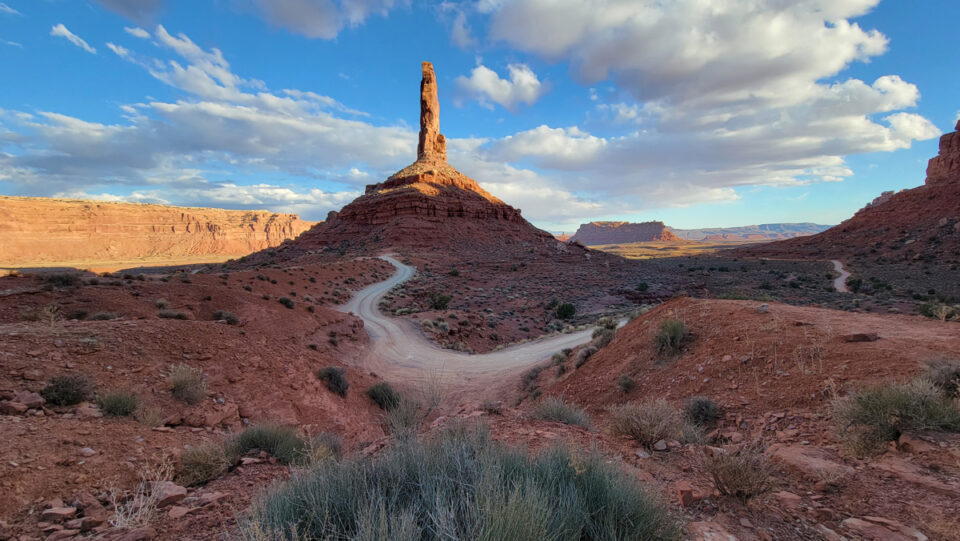
Did you know… when looking at an image, the human eye will instinctively follow paths or lines present within it to see where they go? This is natural and happens to virtually everyone!
At times, leading lines like roads will connect the foreground to the background of the landscape. It can also create perspective in your compositions by adding a sense of depth.
We framed the image above using the road as a leading line to draw the viewer’s eye to the main subject of the image.
Keep snapping photos after the sun sets during the blue hour! During this time period, the indirect sunlight is dominated by blue wavelengths.
The blue hour provides soft, diffused light, and while it may appear too dark to the naked eye, you’d be surprised at how much light your camera will pick up during this time.