Blue Hour and Golden Hour Photo Ideas
We all know good light is a basic photography concept that elevates your photos from good to fantastic!
You’ll love these Blue Hour and Golden Hour Photo Ideas to help you improve your photography skills!

There are several hours every day when you can find the BEST light for landscape photography.
The light at blue hour and the golden hour happen right around sunrise and sunset.
This site contains affiliate links which means WE may receive commissions for purchases made through these links. We only provide links to products we actually use and/or wholeheartedly recommend! As an Amazon Associate, we earn from qualifying purchases. Read the full Disclosure Policy.
Camera Gear for Landscape Photography
- Tripod: take a look at these compact and lightweight travel tripods!
- Camera Bag: protect your camera from sand and water → We use Lowepro camera backpacks for outdoor photography.
- Neutral density filter: to compensate for variance of light you’ll need to use a neutral density filter. → Check out the Kase magnetic filters we use!
- Camera cleaning kit: remove dust or water that WILL get on your lens. NOTE: this is not for cleaning the sensor.
- Memory cards: purchase name brand memory cards since you’re trusting your images to the card! → We use Lexar and Sandisk!
- External hard drive: copy photos to a portable external hard drive ‘just in case’.
- Headlamp: use when taking sunrise and sunset photos!
Camera Gear at B&H Photo
Blue Hour and Golden Hour Photo Examples
First, check out our tips for using blue hour and golden hour to capture stunning images with this amazing light.
Then, take a look at the blue hour & golden hour photo ideas shared by members of our Facebook Group, Your Photography Journey.
WATCH the video as we discuss various composition and lighting techniques used in each image.
Blue Hour and Golden Hour Photo Ideas
Beautiful sunrise and sunset images are the result of the warm, soft light at the beginning and end of each day.
The best light occurs before and after the sun rises and sets!
Blue Hour Photo Ideas
The blue hour happens when the sun is some distance below the horizon. This is usually 30 minutes to an hour before sunrise and after sunset. At this time the light has tones of blues, purples and pinks.
In this photo by James Carro, you can easily see the blue tones you’ll find during this “hour”.
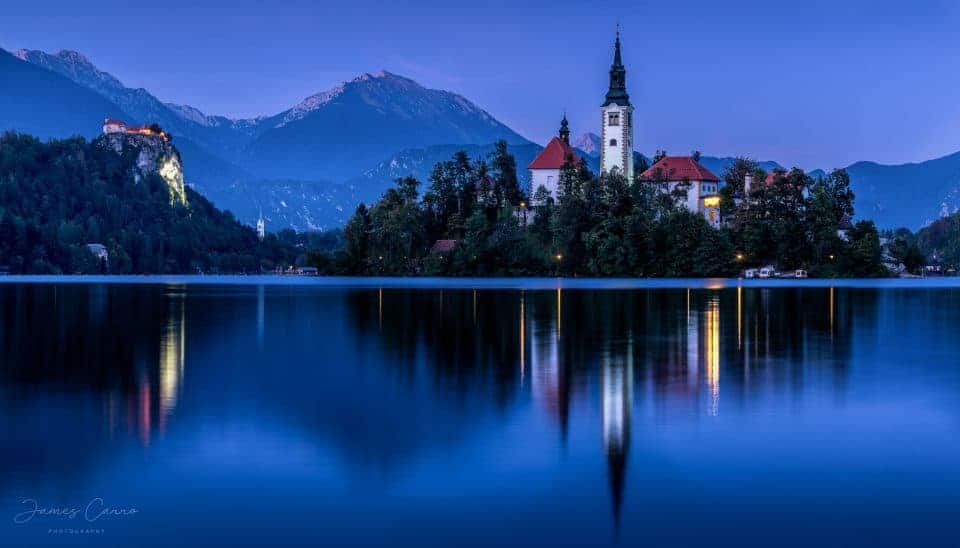
We like the way he placed the horizon line in the center of the photo so the portion above and below the line are balanced.
And notice how he framed the picture to stop just above the top of the steeple because the sky was a simple monotone color and nothing more.
You can see the blue tones in Richey Oliver’s photo. The blue hour light is displayed in the sky and on the log subject in the foreground.
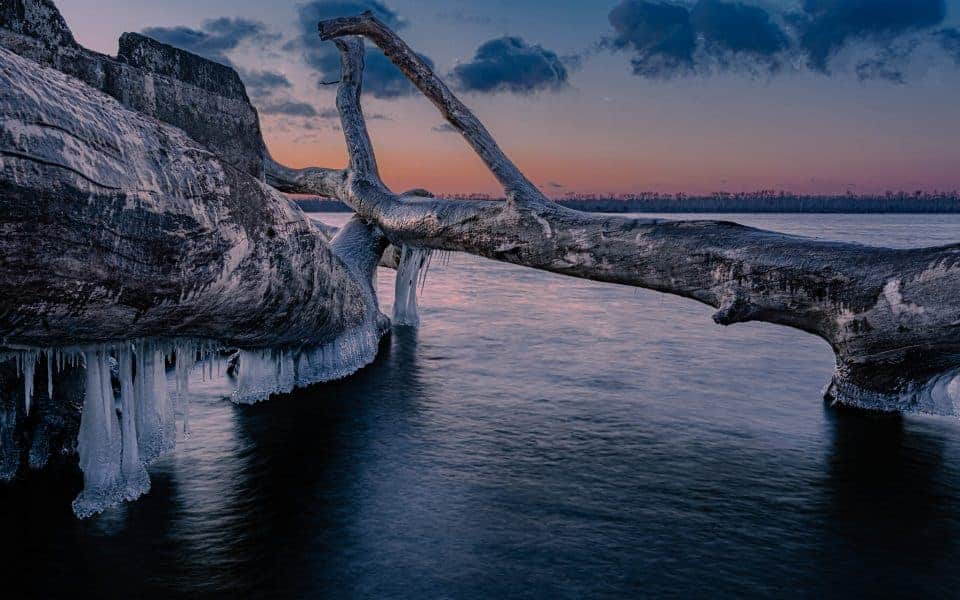
The perspective he used placing the camera on level with the subject is powerful in this photo. As a viewer you feel like you’re right there in the scene.
This photo by Kathleen Spatuzzi illustrates well the blues, purples and pinks you can see at blue hour.
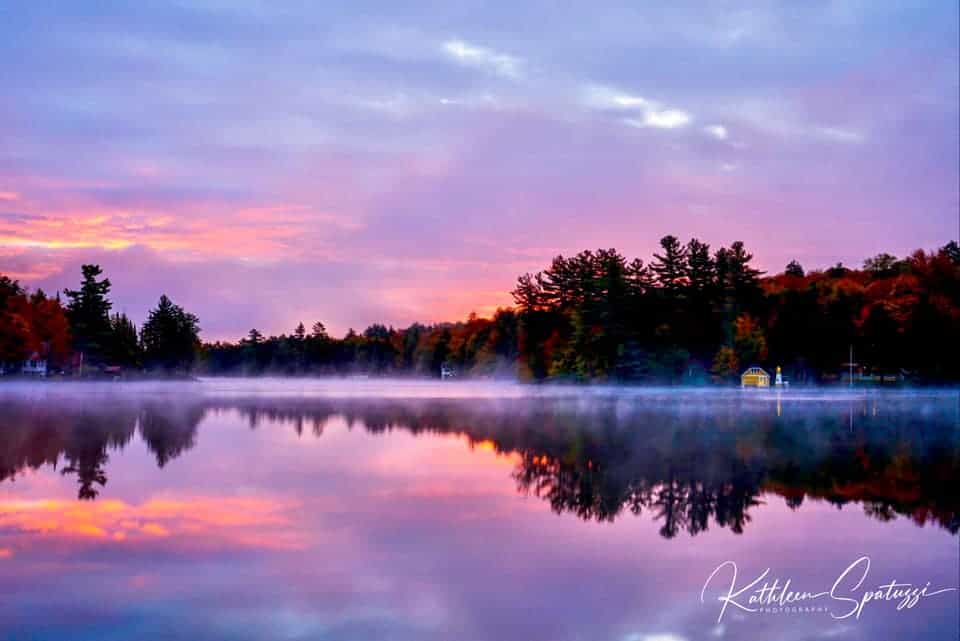
She’s composed the image with foreground, midground and background elements that help provide the depth necessary to create a 3D effect.
It’s Not Too Dark
Remember that your camera will capture the scene and subject just fine with the right settings, even when your eye thinks it’s too dark.
We love to take pictures during that time between night and blue hour – give it a try!
Gerardo Trevino captured this picture during that transition time. The even light is so pretty in the landscape elements.
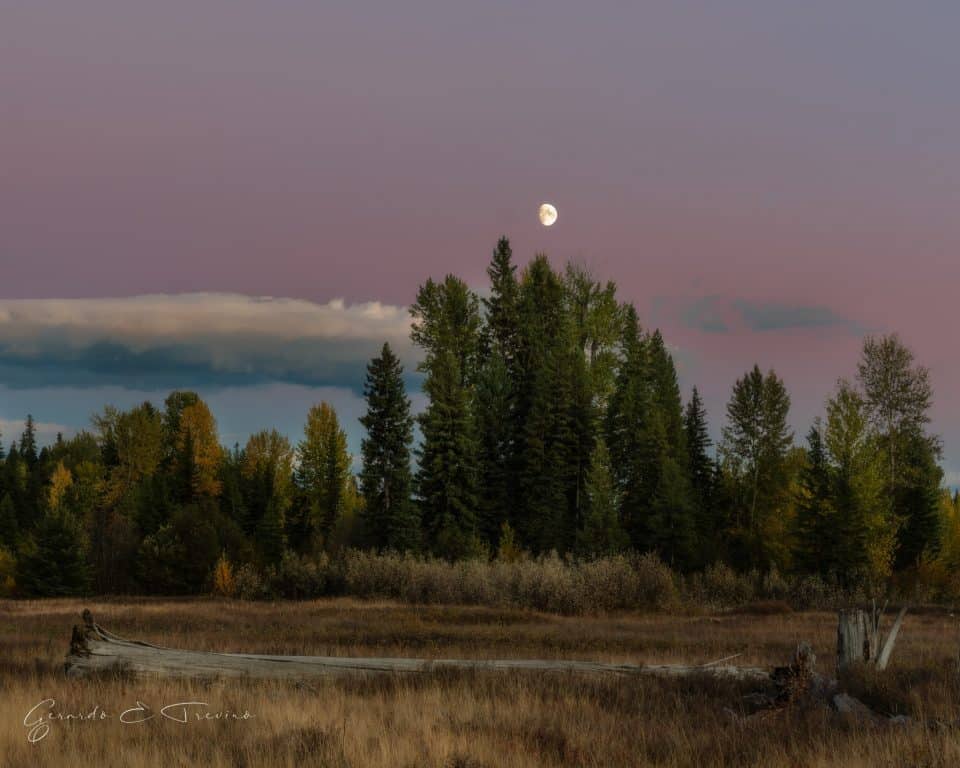
Placing the horizon on the bottom rule of thirds grid line works well here. There’s enough room for the fallen tree to be in the foreground with the trees, moon and sky to fill the rest of the image.
The photo below by Brian Leonard is another example of that transition time between blue hour and night.
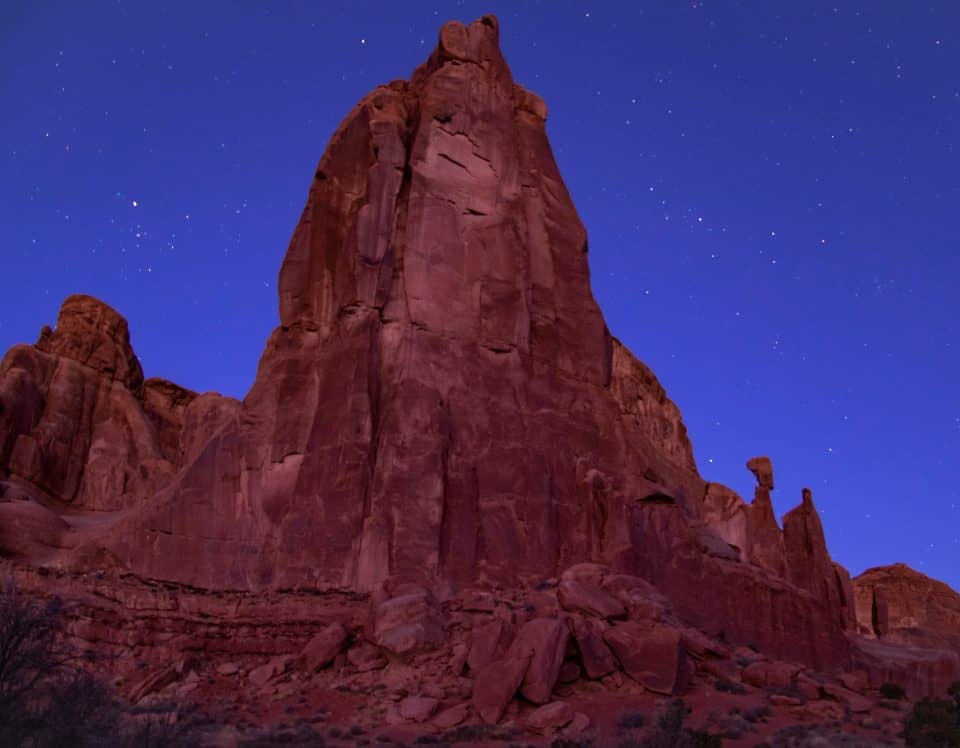
Again, your eyes may think it’s too dark, but your camera will pick up detail in the scene because there is still enough light during this blue hour transition.
Filling the frame was a great technique to use here!
Kevin Dobo shares his thoughts for taking this picture during blue hour: “Emphasis here was on using the low light to capture motion and mood, rather than tack sharp images.”
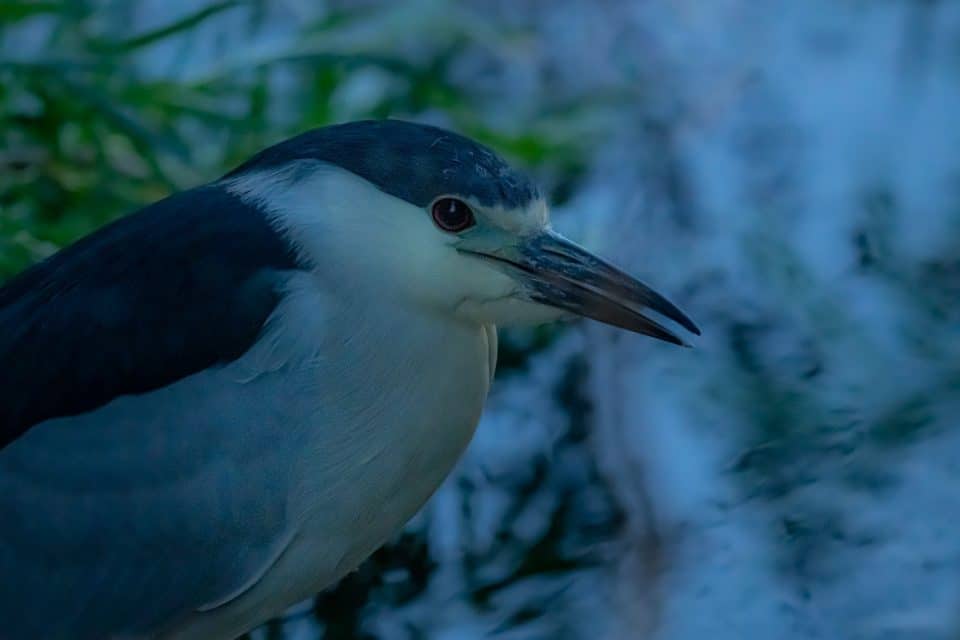
“High ISO led to liberal use of denoise, which added further softening of the images.”
Blue hour is terrific time to get to see what your camera can do!
Golden Hour Photo Ideas
Golden hour is the first hour after sunrise and the last hour of light before sunset that produces a warm natural light.
This photo by Jeff Hall showcases golden light – it’s stunning!
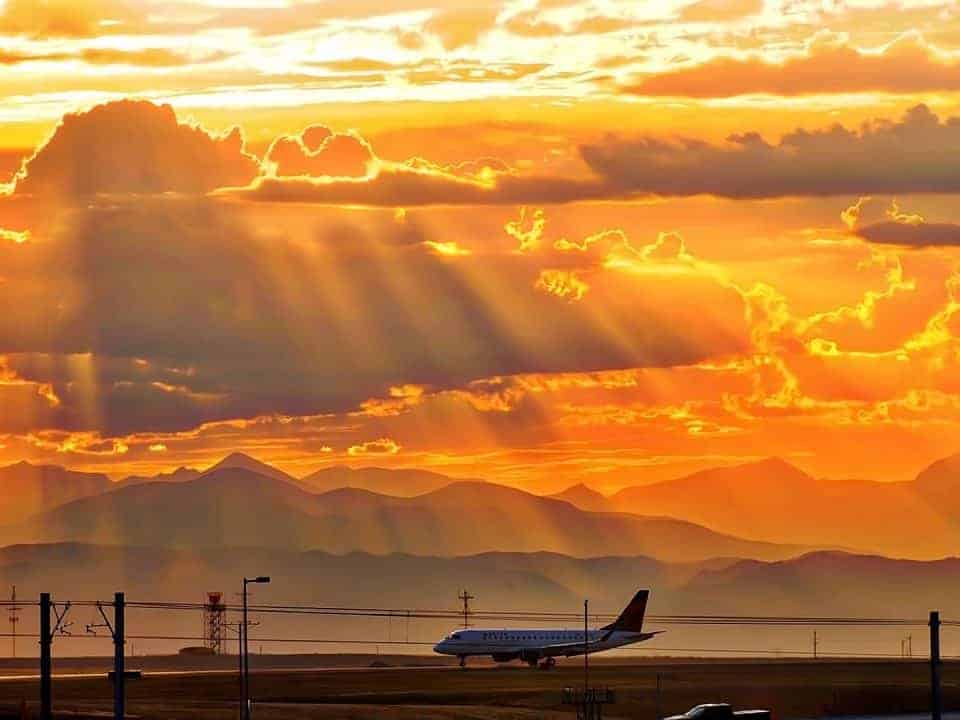
Jeff used the rule of thirds to place the plane at the bottom of the image so the focus of the photo is placed on the sky!
Remember to find that golden light reflected on your scene like Ghe Buhay did in this photo of the Grand Canyon.
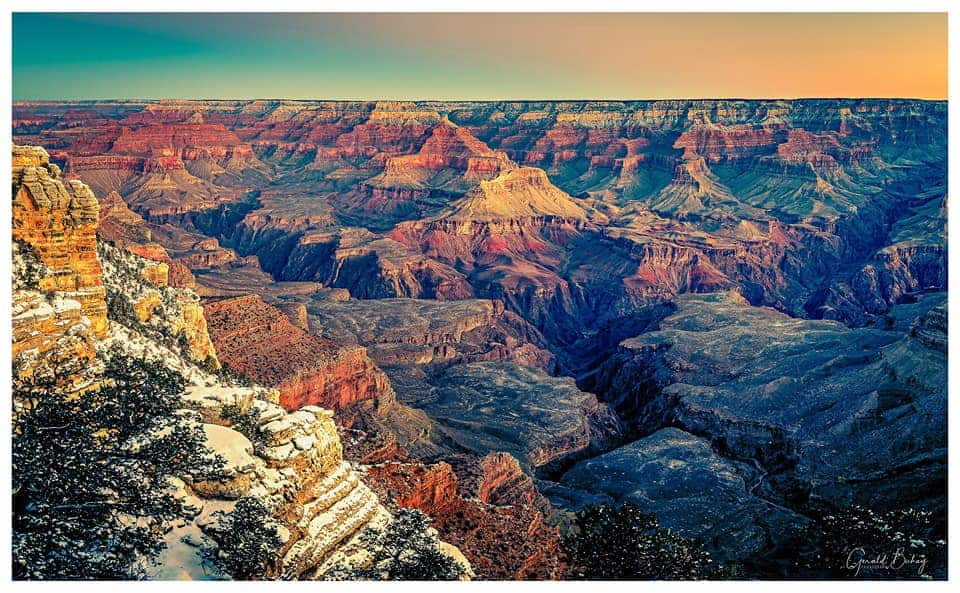
Take note that there’s not a lot happening in the sky, so he placed the horizon line at the top of this image so the focus is on the scene in the foreground.
Look at this terrific example of using golden hour light as a background element like Lisa Mason did in this photo.
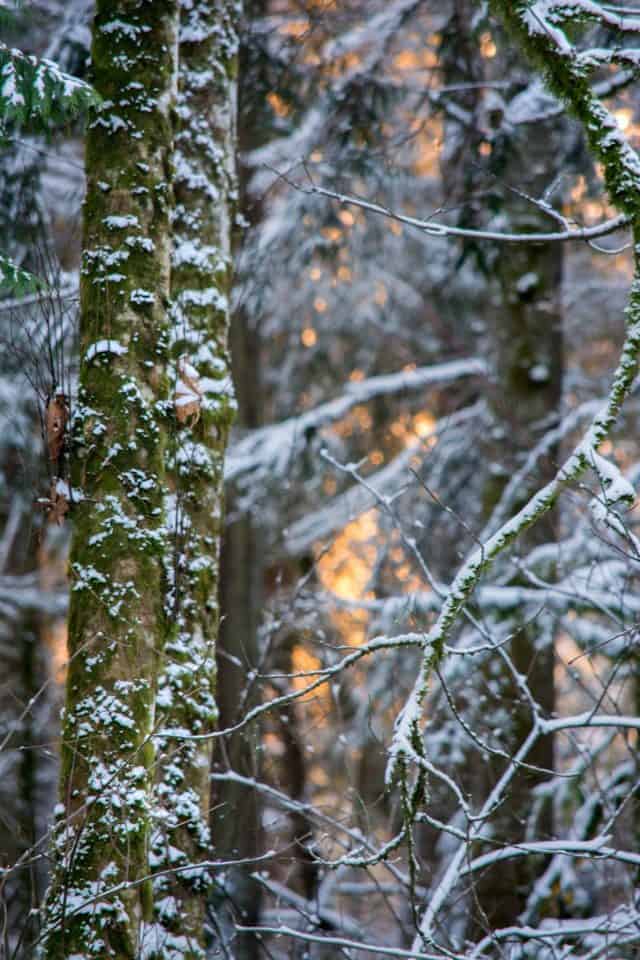
The pops of light are soft and accentuate the trees and branches in the dark part of the scene.
The golden hour light in this photo by James Griffin acts as a natural diffuser to create an even tone across the scene!
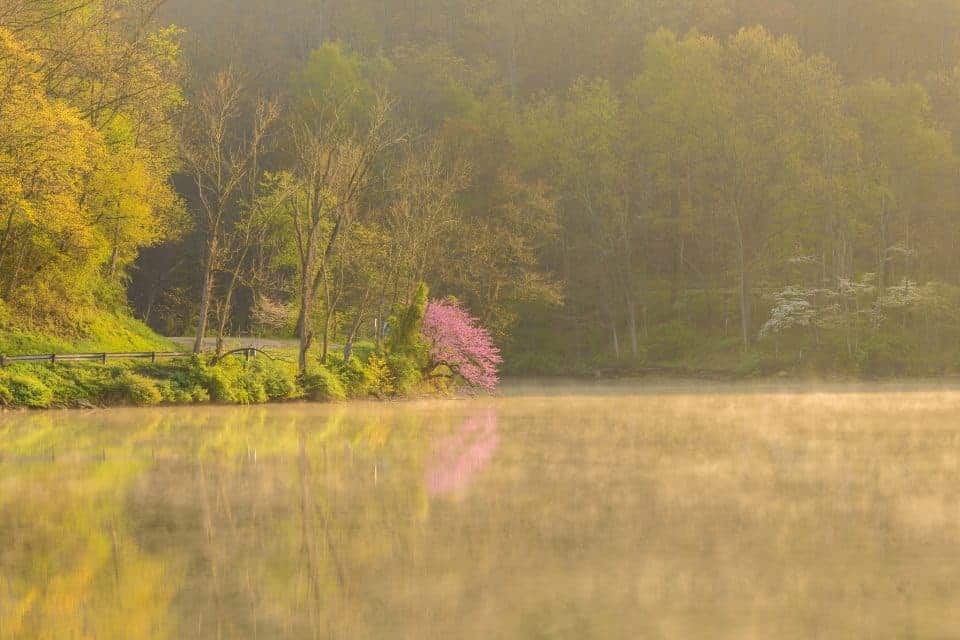
It’s always a good thing to look around you when you’re out taking sunrise or sunset photos so you don’t miss out on the scenes with reflected light like this.
Find Interesting Elements
A blue hour or golden hour sky is a fabulous backdrop for interesting elements in your scene. Take a look at these examples.
The bridge element in this photo by Richey Oliver is a cool silhouette against the colorful sky.
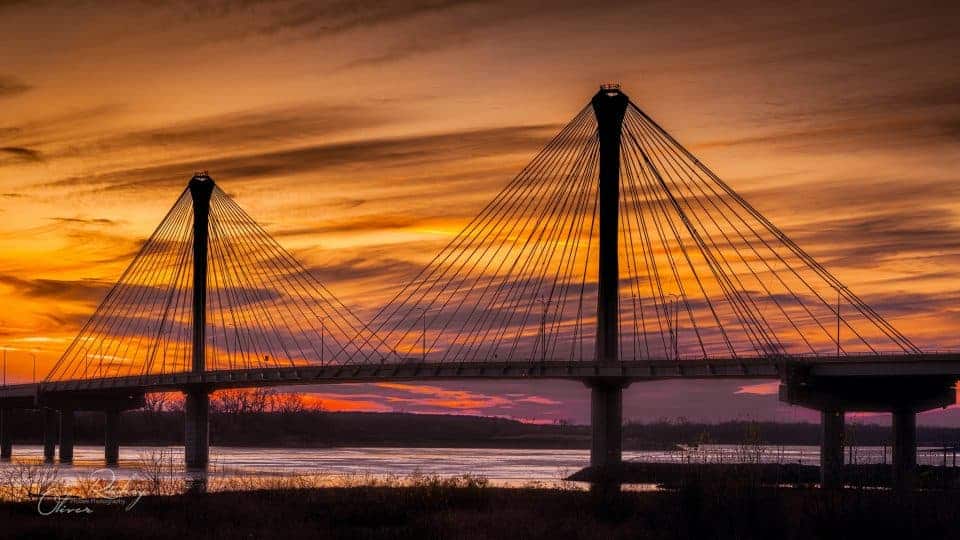
He filled the frame with the triangular shaped portion of the bridge to emphasize that element even more.
Roy Goldsberry found a very interesting location for this photo – it’s the toadstool hoodoos near Kanab, Utah.
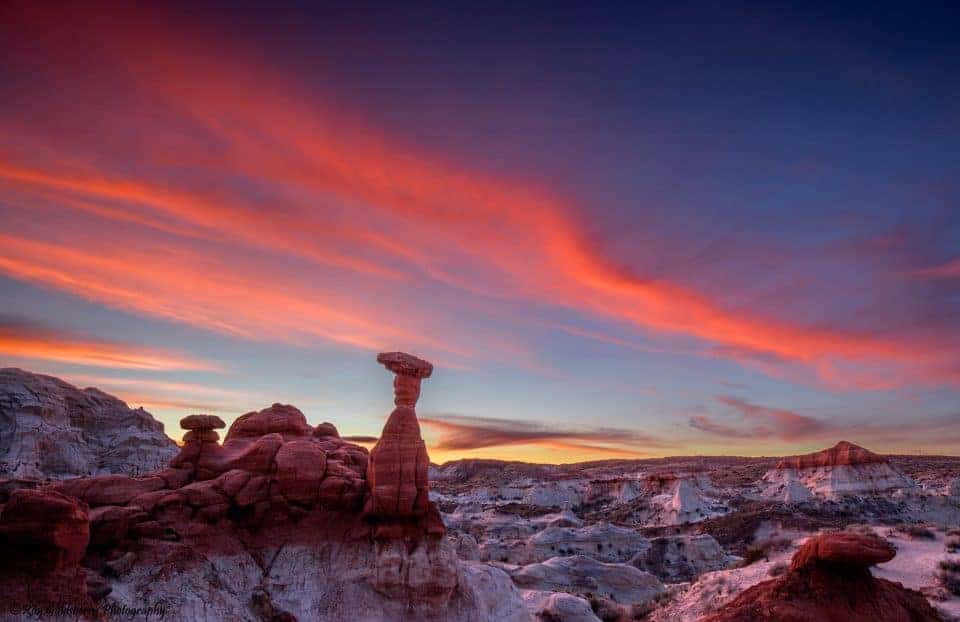
One thing to note, he told us it took four visits to this location to finally get a good golden/blue hour photo! Practice, patience and persistence are key!
The colorful, soft light in Jay Hasson’s photo make the elements pop. Including the boat in the image tells a story.
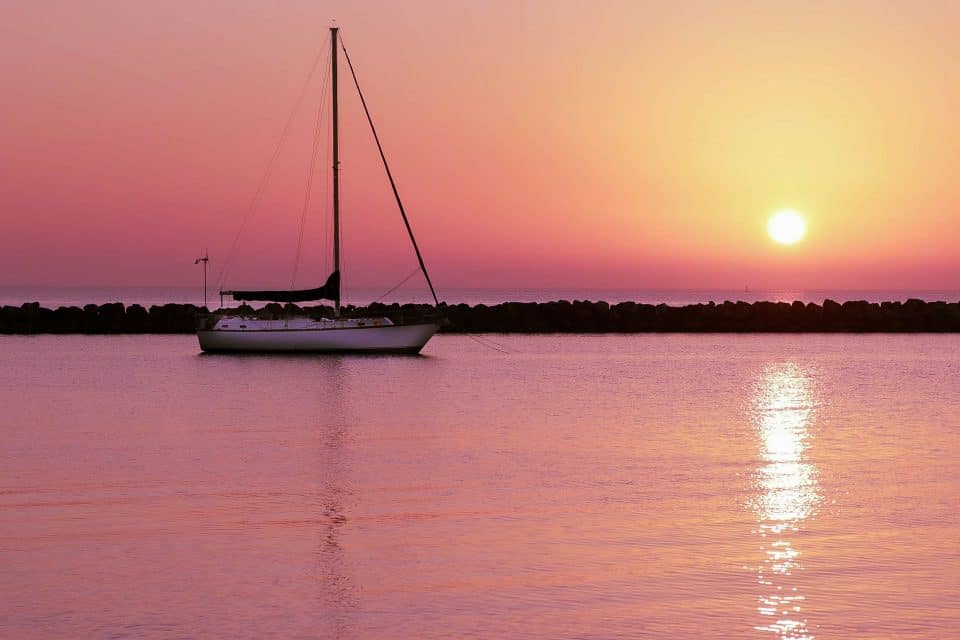
There’s also a nice balance with the boat on the left and the sunlight on the right.
This picture by Dustin Clark shows the full spectrum of the golden hour light transitioning to the blue hour light!
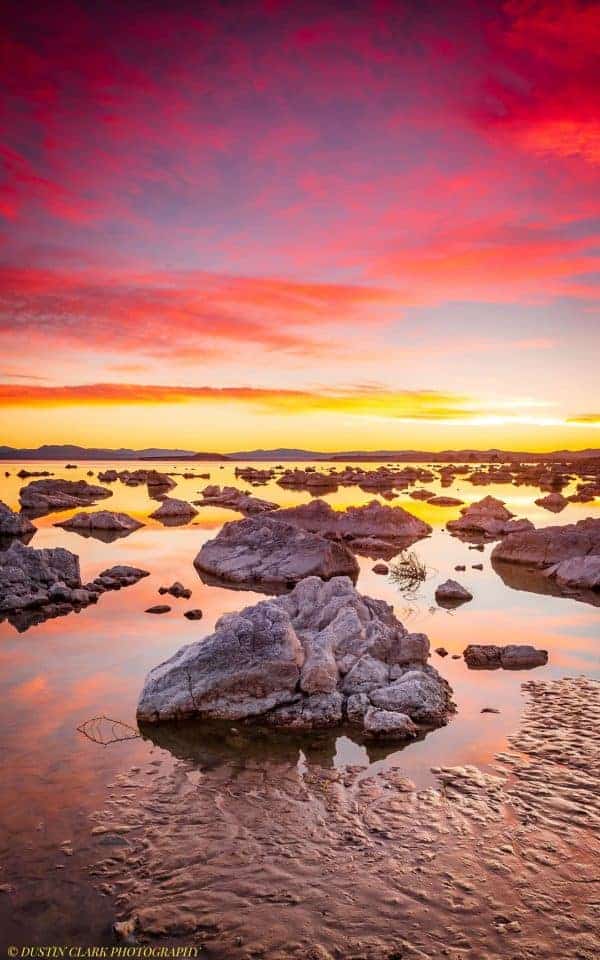
Composing this photo in a vertical orientation allows the foreground elements AND the sky to have equal space in the image.
Golden Hour vs. Blue Hour
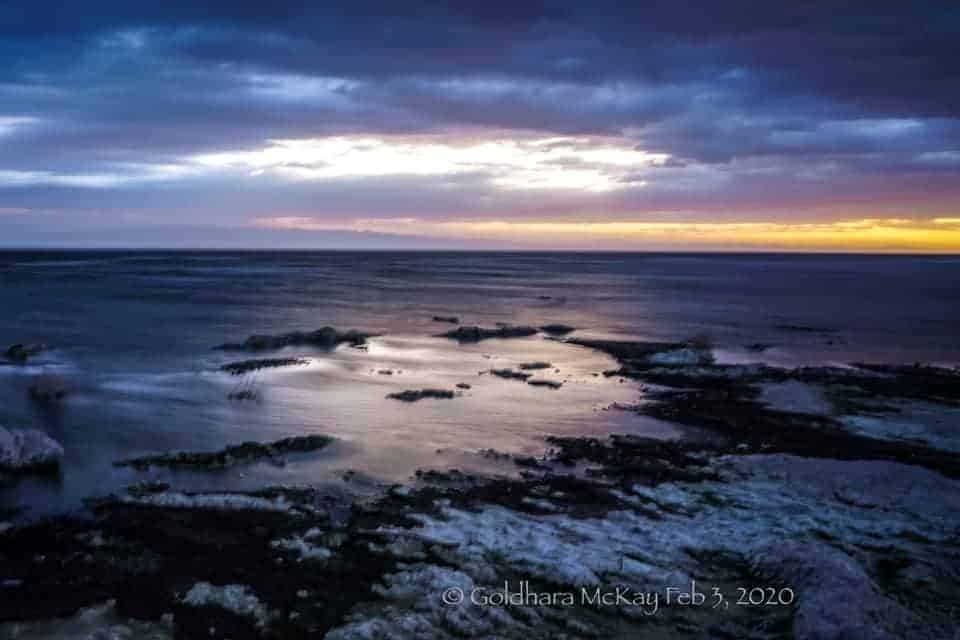
Goldhara McKay took two photos at the same location – one during golden hour, and one during blue hour.
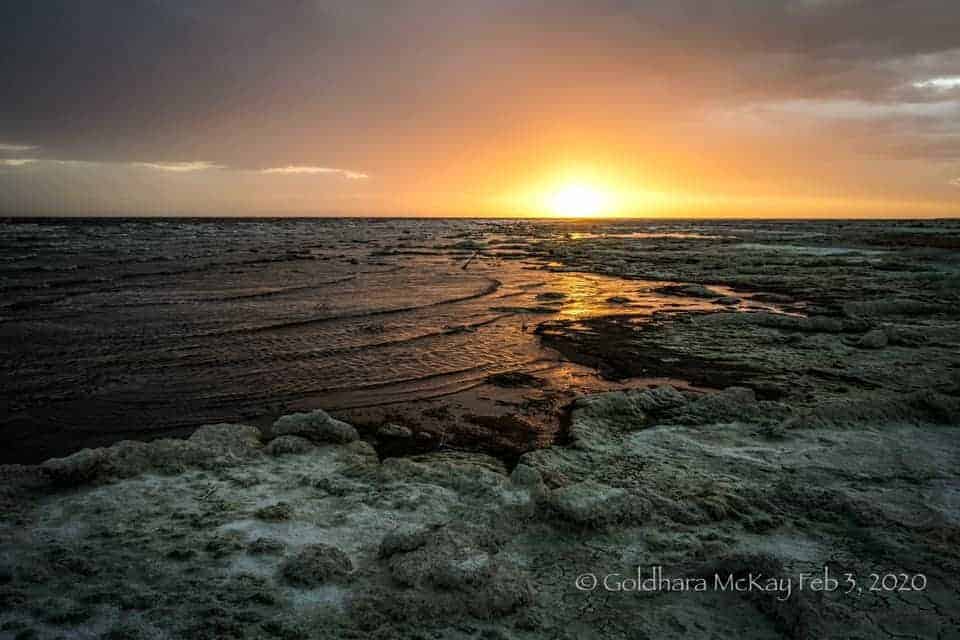
This is a good way to see how the different hues affect the sky and the elements in the scene as the light changes.
AMAZON Landscape Photography Books:







Wow that plane picture by Jeff Hall is amazing!