List of Arches National Park Hiking Trails
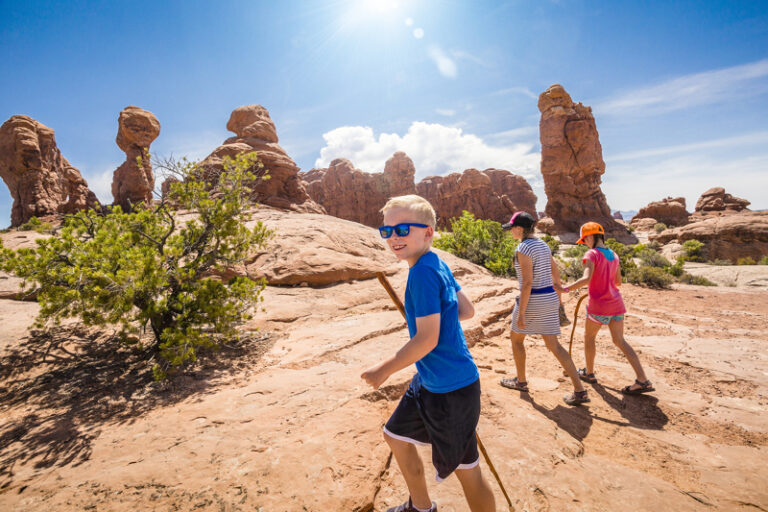
Arches National Park in Utah is a stunning landscape of sandstone arches, towering spires, and massive fins. With a variety of Arches National Park hiking trails in the park, you’ll find one perfect for the avid hiker, causal visitor and families traveling with kids.
Use this Arches National Park travel guide to plan out your vacation itinerary: hikes and things to do, what to pack, where to stay and more!
With more than 2,000 natural stone arches to explore, Arches National Park offers visitors unique hiking trails that are perfect for adventurers seeking out breathtaking views and unforgettable experiences.
From easy strolls to challenging hikes with steep inclines, there is something for everyone looking to explore this magnificent park.
Whether you’re looking for an afternoon walk or a week-long trek through some of America’s most beautiful terrain, Arches National Park has a hike for everyone!
Be sure to add a few hikes into your Arches National Park itinerary:
- Arches National Park in One Day
- Two Days in Arches National Park
- Three Days in Arches National Park
- Arches National Park and Canyonlands in One Day
This site contains affiliate links which means WE may receive commissions for purchases made through these links. We only provide links to products we actually use and/or wholeheartedly recommend! As an Amazon Associate, we earn from qualifying purchases. Read the full Disclosure Policy.
What to Pack for Hiking at Arches National Park
To get the most out of visiting this park, you must be prepared with the right clothing and gear.DOWNLOAD our Arches National Park packing list for summer and winter.
Hiking Shoes – Injuries from improper footwear is a common problem that casual visitors and hikers encounter. To make your trip as safe and enjoyable as possible, avoid smooth-soled shoes and only wear sturdy shoes with ample tread. Check out the Merrell Moab hiking shoes we use.
Hydration and Food – Due to the high desert and altitude in Southeastern Utah, you should drink at least one gallon of water per day, and always carry water with you during all hiking activities (water is also available at the Arches National Park Visitor Center and at the Devils Garden trailhead and Campground). Check out these healthy snacks and food ideas. We use Camelbak hydration packs or carry Hydroflask bottles in our packs.
Lip Balm and Lotion – Utah’s high elevation and dry air can be hard on your skin. You’ll want to carry lip balm with sunscreen and hydrating lotion to apply as needed when you’re out exploring the trails.
Clothing – Summers in the park mean soaring temperatures, unrelenting sunlight, and low humidity. To keep cool, wear light colored, loose fitting clothing that does not absorb sunlight. Also avoid sun burn by wearing a wide brimmed hat and by generously applying sunscreen to any parts of your body that are exposed to the sun.
During the winter, wearing the right winter clothing is important to stay dry and warm. Take note that snow and ice can accumulate and make popular trails quite slippery. That’s why trekking poles and traction devices for your shoes are essential. It’s also just as easy to become dehydrated in the cold as it is in the heat. It’s important to carry plenty of water during the winter, and not just during the summer.
US National Parks Pass – Before you visit Arches National Park be sure to pack your The America the Beautiful Annual Pass.
Other items we recommend:
- Darn Tough socks
- Fleece jacket
- Buff headbands
- Sunscreen
- Hand sanitizer
- Flashlight or headlamp
- Maps
- Sunglasses
- First aid kit
- Insect repellent
- Camera gear – DOWNLOAD the free checklist
- Photography gear for hiking
A Photo Tour of Arches National Park
Take a visual tour through Arches National Park to see the stunning landscapes you’ll see when you visit!
Things to Know Before Visiting Arches National Park
Arches is has a TIMED ENTRY program that runs April through October:
Timed entry tickets will be required to enter the park from 6 a.m. to 5 p.m. daily and will allow visitors to enter the park during a one-hour specified window of availability. After entering, visitors may stay in the park as long as they wish for the remainder of the day. Reservation holders may exit and re-enter the park on the same day with a correctly validated ticket.
Visitors can book reservations first-come, first-served on Recreation.gov. The park will release reservations three months in advance in monthly blocks.
If you don’t have a ticket, you can still enter the park BEFORE 6am or AFTER 5pm. Those are the best times for Arches National Park photography and avoiding the crowds anyway!
Arches National Park Weather
To determine the best time to visit Arches National Park, it’s important to know what it’s like at different seasons and months of the year to help you decide.
- Arches National Park in the Spring
- Arches National Park Summer Vacation
- Arches National Park in the Fall
- Arches National Park in the Winter
Most of the year you’ll enjoy fun outdoor things to Do at Arches National Park like scenic drives, hiking, biking, and photography.
The Arches National Park weather in the summer is HOT so mornings and evenings are the best times to be outside. During the winter, the activities may be a bit more limited due to cold or snowy conditions!
Arches National Park Hiking Trails
Hiking is a popular activity when visiting Arches National Park.
We’ve collaborated with our friend Megan from Red Around the World to bring you this list of hikes in Arches in order as you would pass them driving from the park entrance.
Park Avenue Trail
- Trailhead & Parking Area: Park Avenue Trailhead
- Distance: 2 mile roundtrip
- Elevation Gain: 187 feet
- Difficulty Level: Easy
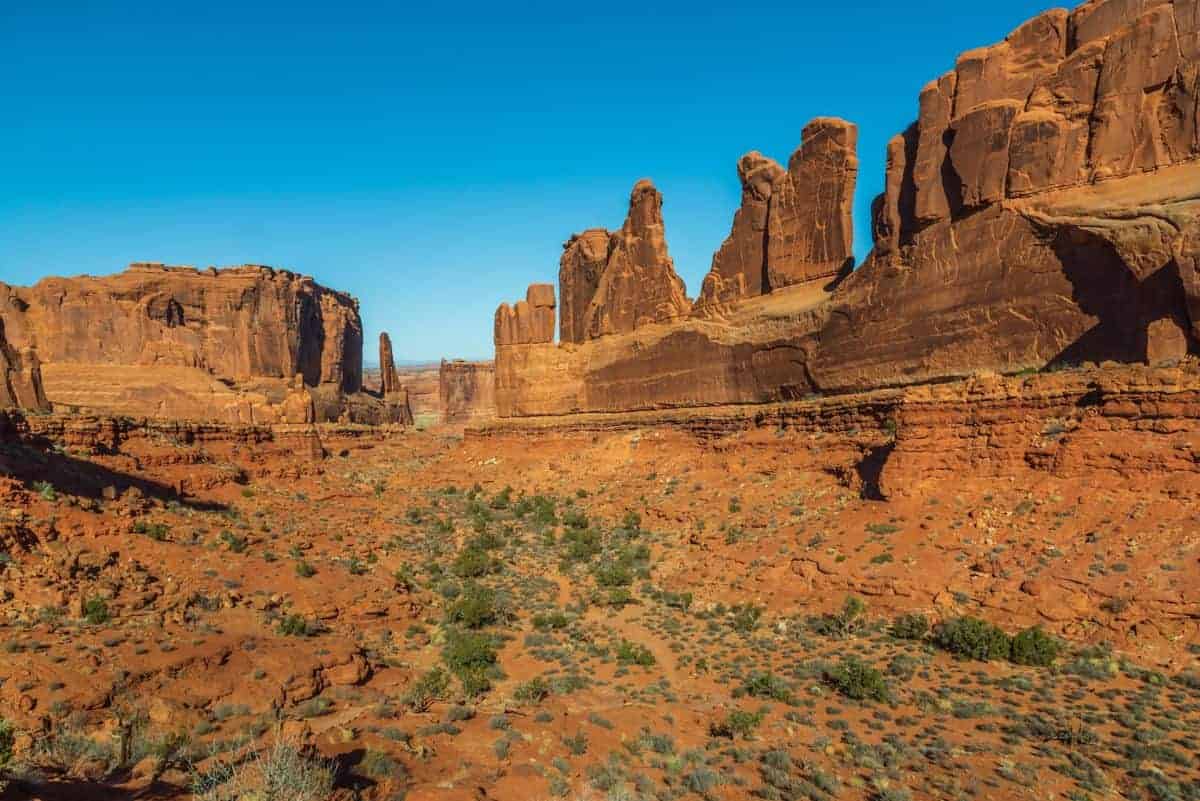
The first hike you’ll come to on the scenic road will make you feel like you’re in an old western movie.
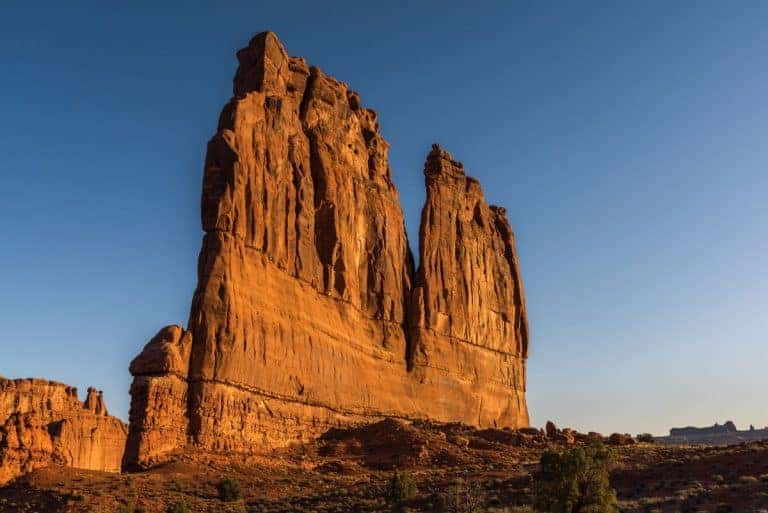
The Park Avenue Trail follows the bottom of a canyon below some of the park’s gigantic and well-known monoliths. It’s a memorable experience to hike through these towering natural wonders.
The Park Avenue hike is a one-way trail if you have two cars or a shuttle vehicle. The trail is a little over one mile taking you from the Park Avenue trailhead to the Courthouse Towers parking lot. This is where you would leave your second vehicle or have someone that doesn’t want to hike pick you up.
If that’s not an option, just head back the way you came through the towering sandstone for a nice 2 mile round-trip adventure.
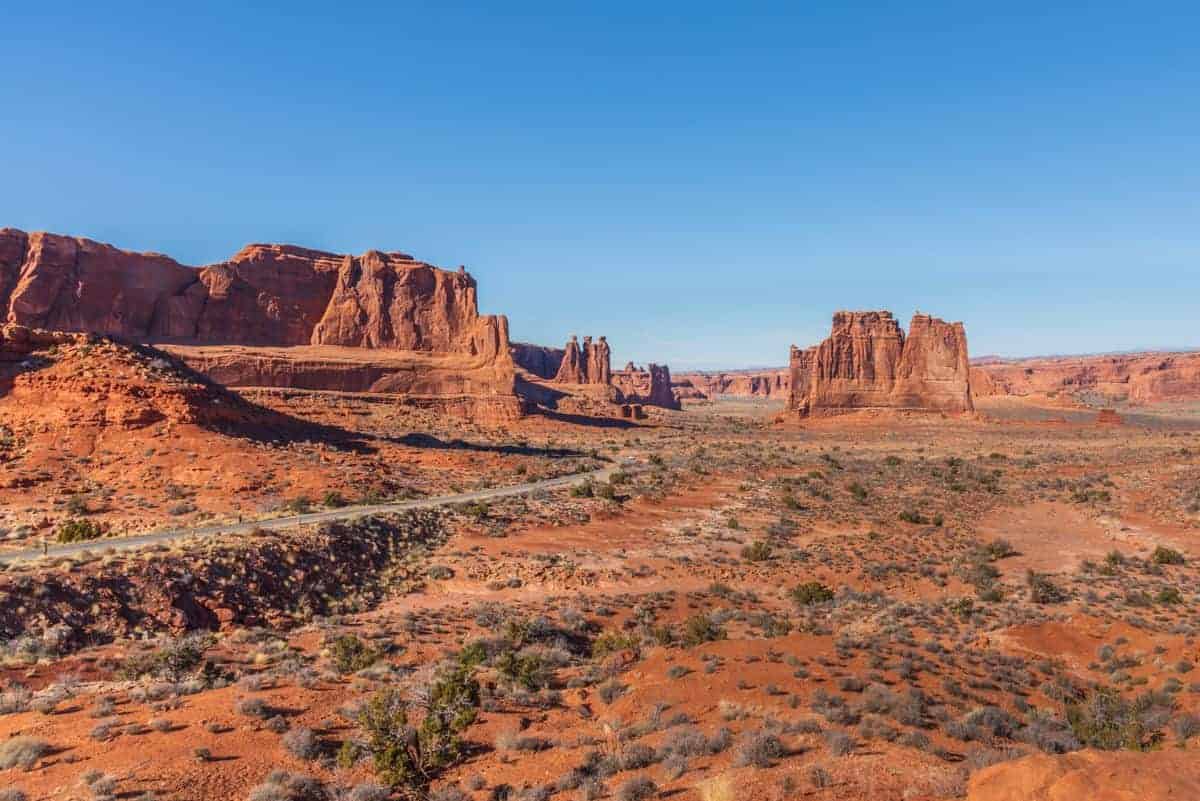
The latter part of the hiking trail has good views of the famous Arches landmarks: The Organ, Tower of Babel and the Three Gossips.
La Sal Mountain Viewpoint
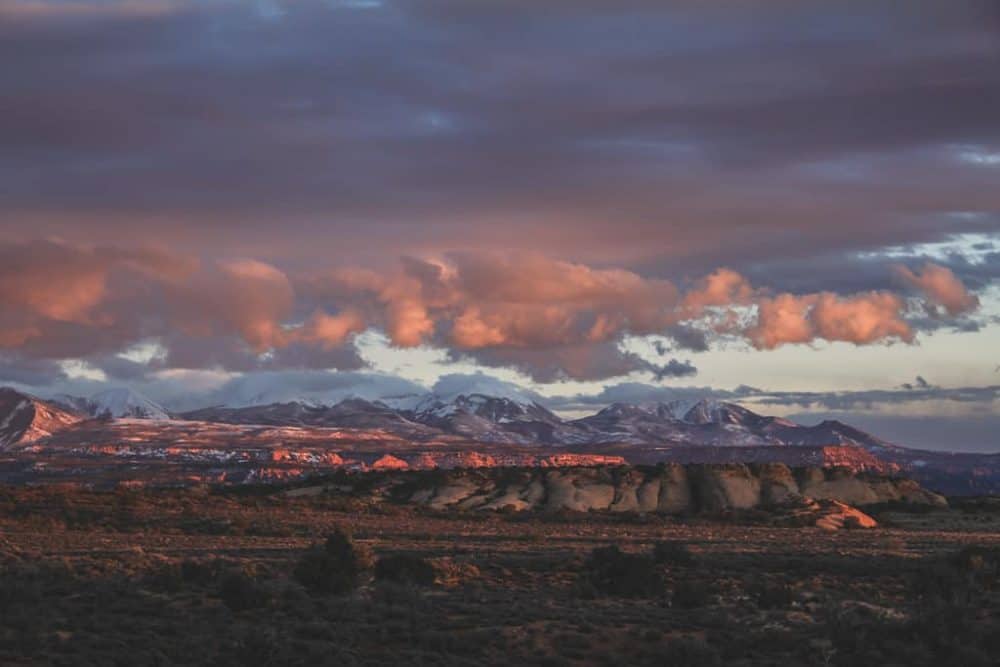
The La Sal Mountain Viewpoint isn’t really a hiking trail, but it’s worth the time to walk around the area. You will see magnificent views!
It’s a great place to watch the sunset as you’re leaving the park. You can see the colors change over the mountains in the distance with Park Avenue behind you.
It’s also a wonderful location to photograph the red glow on the rocks at sunrise.
There is a small flattened section overlooking the scenic drive.
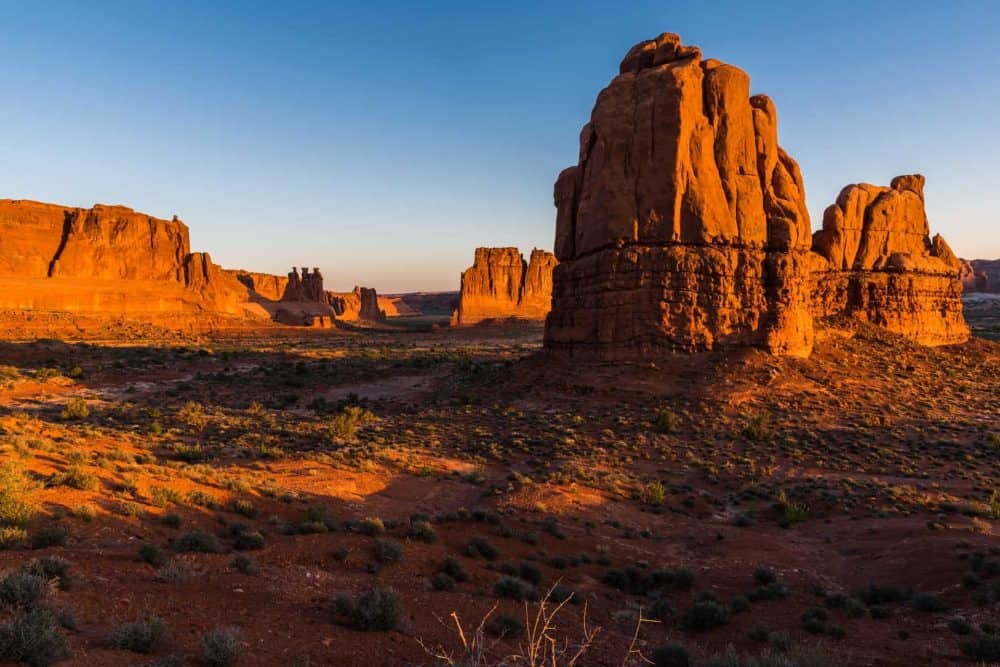
The signs lay out the names of the formations in front of you: Three Gossips, Sheep Rock, Tower of Babel, and you can even see Balanced Rock and The Windows in the distance.
Balanced Rock Trail
- Trailhead & Parking Area: Balanced Rock Trailhead
- Distance: 0.3 mile roundtrip
- Elevation Gain: 45 feet
- Difficulty Level: Easy
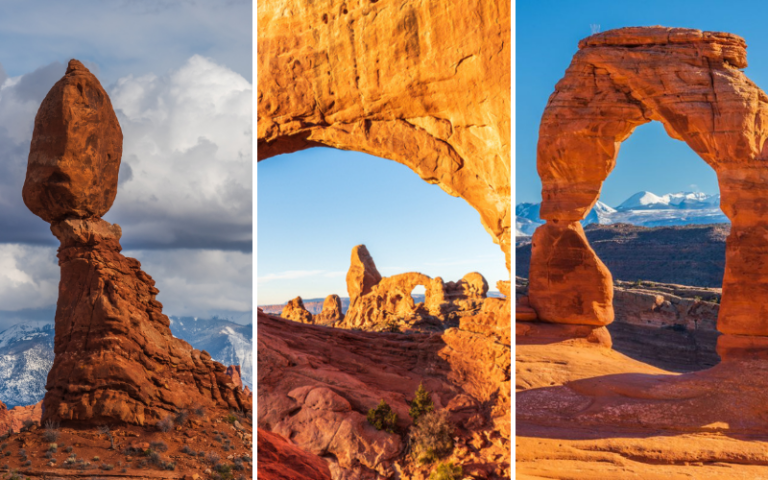
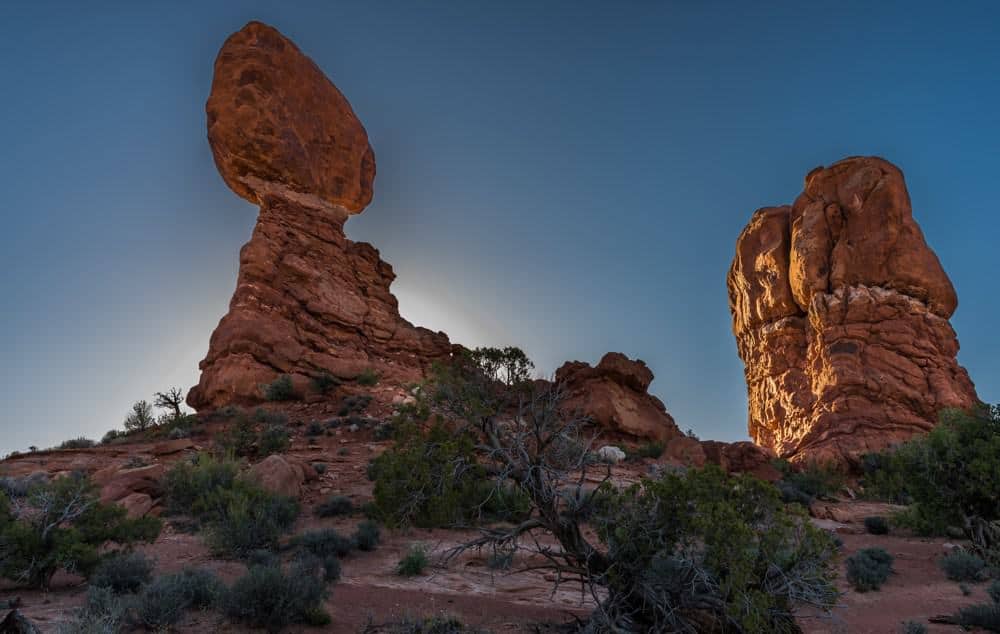
Balanced Rock is an easily recognizable landmark of Arches National Park. Many people park in the lot, take a photo, and move on.
It’s definitely worth the time to walk along the Balanced Rock trail. It’s an easy, short loop hike that takes you close to and around the Balanced Rock.
Each vantage point along the trail showcases a different side of Balanced Rock.
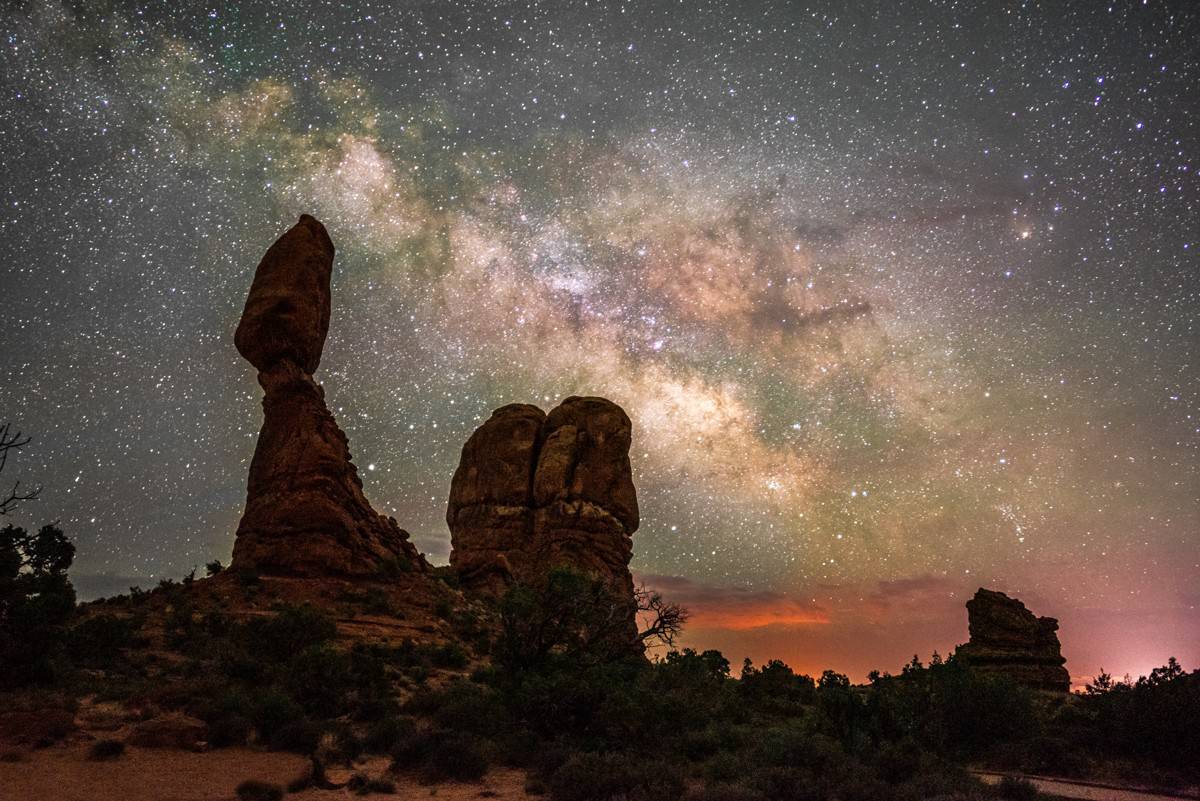
And don’t forget to Visit the Park After Dark. You’ll be amazed at the stars in the sky at Arches National Park!
The Windows Section Trail
- Trailhead & Parking Area: The Windows Trailhead
- Distance: 1 mile roundtrip
- Elevation Gain: 187 feet
- Difficulty Level: Easy
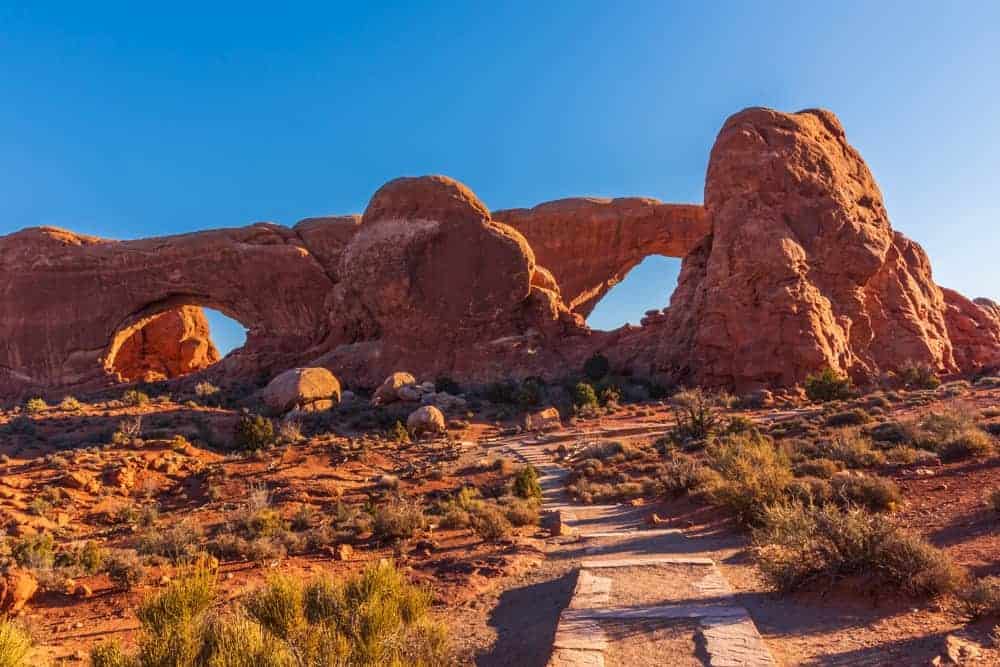
The Windows Section of Arches National Park is a cool area with a lot to see.
The Windows Trail loop is under 2 miles. It’s one of the most popular areas in the park, and the parking lot fills up quickly.
It’s best to hike the Windows trails in the morning, late afternoon or evening to avoid the crowds.
In this area the main attractions are the North and South Windows where you can stand under the large South Window.
There is also a loop trail that circles around the back of the Windows Section that gives hikers a different perspective of the area.
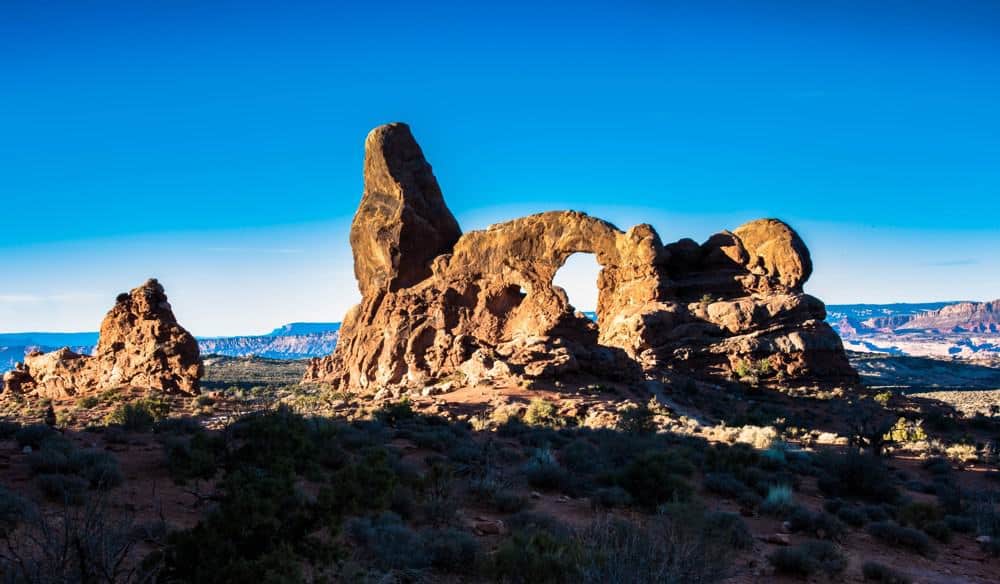
You can’t forget Turret Arch that’s also along the Windows Trail Loop. It’s a fun arch to photograph!
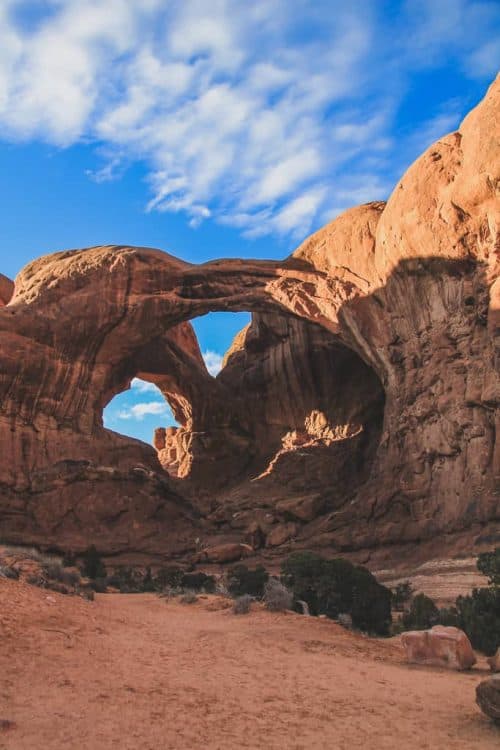
Double Arch Trail
- Trailhead & Parking Area: Double Arch Trailhead
- Distance: 0.5 mile roundtrip
- Elevation Gain: 32 feet
- Difficulty Level: Easy
On the other side of the Windows parking area is the Double Arch trail. It’s easy and super short.
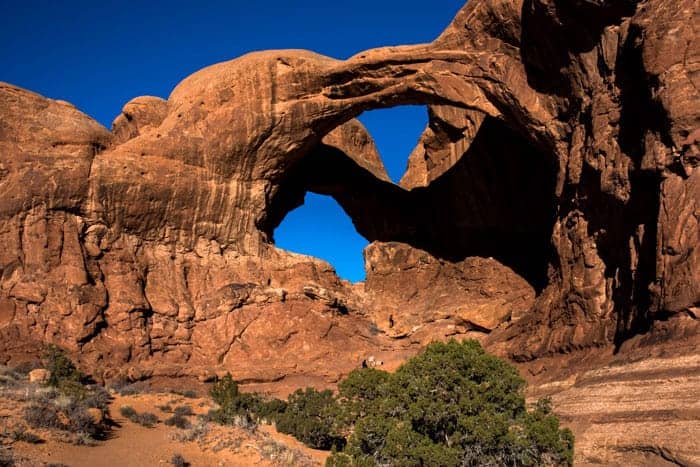
You can see it from the parking lot, but you’ll definitely want to get up close to this one. It’s exactly what it sounds like, two arches basically next to each other.
Again, if you want to have this area to yourself to climb and explore, get there in the morning or evening.
Arches National Park in the winter is the best time to visit if you want to avoid the crowds.
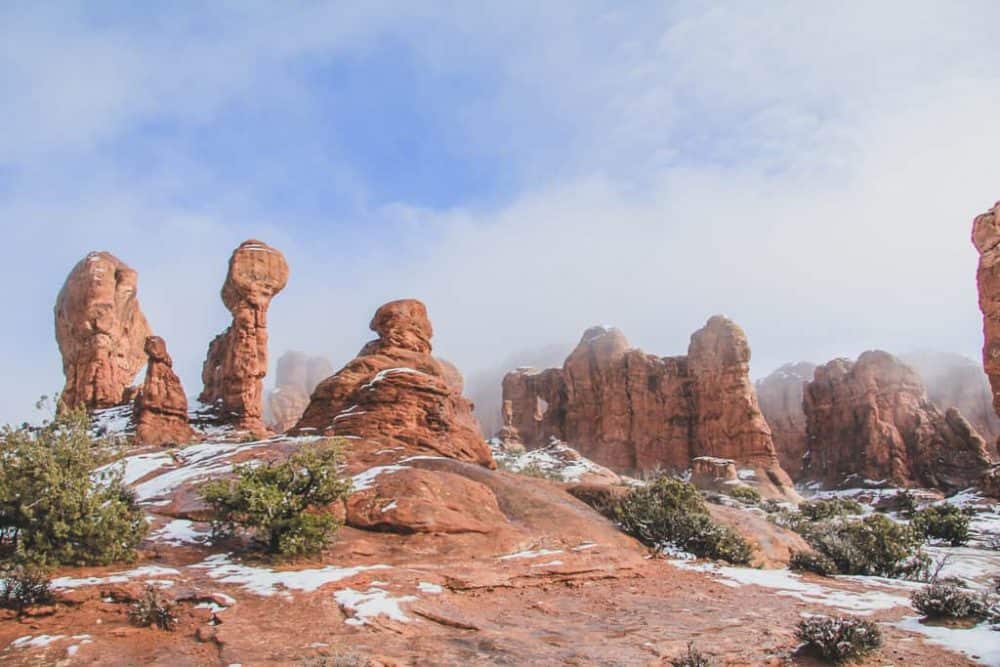
Garden of Eden Viewpoint Trail
The Garden of Eden area is easy to miss as you drive to the Windows section.
The Garden of Eden area is called a viewpoint, but it’s also an open trail where people can explore the sandstone features on the desert slickrock.
You can see arches just starting to form all over this area. As you walk around, remember to stay off the cryptobiotic soil.
Owl Rock is popular with rock climbers. Watching them provides another fun aspect of this overlooked turnout.
Another reason to Arches National Park in the winter is to take photos of the red rock with the contrasting white snow! It’s so beautiful.
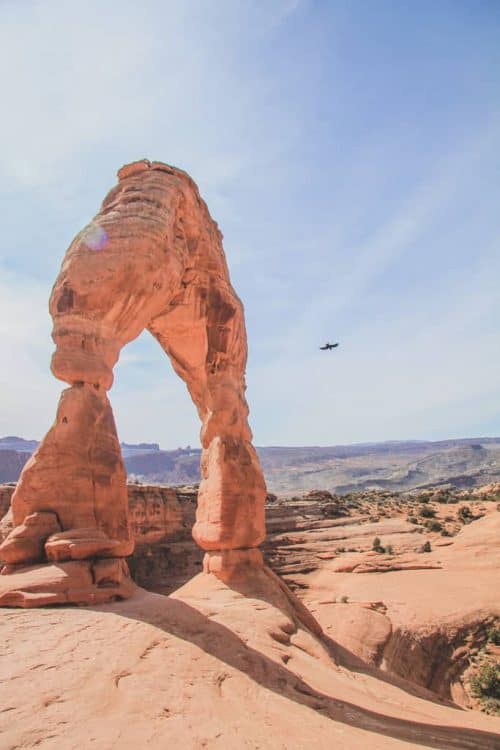
Delicate Arch Hiking Trail
- Trailhead & Parking Area: Wolfe Ranch
- Distance: 3 miles roundtrip
- Elevation Gain: 610 feet
- Difficulty Level: Moderate
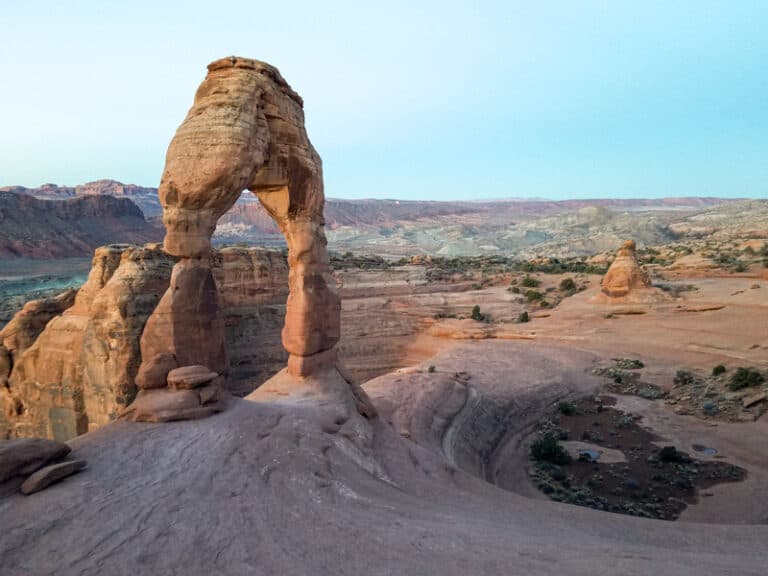
If you don’t hike to Delicate Arch, did you really visit Arches National Park? I’m not so sure.
The Delicate Arch trail is one of the best hikes in Arches National Park, and it will always be busy.
The Delicate Arch hike is three miles round-trip. It isn’t horribly difficult, but it’s super steep, so wear good shoes, drink lots of water, and take your time.
Delicate Arch can be hard to photograph without people in it, but it can be done. Usually people are good to wait in line taking turns to get their picture taken under the arch.
The trick is to wait for the people to move away from the arch as the next people in line move toward the arch. You’ll only have a brief moment to capture the photo so be ready!
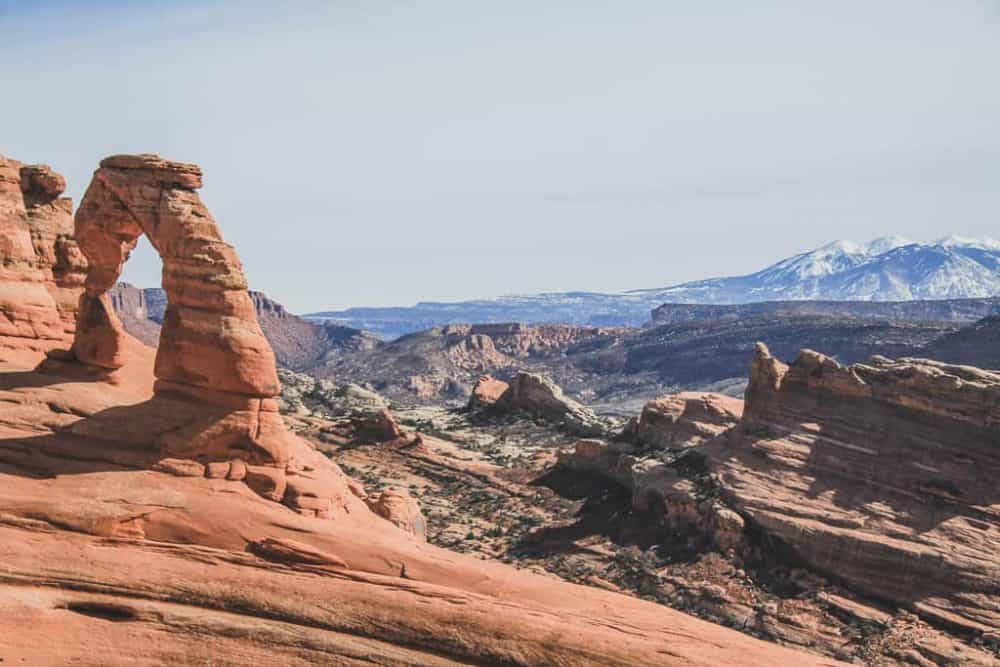
Also, don’t be afraid to walk around and see and photograph Delicate Arch from different angles.
Check out this awesome post about what it’s like to climb to Delicate Arch, with terrific photos!

Lower Delicate Arch Viewpoint and Trail
If you can’t hike the Delicate Arch trail that takes you right to the arch, you can see the arch from the Lower Delicate Arch Viewpoint.
The viewpoint is about 100 yards from the lower viewpoint parking lot where you can see the arch about a mile away.
You can access the Upper Viewpoint Trail from this same location. It’s a short .5 mile hike with a few stairs to climb. It will get you a little closer to the arch.
You can’t get all the way to Delicate Arch from here. But it does provide a slightly less obstructed view from what you see at the Lower Viewpoint.
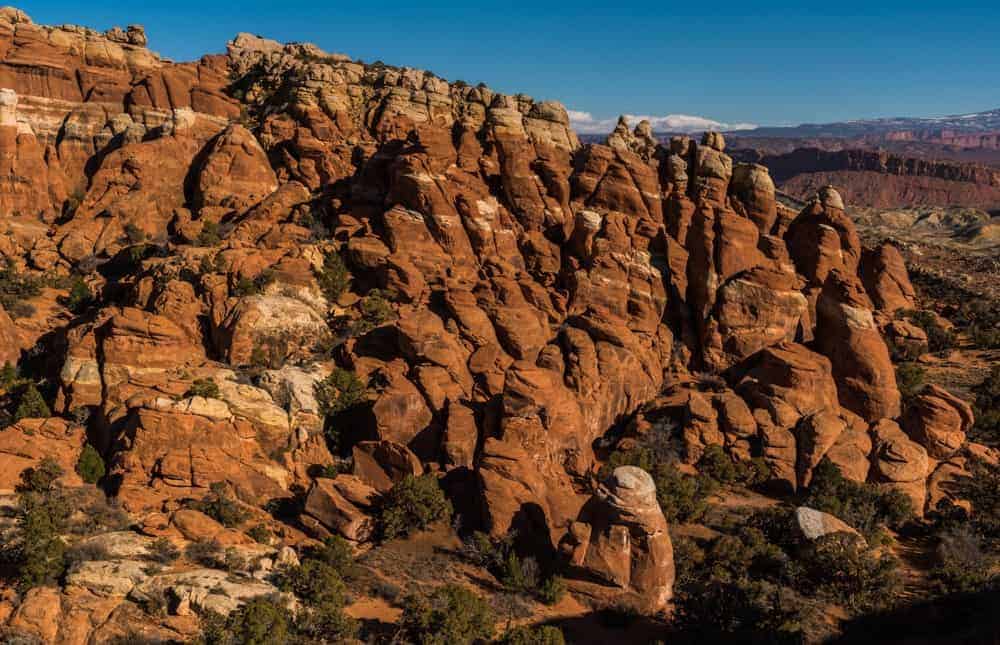
Fiery Furnace Hiking Trail
- Trailhead & Parking Area: Fiery Furnace
- Distance: Varies depending on route
- Elevation Gain: Varies depending on route
- Difficulty Level: Advanced (requires ranger or permit)
The Fiery Furnace hiking trail is a great option for people that want to get off the beaten path at Arches National Park.
I wouldn’t call this a trail, but more of a wandering free-for-all maze.
This is the only hike in Arches that requires a permit. It can be purchased at the Visitor Center.
The Fiery Furnace area is made up of a bunch of fins, which are huge sandstone things that look like dragon scales, in rows with small canyons between them.
You can basically just wander around this area wherever you want (with your permit), but it’s possible to get lost, so pay attention to where you’re going and where you came from.
You’ll find hidden arches in here so keep an eye out for those!
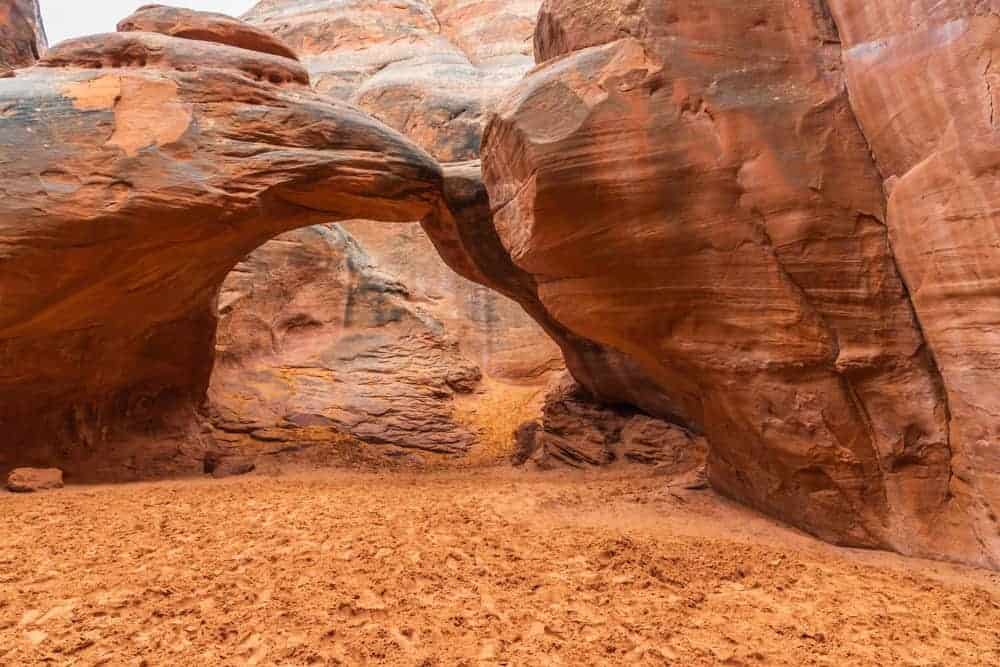
Sand Dune Arch and Broken Arch Trail
- Trailhead & Parking Area: Sand Dune Arch
- Distance: 2 miles roundtrip
- Elevation Gain: 226 feet
- Difficulty Level: Easy
The Sand Dune Arch trail is a spur off the Broken Arch trail. It’s a fun and unique hike because the arch is located in an ‘almost’ slot canyon.
As the name implies, it has quite a bit of sand around the arch. Sand Dune Arch sits in the shade for most of the day, which makes it the perfect place to rest, take off your shoes and enjoy the cool sand.
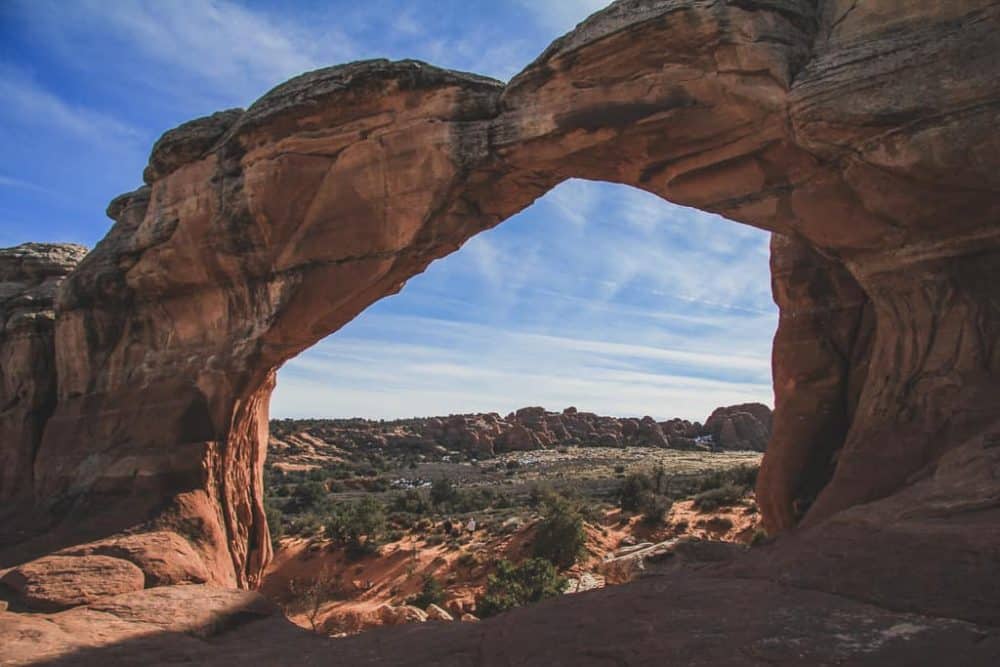
The Broken Arch trail continues past the Sand Dune Trail. This trail often gets bypassed, but it’s an easy, flat hike and you won’t encounter many people on it.
After reaching Broken Arch, go through the arch and make sure you look back through it. It’s a pretty cool view from there.
You can also hike to Tapestry Arch and the Devil’s Garden campground from here.
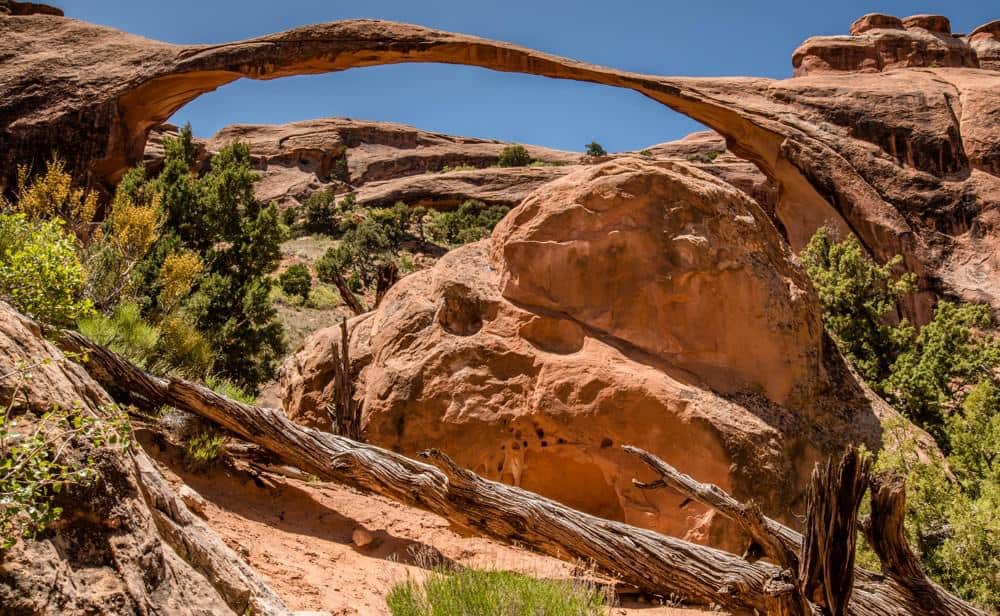
Devil’s Garden Trail
- Trailhead & Parking Area: Devil’s Garden Trailhead
- Distance: 1.6 miles roundtrip to Landscape Arch | 7.2 miles roundtrip Primitive Loop
- Elevation Gain: 490 feet
- Difficulty Level: Easy to Moderate
Finally, you have the Devil’s Garden Trail. The whole Devil’s Garden loop is a little over seven miles and has at least seven arches to see along the way.
Most people just go to see Tunnel Arch and Pine Tree Arch, the two closes arches along the Devil’s Garden Trail.
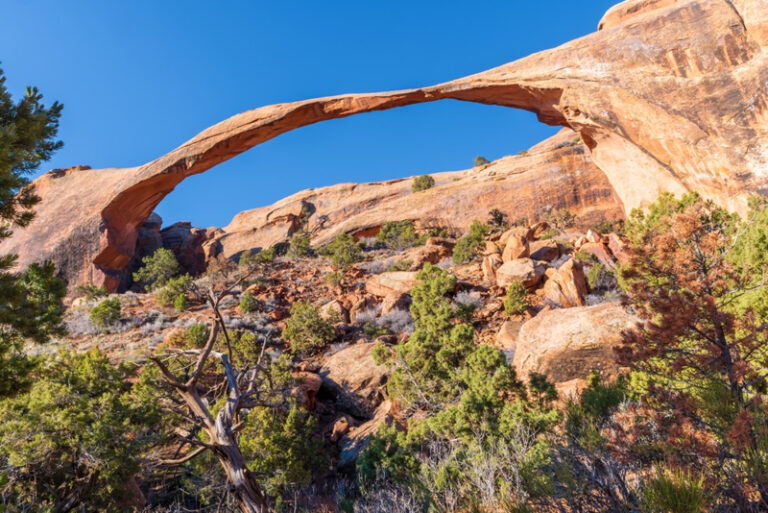
Then a few more people continue hiking to see Landscape Arch, another very notable arch in the park that may collapse in our lifetime.
Not many people hike past this point. If you want a trail to yourself, or close to it, this is a good option. And you’ll see more amazing arches like Navajo Arch.
Arches National Park is a small geographic area, but has the greatest concentration of stone arches in the world.
The condensed are means the hikes in Arches are not very long, but you’ll rewarded with fins, domes, towers, bowls, slots, caves and more as you walk along the trails.
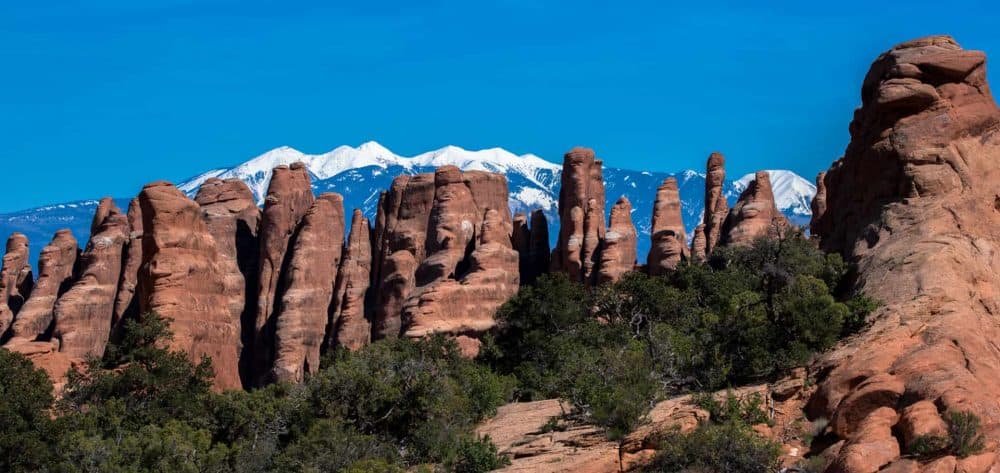
While most visitors don’t venture far from the Scenic Drive, those willing to hike the trails in Arches National Park will see what everyone else is missing.
Arches National Park is extremely popular and fully deserves all the attention it gets.
More Hiking Trails Near Moab
- Arches National Park Hiking Trails
- Canyonlands Hikes
- Canyonlands Island in the Sky Hikes
- Dead Horse Point State Park Hiking Trails
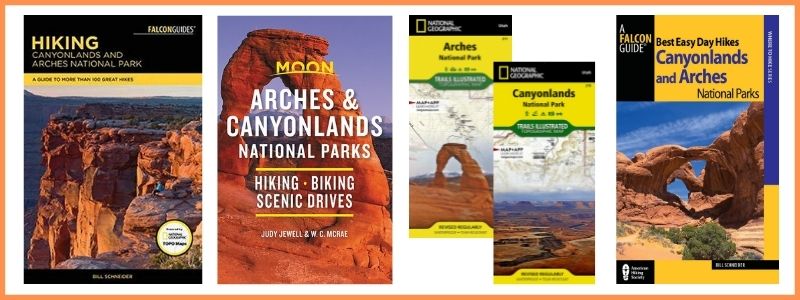
BUY AT AMAZON: Arches and Canyonlands Guides and Maps
Planning an Arches National Park Vacation:
- Best Time to Visit Arches National Park
- Things to Do at Arches National Park
- Arches National Park Packing List
- Arches National Park with Kids
- Arches National Park Photography
- Arches National Park Tours
Where to Stay Near Arches National Park:
There are no hotels in Arches so most people stay in the nearby town of Moab. There are all types of lodging in and near Moab from budget-friendly hotels to higher-prices resorts. You’ll also find vacation rentals, a hostel, campgrounds and RV parks.
- Places to Stay Near Arches National Park
- Hotels Near Arches National Park
- Places to Stay Near Arches National Park with Kids
- Arches National Park Camping
Here are a few of our favorite places to stay near Arches:
- Holiday Inn Express Hotel & Suites Moab – we enjoyed our stay and highly recommend this hotel due to its location close to Arches.
- Purple Sage – our all-time favorite place to stay in Moab – walking distance to shopping, full kitchen, and only 8 units so you don’t feel lost in a large hotel.
- Red Cliffs Lodge – rooms up to 6 people – located 17 miles from Moab, this lodge is known for its beautiful location, winery and actiities like horseback riding, fishing and more!
- Vacation Rentals Near Arches – we really like rentals with a kitchen, washer and dryer and amenities like a swimming pool and hot tub.


